Archive for January 2011

Monday, January 31, 2011

we meet again...with csn.com


Remember a while back we posted about how CSN Stores helped makeover a bedroom? Well, it's time for us to partner with them again. We love them! I have been wanting to get some new items for my home and they have everything you can imagine. Did you know they even have swing sets for kids? I didn't until recently, but I am not surprised because honestly, what don't they have?

I am in the process of making over my family room. I feel like it might be quite the process because I am so indecisive. With the help of a couple friends, and CSN Stores, I am sure the finished result will be a beauty.

Look at this poor room. It really needs some love! We haven't done a thing to it since we moved in (should I admit the fact that it was three years ago?).

Stay tuned because I plan on taking you through the process with me. There might even be a CSN Stores giveaway along the way!

share this on »
{Facebook} {Twitter} {Pinterest}
5 Comments

Saturday, January 29, 2011

family motto 2011

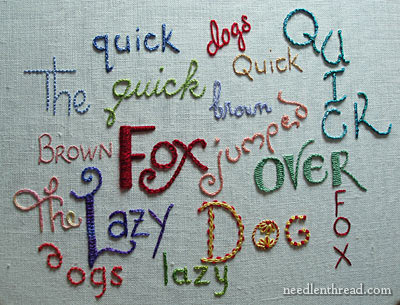
It's still January, so I'm still thinking New Year's resolutions! Each year I pick a word to live by, but this year I decided to extend it to our little family in the form of a family motto. When I found this framed embroidered quote while visiting Utah for Christmas, I knew this was our theme. It's a life lesson that my husband and I feel is especially important for our children to learn now, while their mistakes are still relatively inconsequential. It's just on their level, but it is so crucial to their success in life.


Of course when I saw this piece I though, I could make that! But I also knew I probably wouldn't get around to it for six months and by then it would be too late. Plus it was only $9.95. My time is worth that much at least.


That said, I will definitely be making one like this for next year's theme, whatever it may be. The quote is stitched on muslin, wrapped around a batting-covered piece of cardboard, and framed. Easy peasy. If you want to make something like this but need help with your hand-stitched letters, check out this awesome tutorial from Studio Calico for using printed letters as a guide.


Or this index of 15 tutorials for great hand-stitched letters from Needle 'n Thread!


I'm headed to CHA in LA in a couple of hours and I'm too excited to sleep! If you don't know what CHA is, you'll want to check back over the next few days to see what my lucky eyes will be seeing. If you do know what it is, you'll really want to check back! Ta-ta for now. . .

share this on »
{Facebook} {Twitter} {Pinterest}
16 Comments

Friday, January 28, 2011

homemade box of chocolates


I love chocolate. Every year when Valentine's Day comes around I get excited to see all the chocolate that permeates the aisles at the store. There are so many boxes of chocolate, but I often find that unless you spend a large sum of money to get the good stuff, most of the heart shaped boxes just don't satisfy. You don't get much bang for your buck. This year I thought I would make a few of my own mini boxes of chocolate to give to some friends.

The process was really simple, and much cheaper than buying a box of chocolate. First, find yourself a box and some decorative paper you love.


Next cut a piece of paper that is big enough to fit your box. I picked two papers. One for my box and one for the lid. I then cut slits at each of the four corners so you can easily fold the paper up to glue one side at a time. Use a brush to apply mod podge to the sides of the box.


Pull the paper up and press it on the side of the box to cover it completely. Smooth any bubbles out. Repeat the process until every side is covered, trimming any excess paper as needed. Follow the same process to cover your lid.


I filled my box with my favorite chocolates. Oreo balls! They are so delicious and easy to make. I am not promising any health benefits, however. You can find the recipe at the bottom of a past post HERE.


Tie on a pretty ribbon and you are finished! A pretty, delicious, homemade box of chocolates for you to surprise someone with (it can even be for yourself, I won't tell!).

share this on »
{Facebook} {Twitter} {Pinterest}
15 Comments

Tuesday, January 25, 2011

my top 5 favorite fabulous craft bloggers


Thanks to Trop 50 for sponsoring my writing about fabulous bloggers. This year Trop50 is granting 50 fabulous wishes. Click here to enter for a chance to win $1,000 to help grant a friend's wish!


A friend asked me the other day how I keep coming up with new ideas for this blog. I told her I believe there are very few "original" crafting ideas out there. All of us are getting inspiration from things around us and making them our own, whether it be a clothing catalog (think Anthropologie) or a another blogger. I'm not talking about stealing ideas, just taking in colors, concepts, and techniques and molding them to fit your creative needs. I don't spend a lot of time blog-hopping (I would like to, but I just don't have the time!), but there are 5 fabulous craft bloggers that I follow religiously, and they all have something wonderful to offer the crafting world from their own creative perspective. These are a few women who truly inspire me.

Cluck, Cluck Sew
Allison from Cluck, Cluck Sew is a quilter, and she dreams up the most wonderful quilts. My favorite thing about her quilts is the way she puts fabrics together. Not only does she have great taste in fabrics, but she has a real flair for pairing them. That is a real talent! Many of her quilts are pretty simple, but the fabrics make them amazing. She's also got great quilting tips, sewing tutorials, and patterns for sale. She inspires me to make gorgeous quilts! And my husband curses her for all the fabric I've bought and not made into a quilt (yet!). Her posts are short and sweet because who wants to spend all their time on a computer when they could be quilting?


V & Co.
I am also a huge fan of Vanessa Christensen, blogging as V & Co. She is super talented and creative, but also just so REAL! I love the way her voice comes through in her posts. You feel like you know her. She is hilarious! And she's always really honest about, well, everything, but specifically I love how she's honest about how blogging/crafting fits into her life. She has her priorities and if her blog doesn't happen to fit into what's most important to her, she gives herself permission to not blog. So refreshing. Plus, she thinks of things my brain is NOT capable of contriving, like this amazing houndstooth quilt that I am obsessed with! She has lots of great patterns in her shop as well. Love you, V, and all your references to pooping your pants.


Dear Lizzy
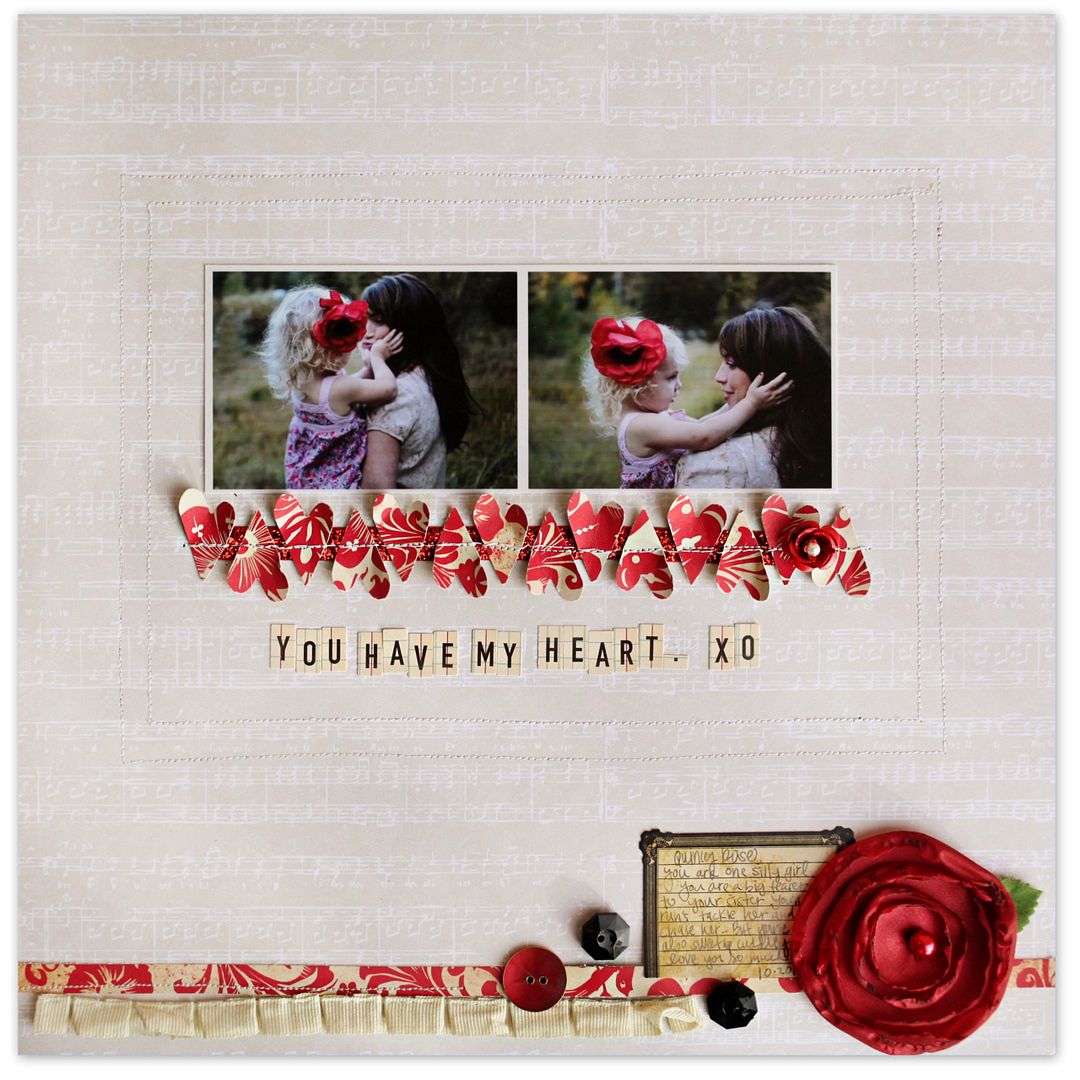
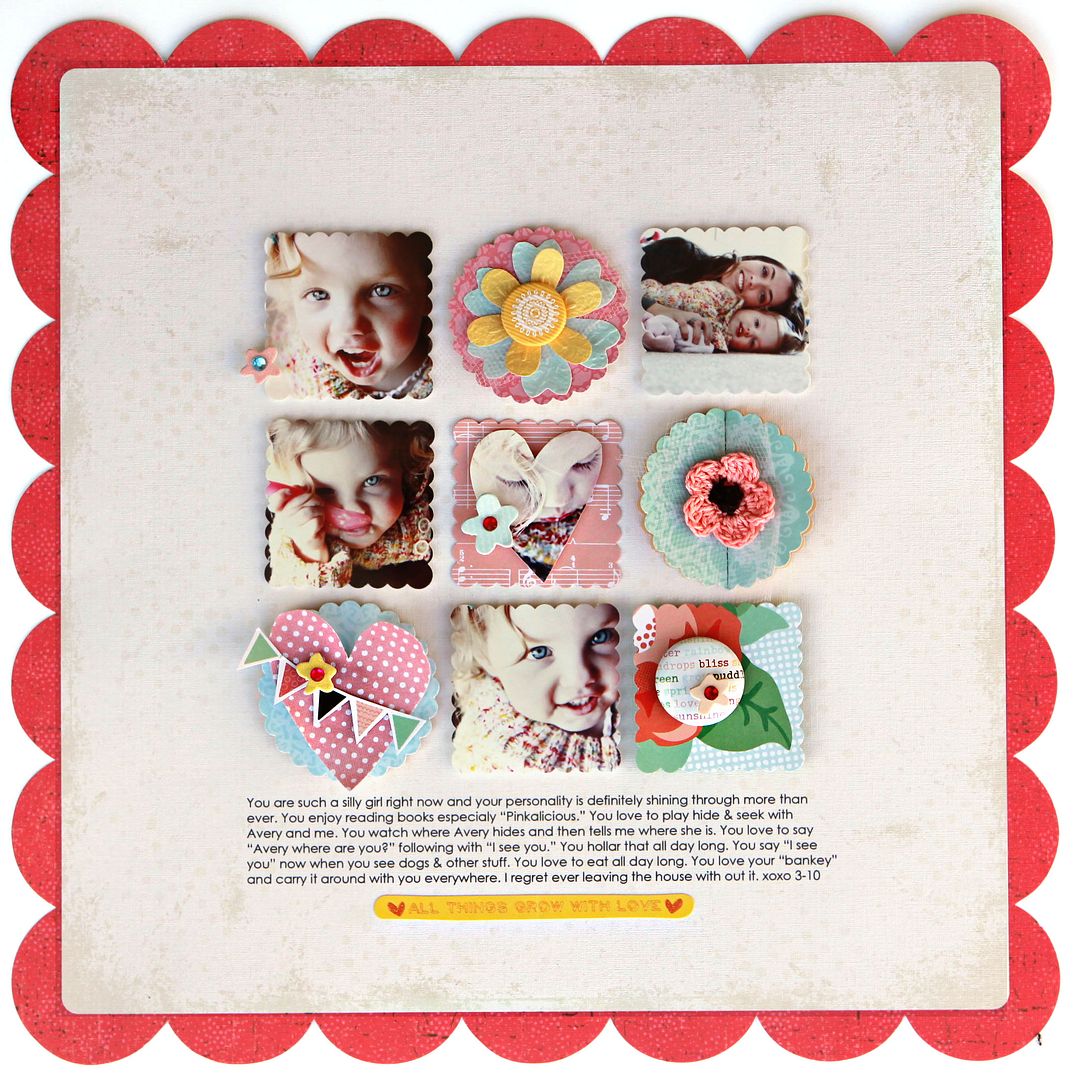
One of my friends accused me of having a little crush on my next favorite blogger. It's true--I would like to be her when I grow up. Elizabeth Kartchner is a scrapbooking celebrity to be sure, but her blog is so sweet, silly, humble, and yes, majorly inspiring. I have about 20 of her scrapbook pages bookmarked for future scraplifting, and I looooove her photography. She inspires me to take more pictures and enjoy life more!

HowDoesShe?
The next fabulous blogger on my list is actually several bloggers--friends who collaborated to answer the question How Does She. . .? Their categories include How Does She Celebrate Seasons, Cook & Bake, Love Her Family, Make It, Run A Household, and This & That. All those things that we as women wish we could do! I love their printables and amazing home projects, not to mention their recipes (you've GOT to try their cinnamon bun pancakes--they'll rock your world!). The site is so organized and chock full of stuff--I could get lost in it for days! They've definitely answered the question of how I can do it all--I just go to HowDoesShe.com!


Make and Takes

My final top fabulous blogger is Marie from Make and Takes. This site is all about crafty moms and kids. She has the best ideas for simple kids crafts, plus parenting tips, holiday ideas, recipes, and even home decor (that's me--I'm a regular contributor!). But what I really love about this blog is how simple and clean it is. It's easy to navigate, the ideas are fabulous but not over the top. She inspires me to get back to basics with my kids. Think about what's fun for them, not just for me. She strips out all the fluff that I often find myself wrapped in and presents great, wholesome ideas that you can actually do something with. Whenever I get a little stressed out about a post I'm working on for Make and Takes, I think, Marie keeps it simple. You can keep it simple. (I think I can, I think I can.) Marie inspires me to simplify and really enjoy time with my kids!

As a blogger, I know how much time and effort these amazing women put into their sites, and that is inspirational to me. But what I really love is knowing that they're all just regular women, with kids and jobs and homes and everything else we have on our plates, who also have a passion for what they do. I'm so glad they are all willing to share some of that creative energy with me! I hope you will check each of them out and give them a little comment love. And leave me a comment with your favorite craft blogger--who inspires you?

Don't forget to enter the 50 Fabulous Wishes contest for a chance to win $1,000 to support a friend's wish. I was selected for this Tropicana Trop50 sponsorship by the Clever Girls Collective, which endorses Blog With Integrity, as I do. I received compensation to use and facilitate my post.

share this on »
{Facebook} {Twitter} {Pinterest}
29 Comments

Monday, January 24, 2011

self-bound receiving blanket {idea and link}


I've got a couple of baby showers coming up quickly--I'm so glad to have this great idea (and a link to a great tutorial) from our friend Jennifer. I love these blankets!

Self-Bound Receiving Blanket


Now that Christmas is over and all cleaned up its time to turn my attention to the next big event in my life. I have two daughters expecting their first baby in March and its time to start making baby things. I was in Idaho in September with one of my daughters and we went to a wonderful craft/fabric store called Porter’s. They had so many beautiful flannel fabrics. My daughter didn’t know what kind of baby she was having, but she was sure that it was going to be a girl, so we bought cute girl things. The other daughter knew she was having a boy, so I also bought cute boy things. I even bought extra just in case. Well sure enough after their ultrasounds, both girls are having boys and I am glad that I bought extra.

I wanted to make a self bound receiving blanket for them. I really like the look of having the back fold over the front. The directions looked simple and I figured that it would only take about an hour. Boy was I wrong. The mitered corners were a lot trickier than I expected and I only had written directions, no pictures. After I spent the whole day working on it, it occurred to me to hunt for a tutorial. I found a great tutorial here.


First blanket – all day. Second blanket – just over and hour, but not quite perfect. Third time's the charm.

Just a couple of additional tips: *I prewashed my flannel because flannel shrinks. *My flannel dimensions were 40” back and 30” front, but you can make *My flannel was made by My Mind’s Eye for Riley Blake and perfect flannel for babies, soft and the perfect weight. *These receiving blankets are so much nicer than the single layer flannel ones that you buy.


share this on »
{Facebook} {Twitter} {Pinterest}
9 Comments

Saturday, January 22, 2011

chili con queso dip recipe {it's superbowl party time!}

We had this appetizer on Christmas a couple of years ago and I fell in love. It was so delicious, I could hardly stop thinking about it until I got the recipe from our friends and made some more! It's now our go-to appetizer for holidays, football game parties, or Saturday nights. Not only because it's mouth-watering, but because it's so cheap and EASY!

Queso Dip Recipe

Ingredients:
1 can regular chili (just beans, not meat--we like Nalley's or Hormel)
1 can jalepeno chili (same brand)
1 8 oz. block cream cheese (use the full-fat stuff--it's worth it!)

Combine all ingredients in a saucepan over medium-high heat. Stir until cheese is melted and combined well with the chili. Serve warm with tortilla chips.


We usually transfer the dip to a mini crockpot to keep it warm (I seriously went out and bought one of these JUST for this dip).

In case you're looking for other great Superbowl Sunday recipes, here are links to a few more that we love!

Cowboy Caviar


Sweet Chex Mix


Veggie Dip


Sloppy Joe Turnovers


Egg Rolls


MORE GAME DAY RECIPES: Bacon Wrapped Sausages, Super Bean Dip, Hot Artichoke Dip, & Game Winning Meatballs

share this on »
{Facebook} {Twitter} {Pinterest}
8 Comments

Thursday, January 20, 2011

self-sorting laundry {quick tip}

Any extra second I can get during my day means more time for creating! Here's another quick tip from Jennifer that will give you a few extra minutes each week.

If you ask anyone in my family they will tell you that I will never win the housekeeper of the year award. I think I am just too creative to be neat.

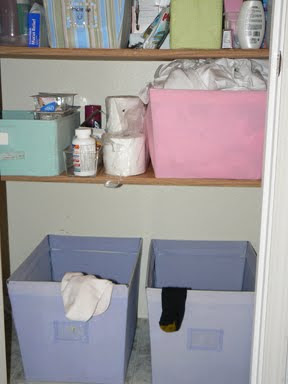
Every once in a while I happen upon a system that is simple and saves me time. An example is my self sorting laundry. I have three medium size laundry baskets in my bathroom closet. When we undress we throw our clothes in one of the three baskets, whites, lights and darks. On laundry day my laundry is already sorted. I just take one basket out and throw it in the washing machine. Now I wish I could just figure out how to make the laundry self-folding. . .

share this on »
{Facebook} {Twitter} {Pinterest}
26 Comments

another sweet canvas deal {think valentine's gift!}

How sweet--The Canvas People are offering our readers another chance to get a canvas print for a huge discount, just in time for Valentine's Day! This would make the sweetest gift, especially if you missed the offer at Christmas.


The deal is 40% off your canvas (any size, and you'll want to upgrade to at LEAST an 11x14) PLUS free shipping, and 50% off additional canvases! I'm thinking of getting a few to group together like one of the cute gals at HowDoesShe did with photos of her kiddos. Or our family picture from our Christmas card. Do you think my husband will mind if I give him a Valentine's gift that's really for me? :)


Since you're our friends, we want to let you know that this offer is only good through February 14, so don't forget to order. And be sure to order by Feb. 3rd if you want your photo canvas by Valentine's Day. That's how much we love you!

share this on »
{Facebook} {Twitter} {Pinterest}
4 Comments

Wednesday, January 19, 2011

crochet hook clutch tutorial {get organized}

READ THE REST OF THIS POST -->>>» |

I've been carrying my crochet hooks around in a plastic bag for some time now. When they started escaping through little holes in the bag, I knew it was time for me to finally make that crochet hook organizer I've been meaning to make for the last two years. I loooove the way it turned out! I keep opening and closing it, running my fingers over the row of shiny hooks. It feels so good to be organized for once in my life! It's going to make crocheting so much easier now that I won't be digging through my bag for the right hook. Here's how to make your own crochet hook organizer clutch and get organized!


Crochet Hook Organizer {Tutorial}

Supplies:
*2 pieces of fabric cut 16.5" x 7.5" for clutch
*2 pieces of lightweight fusible interfacing (I used Pellon Val-u-fuse)
*1 piece of fabric cut 10" x 12" for hook pockets
*1 piece of fabric cut 2" x 1.5" for yarn needle pocket
*Elastic (I used a child's hair elastic)
*Button or fabric-covered button and tool
*Fabric marking pen or chalk
*Coordinating thread and sewing machine
*Iron and ironing board
*Scissors

1. Iron interfacing to back of each 16.5" x 7.5" pieces according to interfacing's instructions.


2. With wrong sides together, lay a dinner plate on the short edge of the two pieces. Trace around the edge of the plate to create the rounded edge of the clutch. Cut along your line.


2. Fold and iron the 10" x 12" piece of fabric in half lengthwise, so it's now 5" x 12". Lay this piece on the inside piece of the clutch body along the bottom, straight (not rounded) edge, with the raw edge along the bottom of the clutch body. Pin in place.


3. Lay your crochet hooks out on this piece to see how many pockets you need. Using a ruler, draw a line with your marking pen or chalk to mark the where you'll stitch lines between each hook to create hook pockets. Below are sample sizes I used for my pockets. I made them quite snug so they wouldn't fall out when the clutch was folded up. I also included a spot for my little scissors, and a couple of extra spots for duplicate hooks (I have two of a few hook sizes).


N - 3/4"
K - 3/4"
J - 5/8"
I - 5/8"
H - 1/2"
G - 1/2"
F - 3/8"
E - 3/8"
D - 3/8"
C - 3/8"
7mm or smaller - 1/4"
Scissors - 1"

share this on »
{Facebook} {Twitter} {Pinterest}
44 Comments

Monday, January 17, 2011

{capture my heart} sterling silver necklace at half price!

My husband loves to surprise me for Christmas, but this year we had a limited budget, so I did some major hinting at what I wanted. Usually I let him surprise me because it's so fun, but it was also so fun to get what I really wanted and couldn't otherwise justify spending the money on (a trip to the CHA show in LA this month!). And of course he still surprised me with something else. Bonus! So I think I'll try it again for Valentine's. I'm pretty sure he'll go for it when he sees the price!

I found out that Monday and Tuesday this week only, GroopDealz is offering an amazing deal on this gorgeous, sterling silver, custom necklace, designed by Chantelle Nicole. Forward this link to your husband or boyfriend, because today on GroopDealz, you can get your customized ‘Capture my Heart’ necklace for HALF PRICE.


Isn't it gorgeous? It's sterling silver on a sterling chain and complemented with a freshwater pearl. You could get your sweetie's name in the middle with the kids' names around the edge, or your pups' names, the location of a favorite vacation or hometown, a short quote, your word or motto for the year--whatever you want to keep close to your heart!


So what's half price for this gorgeous piece? Chantelle Nicole USUALLY sells this custom necklace for $65.00, so that means today it is only $32.50! That is a seriously sweet deal!


If you're loving this gorgeous necklace, send your husband this link. Hopefully he’ll get the hint and get you one for Valentine’s Day! Or maybe your mom needs one for Mother's Day--way to plan ahead! And if you share this with your friends (hurry, this ends Tuesday!), you can earn GroopDealz referral points!

share this on »
{Facebook} {Twitter} {Pinterest}
3 Comments

Friday, January 14, 2011

crystal pendant tutorial


Crafting with friends is one of my favorite things in the world. Stacy may not be a regular contributor to this blog anymore, but she's still our dear friend, the crafting queen, and a major inspiration to us! We got together with her for some crafting this week and made these gorgeous crystal pendants. I couldn't believe how easy they were!


Crystal or Glass Tile Pendant Tutorial

You will need:
-a crystal pendant (this one is from Connie Crystal-Stacy bought it at our local Ben Franklin) or glass tile
-a pair of scissors
-patterned paper
-a pinch bale (Stacy bought ours at Ben Franklin)
-A clear crafting glue like Diamond Glaze, Crystal Effects, or Glossy Accents
-a chain (any length you like, we chose 24")
-a pencil

First, pick out a patterned paper that you love. The possibilities are endless; you should have seen us trying to choose one! Once, you have chosen, trace the pendant on the paper and cut it out with scissors.


Add some Diamond Glaze / Crystal Effects / Glossy Accents glue to the back of your pendant. Use sparingly, if you add too much it will bleed out the edges after you press the paper on.


Now press your paper face down on the back of the pendant so it can be seen through the other side. Press firmly to release any air bubbles.


Once it it firmly in place, you can trim any excess paper from the sides with a pair of scissors or Exacto knife, and then file with a nail file to make sure there is no paper sticking out. Be careful not to file the crystal--it will scuff easily. To protect the paper, we suggest applying a thin layer of Diamond Glaze to the back of the pendant as well.


Once, the glue has dried you can pinch your bail through the hole in the pendant. If you're using a square glass tile (you'll find these from tons of sellers on Etsy), use some Diamond Glaze glue to attach a glue-on jewelry bail like these.


Hang your pendant on a chain and you're done!


You can also make an adorable necklace with square or oval glass pieces, which can be found online at Etsy. I made a bunch of these on a girls weekend last year and they are wonderful! I love that I can pick one to match many outfits and they also make fabulous gifts! You can make these following the same steps above and gluing a glue-on bail on the back.

share this on »
{Facebook} {Twitter} {Pinterest}
34 Comments
LinkWithin Related Stories Widget for Blogs