Here's what I did with the you rock collection. I LOVE the little boom boxes and cassette tapes!
simply sweet collection
woodland collection
share this on » |
{Facebook} | {Twitter} | {Pinterest} |
share this on » |
{Facebook} | {Twitter} | {Pinterest} |
I'm living in the jungle. At least that's what it feels like at night here in beautiful Iowa City. The hot, steamy air sings, alive with insects and birds. I look around and think yes, this looks like a quiet, tree-lined street somewhere in America's heartland, but it feels like the Amazon. Even so, each night I go sit on the patio and soak in the warmth and watch my boys catch and release fireflies. Although the move was a pain in the you-know-what, I am so happy to be here!
My cute friend Vanessa from V and Co. is on her way here right now. That's right--she's moving to Iowa, too, just 20 minutes up the road! She'll be here this week to experience the Amazon along with me, and hopefully we'll have a few field trips to quilt shops and antique stores in the area (yeah!). She also volunteered (in the middle of her move!) to guest post for our birthday bash. I just love this girl! If you don't know her already, go check out her blog and her shop. Everything she makes is just gorgeous--I love her style. Until then, enjoy this awesome spray painting tutorial for making this darling wooden bead necklace!
 i kept getting comments and emails over this necklace and weather or not i was going to show you how i did it. okay well it's not that complicated i think you can figure out that i strung wooden beads. so this tutorial will be for how i got an even coat over my beads with spray paint.
 *i used a styrofoam half sphere (in the flower section in the craft store, or walmart.)
 *i placed the styrofoam inside a box ( it's too cold to do it out in the back yard, and now i either have to do it indoors or in the garage).
 then i flipped them over and did the same step as i did on the other side.
 i did 3 "flips" because i wanted the paint to be really solid. no wood showing through.
 i love the combo of brown and lime green so i chose brown ribbon for the necklace.
 i then stranded my beads. i wanted a few off centered big beads so i placed them accordingly.
 and there you have it.
share this on » |
{Facebook} | {Twitter} | {Pinterest} |
READ THE REST OF THIS POST -->>>» |
Can you believe our "bird-day" bash is coming to an end? Are you loving all these amazing guest tutorials? Me too! I'm all moved into my new home in Iowa City, and today I unpacked my craft room, so I'll be back in business soon. Lots of love to Vanessa of Lella Boutique for another fabulous post today--it even features a birdie! You will flip over this tutorial on how to distress a picture frame for an antiqued or shabby chic look. And if you love the birdie in the middle like I do, check out her baby bird stitcherie tutorial, too! Thanks, Vanessa!

I totally adore the look of a crusty, old frame with its paint worn away. (And let's not forget my new obsession with oval frames...) The question is, what color to use?
The first thing you'll need is a frame to paint. I found a few on sale at the craft store, but you could use one you already have to give it a new look (or find a real treasure from a thrift shop).

You'll need to set up a work surface in an area that is well-ventilated. (I love my screened-in porch area.) For my work surface, I set a cardboard box atop a canvas drop-cloth.
Unwrap the frame and remove all parts you don't want painted (i.e. the glass, the back insert, etc.). Lay the frame onto the work surface.
Prime the frame. I generally use Krylon-brand spray (white). Spray a light coat of the primer onto the frame and let it dry 10-15 minutes before adding another coat.
After 5-6 coats of primer, the frame will be solid-white and ready for some color!
Occasionally, I will paint the frames a neutral color like white or cream, but I much prefer a bold color like the cherry-red I used below (Krylon-brand). Apply one coat of paint, wait 10 minutes, and repeat. After 3-4 coats, let the frame dry for several hours to overnight.

share this on » |
{Facebook} | {Twitter} | {Pinterest} |
READ THE REST OF THIS POST -->>>» |
Today's guest blogger helping us celebrate our 3rd birthday is Tausha from Sassy Style Redesign. She been here before, so I know you already love her! Plus, if you live in Utah you might know her from craft segments of KSL's Studio 5 (I watch them online!). Not only is she utterly talented, she is hi-larious! Even though I haven't met her I feel like I know her, just from the way she writes. Enjoy some summer fun from Tausha!


share this on » |
{Facebook} | {Twitter} | {Pinterest} |
share this on » |
{Facebook} | {Twitter} | {Pinterest} |
We're still celebrating our birthday month, and even though we've been doing this three whole years, we know we still have lots of room for improvement. We want to make Little Birdie Secrets a blog that you come back to again and again for great crafting content. So tell us how you really feel! Answer our short survey and leave a comment on this post telling us you did it for a chance to win a box of craft supplies and finished projects (see below!) from Mandy's craft room and our awesome sponsors!
share this on » |
{Facebook} | {Twitter} | {Pinterest} |
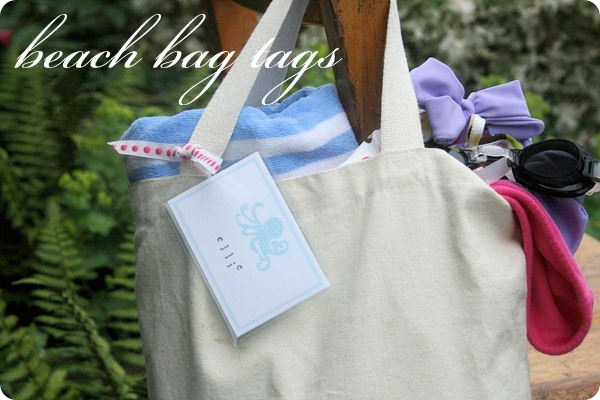
Ooh, so excited for today's post! Emily of Jones Design Company (one of the classiest and most talented design/craft bloggers out there!) is sharing her tutorial for summer beach tote tags, including free printables! Make sure you check out Emily's blog after you read on!
Summer bags are a must … toting beach towels and sand toys to the beach, goggles and
sunscreen to the pool and snacks and frisbees to the park. With kids coming and going, a bag
tag is a great way to identify each bag and keep track of it while you are out and about.
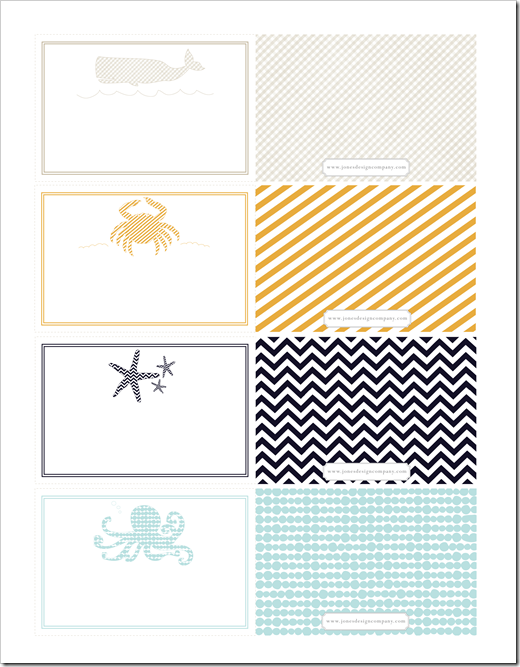
I have created a printable pdf with four beachy designs and with just a few inexpensive
products, you can customize in minutes.
Here’s what you’ll need:
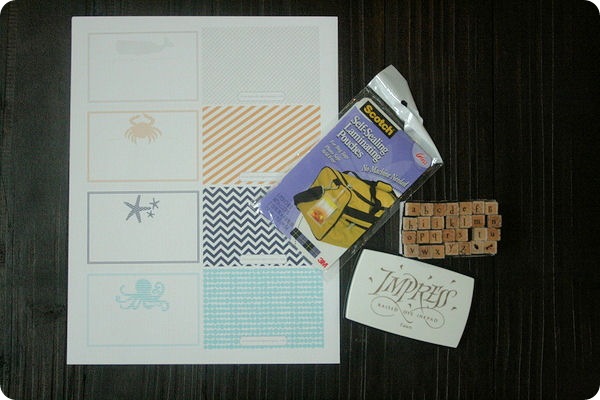
:: beach bag tags printable pdf {download at the end of the post}
:: self-sealing laminating pouches {purchase here for
$5.99 for 5 pouches}
:: rubber stamps & ink pad, or pen to personalize
:: ribbon for attaching to bag
STEP ONE: print pdf & cut along dotted line
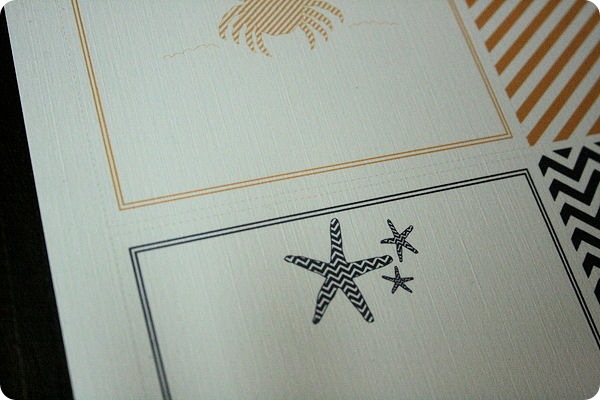
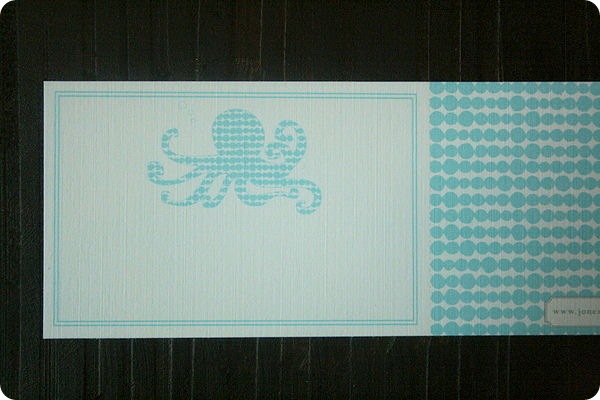
STEP TWO: personalize
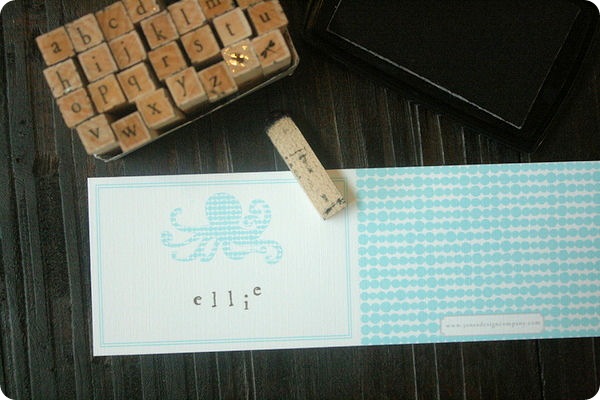
There are some great alphabet stamp sets available at Paper Source {click here}.
STEP THREE: fold tag in half
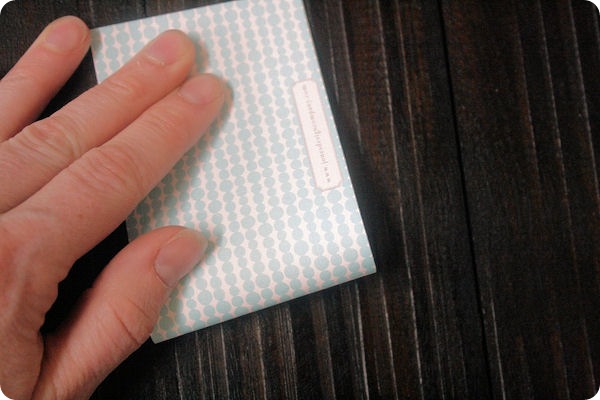
STEP FOUR: following instructions on bag tags, set tag into pouch and slowly remove paper
backing and press to seal.
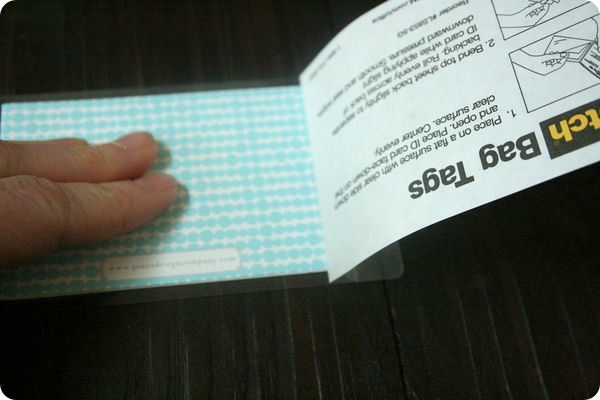
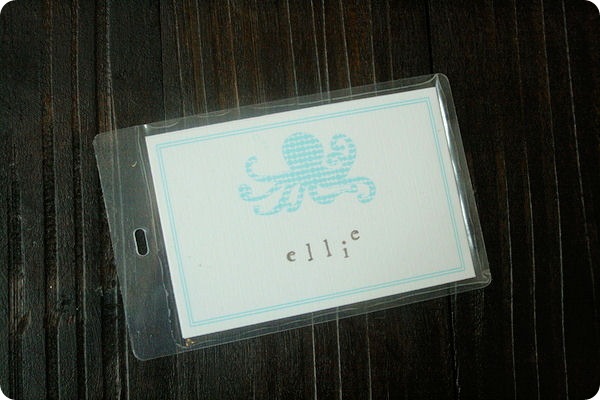
Now just add a ribbon of your choice and tie to your bag.

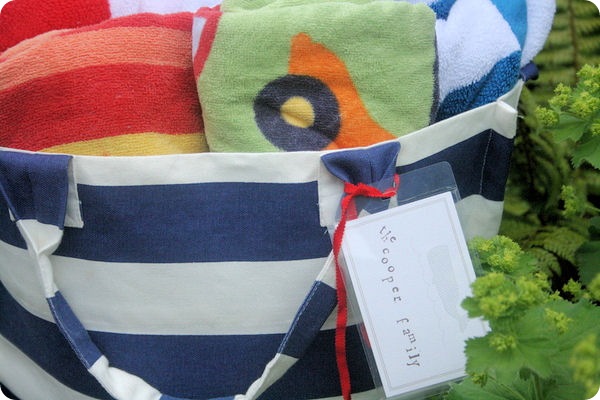

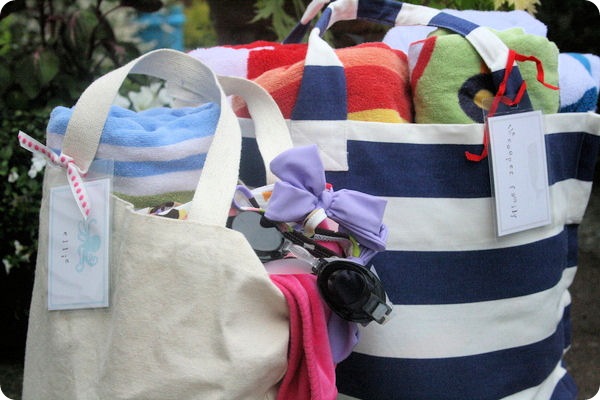

These work great on lunch bags for kids’ summer camps too!


To download the pdf, please click on image below
Enjoy your summer {and the tags!}
share this on » |
{Facebook} | {Twitter} | {Pinterest} |
Designed with love by 17th Avenue.
Powered by Blogger.