Tuesday, September 14, 2010

more fabric rosette fun - bracelets and headbands


We had a little break, but you didn't really think I was done with the fabric rosettes, did you? Here are a few more ways to use your little flowers on jewelry and such.

Our friend Melynie made (yes made, from scratch, no pattern--I know) this gorgeous baby blessing dress for her new little one. She wanted to make rosettes from tulle to cover the front of the bodice. Isn't it beautiful? Same technique, different fabric. I believe she even used Fabri-Tac to attach them.


So then of course she had to have a little headband to go with it. Melynie used the same fabric as she did for the dress to make a stretcy elastic headband, and added a fabric rosette and two tulle rosettes. Perfect for baby.


For bigger girls, here's a simple tutorial for a fabric rosette headband using a stretchy elastic headband. (Don't worry, I'm working on the grown-up version!)


Cut a piece of felt slightly smaller than your rosette.


Cover the felt with Fabri-Tac or other fabric glue. Lay your elastic headband in the center.


Press the glue side down on the back of your fabric rosette.

Voila!


I did the same technique with this little bunch of stretchy bracelets that I found in a multi-color pack (black, gold, silver, pearl) at Forever 21 (for about $3!).


But then I decided I wanted to be able to change the rosette to go with different outfits. So I tried something new.

That's right--Velcro. I added a small flap on my felt circle and attached a piece of Velcro to it. Then I attached the other side of the Velcro to the opposite side. Be sure to leave room for the bracelets to go in the middle!


Fold it over your bracelets.


Here's one with two little flowers side by side, just to change it up.


Okay, all you rosette-making machines out there, are you ready for more? I think I have one more post in me. If you're not too sick of it, I'll be sharing one more tutorial this week, along with the details of my upcoming mini class featuring, what else, fabric flowers. Stay tuned!

share this on »
{Facebook} {Twitter} {Pinterest}
15 Comments

Monday, September 13, 2010

say it on the wall giveaway

Have you heard of a company called Say It On The Wall? It is a vinyl lettering company. Vinyl lettering is a fast, easy, beautiful, and inexpensive way to decorate your home. It is also a great way to promote your business whether it be by using it on your car, or using it for your business signs. They offer many fabulous products, like magnet boards...


glass blocks...


tiles...


and many others! You can spend hours looking through the items and finding ways to personalize your home. Today, Say It On The Wall is giving away two $20 gift certificates to their site. To enter you need to become a fan of them on Facebook. For extra entries you can visit their site and say what you would pick if you won, or follow their blog.

Say It On The Wall is also opening up voting on the Custom Design Promotion right now. So, if you go vote you can also get an extra entry on this giveaway!

Good Luck! This giveaway will end Sunday, September 19th at 11:59 pm PDT.

share this on »
{Facebook} {Twitter} {Pinterest}
83 Comments

Friday, September 10, 2010

crafty kids model giveaway

As a craft enthusiast, these words make my heart sing: "Mom, can we do a craft together?" *Sigh* Of course we can--I would like nothing better.

It's not that I expect my boys to grow up and want to go on crafting weekends with me or something--in fact I know that there are things like sports looming on the horizon, just waiting to take away that mommy-kid crafting enthusiasm--but I love any activity that helps my kids explore their creativity. Recently we were asked to review the Crafty Kids play models, which allow kids to personalize and decorate their own cardboard play house or space shuttle. My kids were outta-this-world excited to get their mini space shuttle model in the mail.

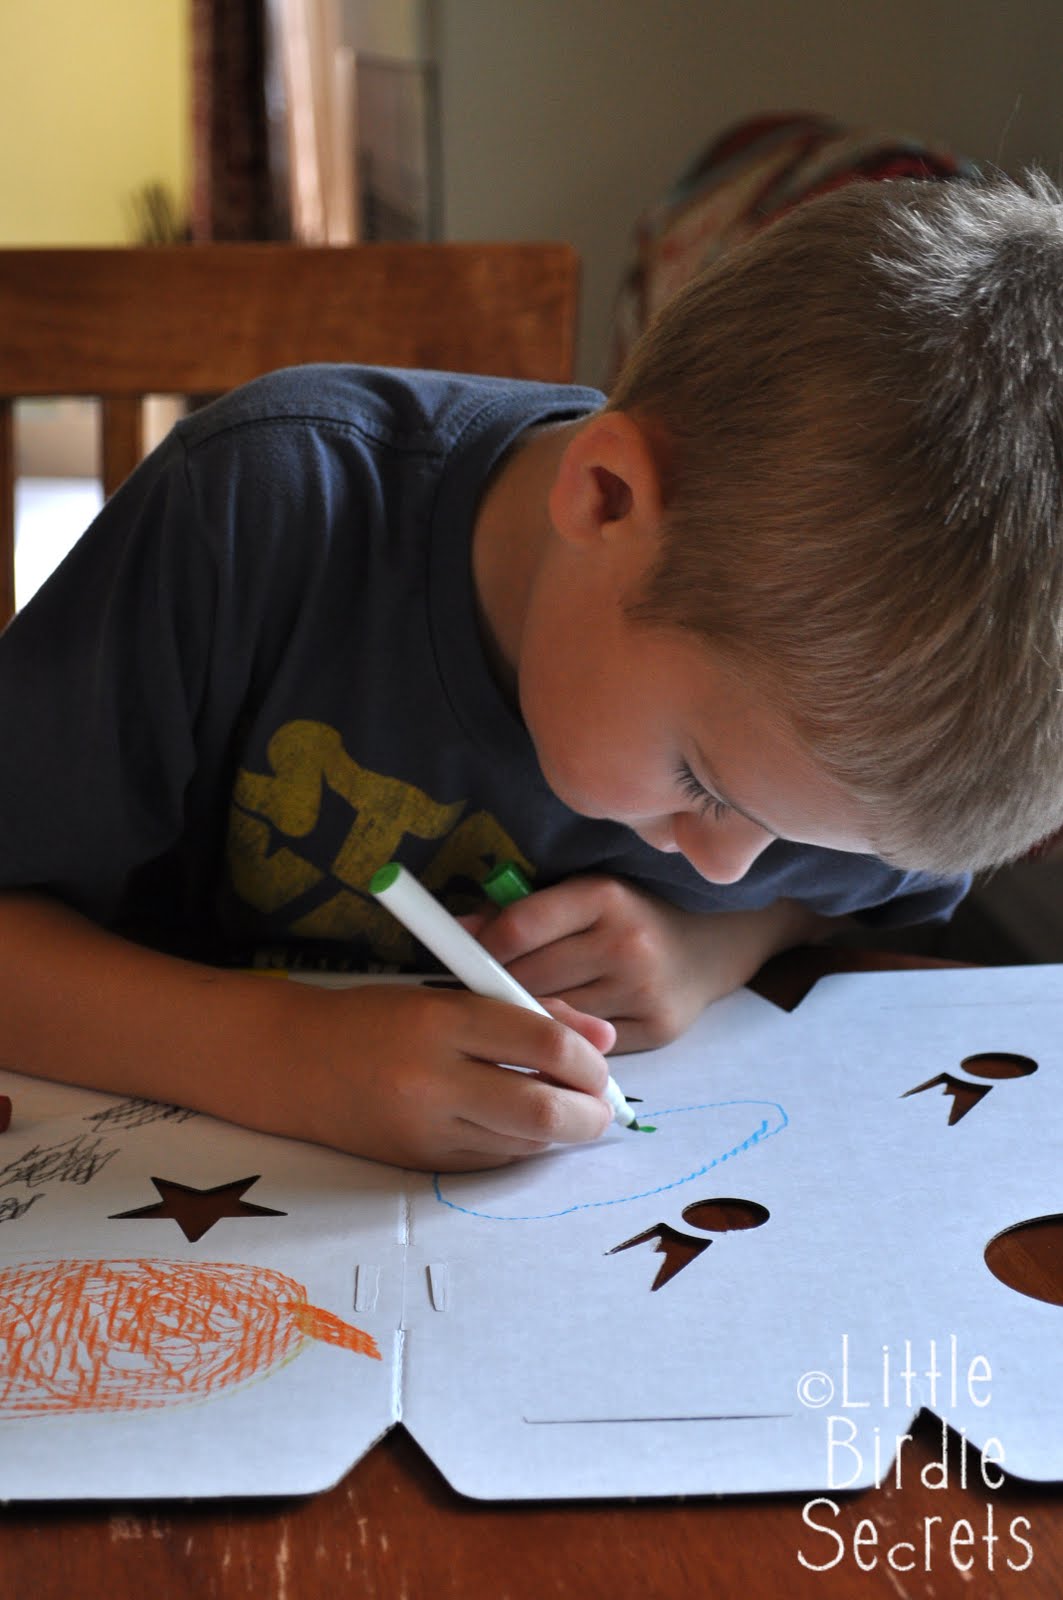
After coloring it very carefully (this seriously took several days of craft time to finish--they were very particular about every section being colored in),


we put it together (it only took a few minutes)


and launched into playtime.


You can't see it in the picture, but there are several stuffed animals on their way to Jupiter. Hours of fun I'm tellin' ya.

They also have a mini playhouse--so cute! AND, there are even full-sized play houses and space shuttles. All their models and playhouses are made of 100% recycled material, so you can feel like an extra-special good parent.


We're over the moon because Crafty Kids wants to give one of our readers their choice of the Shuttle Imagination Craft Model or the Creation Cottage Craft Model! Yea! You will love these mini models. To enter this great giveaway, just visit the Crafty Kids site, then leave us a comment with what new product is "coming soon", OR name something else that they sell. For another entry, visit their Facebook page and leave us another comment stating that you "like" Crafty Kids on Facebook.

This giveaway is open to US readers only, and will end on Thursday, September 16 at 11:59pm PT. Good luck!

P.S. Sorry for all the lame space puns--I couldn't help myself!

share this on »
{Facebook} {Twitter} {Pinterest}
136 Comments

Thursday, September 9, 2010

homemade beef stock

I don't know about you, but we use a lot of beef broth or stock in our house. When cool weather hits we are always making soups, stews, and other comfort food. I recently made my own homemade beef stock and it is delicious! It was relatively simple and I love that I can freeze it and have it on hand for several months.

I used the recipe found here. You can buy beef soup bones at many grocery stores as well as local butcher shops. We got ours from a local farm where we purchased beef. They were going to throw the bones away, but of course I saved them so I could make beef stock. Making this stock filled my home with a delicious aroma!

share this on »
{Facebook} {Twitter} {Pinterest}
5 Comments

Tuesday, September 7, 2010

preorders now open for pinless magnet backs!

Holy cow, you guys are amazing! I had no idea I'd sell out of the pinless, magnetic rosette backs so quickly. Did you get some? No? The good news is that I have another big shipment on the way, and I've listed them in my shop as pre-orders. I expect to be able to ship them out by 9/14/10 (about a week), so please be aware of that if you need them soon. I will be sure to get them all out the door the day they arrive! I can't promise they'll last long, so if you wanted some and missed them today, place your pre-order asap.

share this on »
{Facebook} {Twitter} {Pinterest}
3 Comments

pinless magnetic backs for flower accessories

I'm back from vacation and we're back to the rosette flower tutorial extravaganza! Camping on the Washington coast was fabulous, but my husband wasn't crazy about me bringing fabric to work on rosettes in the car (he has a thing about stinky glue), so I'm super excited to get back to them!


One thing that has frustrated me about using these rosettes as accessories is the attaching part. The clips are great for some things, but they don't work as well on a sweater or purse. Pins are out--I don't want holes in my stuff! So I did some research and found the perfect solution. Then I found a supplier so I could get my hands on a whole bunch of them (yes, I'll share).


Meet the pinless accessory back. Yep--it's a magnet. Brilliant, right? One piece goes on the rosette, the other goes on the other side of what you want to "pin" it to. Here's a quick tutorial.


These magnets are made of strong neodymium magnets and a piece of steel. The steel side has a self-adhesive foam strip, which makes things even easier!


First, peel off the adhesive's backing and attach it to the felt on the back of your rosette.


Next, cut another piece of felt or fabric (it doesn't have to be perfect--who's gonna see it?) the shape of the back of your rosette. Apply fabric glue (I like Fabri-Tac) around the edge of your circle.


Place your circle glue-side down on the back of your rosette, over the steel plate.


Now the magnet piece will stick to it and you can attach it just about anywhere!


I said I would share, so here you go. Because I bought in bulk, I can offer them at a great price. I really, seriously don't think you'll find them this cheap anywhere on the Internet once you include shipping. I have them in sets of 5 magnets to reduce shipping costs for you, but you can always contact me via Etsy for a smaller order if you want. Or just share a pack with a friend if you don't think you'll use them all. But you will. They're that amazing. Get 'em before they're gone!

share this on »
{Facebook} {Twitter} {Pinterest}
20 Comments

modern bird studios giveaway winner!

Thanks to everyone who entered our Modern Bird Studios giveaway! It's time to announce our big winner.

And the free 12x12 piece goes to. . .

Rachel of The Rambles of Hippie Chicky

Congrats, Rachel! Please send us a note with your contact info so we can get you connected with Modern Bird Studios.

If you weren't our big winner but still want to turn your favorite photo (like this one of my boys by Haylee Bean Photography in Utah--she's fabulous by the way),


into this work of art,


then use our 15% off discount code for one week only to get your own at a great price at Modern Bird Studios! Just use code LITTLEBIRDIE by September 12, 2010. Thanks for playing!

share this on »
{Facebook} {Twitter} {Pinterest}
1 Comment

Monday, September 6, 2010

moving kit - welcome home!


Not long ago, some good family friends moved into our neck of the woods from Utah. We knew they'd had a long drive, and since my husband and I were both working, we weren't able to help them unpack when they first arrived. So instead I put together a little moving-in kit to welcome them and do what I could to make their unpacking experience a little sweeter.


Moving-In Kit:
*Moving box
*Ribbon (it's gotta be cute, right?)
*Favorite drinks (don't forget the kiddos!)
*Favorite treats and snacks
*Advil
*Box cutter
Etc.


Moving-Out Kit
*All of the items from above plus:
*Tape gun
*Newspaper for packing fragile items
*Mix CD or favorite play list and iTunes card

I also included a welcome card with our phone numbers, e-mail, and address, so I they could get in touch when they needed help finding the closest Target, mall, cupcake joint, etc. {you know, the really important things. . .}.

This card used very minimal amounts of paper--scraps, really. I cut the word "home" with my Slice machine, and the flower was made using my crocheted flower tutorial, and just stapled on a tiny scrap of ribbon.

While I was at it, I used more of those scraps to make a couple more cards. They all use an old line from Making Memories (I doubt you can find it anywhere anymore, but I wanted to use up my scraps--they're still cute!). I also used rub-ons from Stampin' Up!, Thickers by American Crafts, and the Hodgepodge Hardware set from Stampin' Up!.


I love using "HB" for happy birthday. It saves so many letters (and lots of room)!


Even if you can't get the same supplies I used on these cards, it always helps me to have a template or design to work from. Jessica and have been talking about starting a regular card template series to give you basic ideas to use as a springboard--anyone interested? Any card makers out there?

share this on »
{Facebook} {Twitter} {Pinterest}
18 Comments

Friday, September 3, 2010

how to make a fabric rosette clip

So if you were here yesterday, you are now obsessed with making fabric rosettes (if you weren't already). Today you're here to see how to turn them into a clippie, so you can clip them to things. Because you love them so much that you want to take them everywhere you go, right? You are not alone.

Fabric Rosette Clip Tutorial

*Fabric rosettes (from this tutorial)
*Hair clips (I like the little alligator clips from the beauty supply store)
*Felt for leaves and to hold clip
*Fabric glue (we like Fabri-Tac)

1. Cut a circle of coordinating felt to match the size of the bottom of your rosette. Clip your clip to it, flat side up.


2. Apply fabric glue to felt and clip.


3. Press felt to the bottom of your rosette.


4. Cut a small leaf from green felt. Glue it to the top of clip. This covers up the end of the clip on a small rosette.


Next, clip it to something! I love them on baby headbands.


I recently clipped these to a church lesson handout. They made the handout cute, and then the girls had something to wear that would remind them of the things they learned in class.


Or, you clip them to a piece of jewelry, like a necklace or a couple of beaded bracelets.


I made this large rosette for my mother-in-law for Mother's Day.


To make the clip work on a larger rosette, glue a strip of felt in the middle of the flower with the clip glued on as shown above.


I clipped it to a card and sent it in a padded envelope with a note to remove the flower and wear it. She wears it on a pretty scarf or her purse. Just FYI, the paper I used is from the DELOVELY line by Cosmo Cricket. Love it.


What are you going to clip your rosettes on?

share this on »
{Facebook} {Twitter} {Pinterest}
18 Comments
LinkWithin Related Stories Widget for Blogs