


I finally found a place mat I liked to make this place mat purse we posted recently (I found it at Anthropologie), but I thought it needed a little somethin' somethin'. My go-to accent these days is a ruffle. Frilly is good! This easy ribbon ruffle fit the bill perfectly. I also love it for papercrafts (see below).
Easy Ribbon Ruffle Tutorial
Supplies:
*Length of ribbon
*Sewing machine & coordinating thread
*Seam ripper, pencil, or other small, pointed object
1.Put your ribbon under the needle and stitch a few stitches (I have used a straight stitch, zig-zag stitch, and a couple of my decorative stitches, all with great results). Stop with your needle down in the ribbon.
2. Using a seam ripper or pencil tip, push an inch or so of ribbon up toward the needle, forming a ruffle.
3. Continue sewing straight down the middle, right over the top of the ruffle.
4. Continue creating ruffles and sewing over them until your ribbon is the length you want it.
I often alternate the direction of my ruffles, as seen below.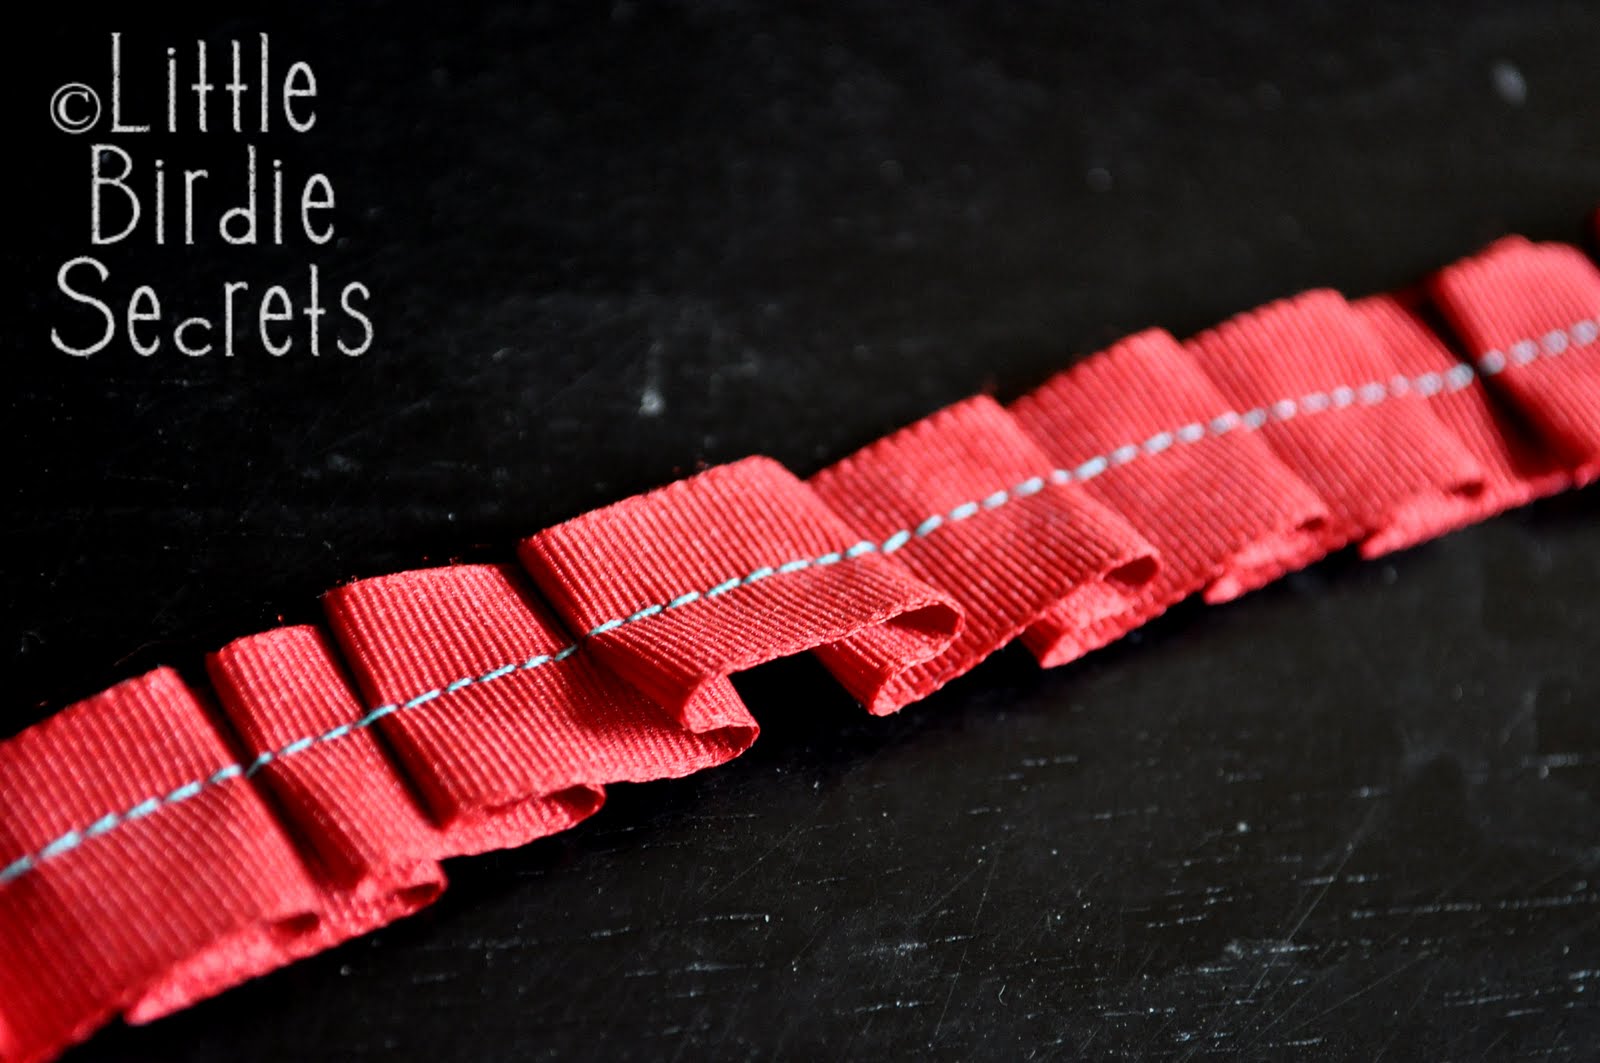
To sew my ruffle ribbon on a project, I simply pinned it in place and sewed over the top of the original stitches.
I used a decorative stitch on this ribbon, and stapled it to this card.
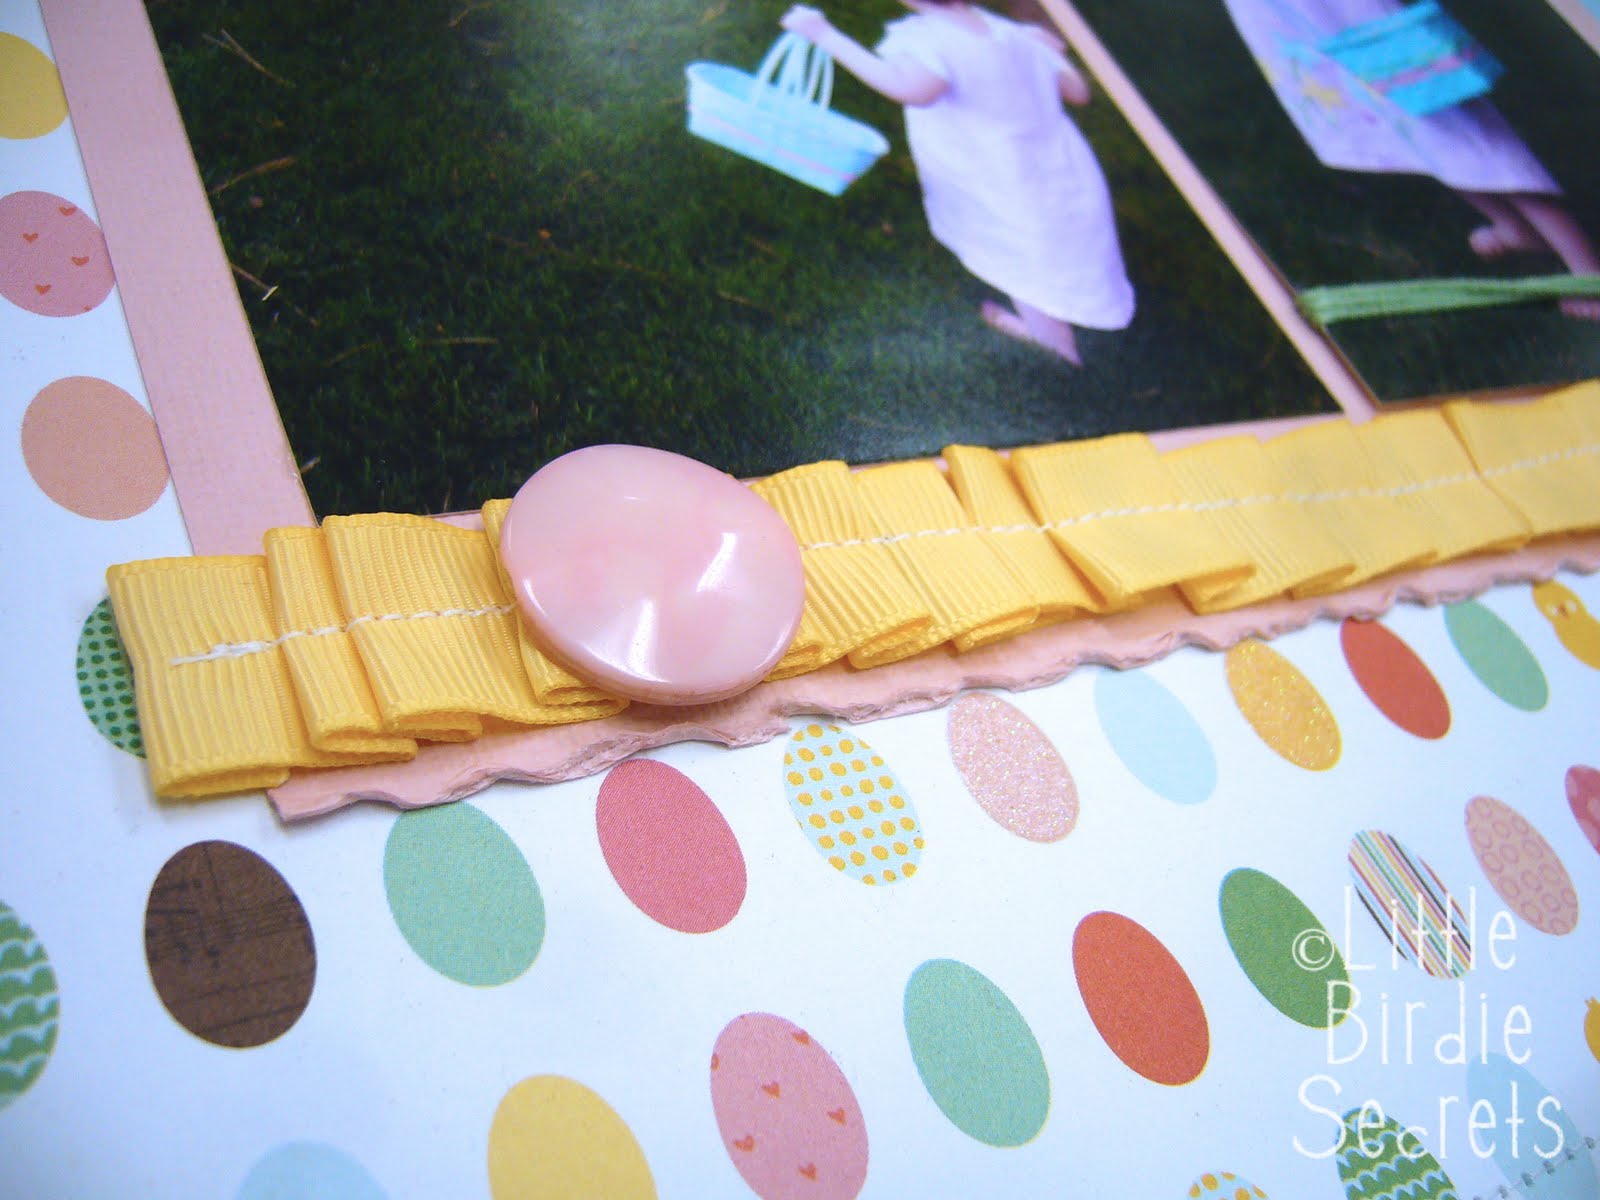
I often use matching thread, but sometimes it's fun to use a contrasting thread, like on this scrapbook page.
As a gift to a friend without a sewing machine, I stitched a few feet of several ribbons into ruffles and included it in her Christmas gift (with other scrapbooking supplies). It's fun to stitch different colors just to have on hand. I {heart} ruffles!
share this on » |
{Facebook} | {Twitter} | {Pinterest} |


17 Responses to “easy ribbon ruffle tutorial”
Great way to ruffle :)
Thanks so very much, for all your fantastic and great ideas here,
xo Dorthe
Fabulous ribbon and very easy indeed! Thanks for sharing!
I love this! Thank you so much! I am going to make a yard flag this weekend, and this ruffle will be the perfect touch!
love the ruffle! going to have to try that myself!
That looks like a fun project.... Off to make something. :D
I love the idea of a bag made from a place mat! Another great idea is pillows from pretty cloth napkins...and add the ribbon ruffle!
I love how you alternated the direction, that is such a pretty look! Thanks so much, I'll be linking.
great job! I have that exact placemat (4, actually), and haven't been sure what to do with them because they're so stiff. If the 2 layers weren't glued together, I would like to interface them and make a clutch. I did try a clutch, but it didn't quite work out, and ripping stitches from this mat isn't a great idea since it shows everything.
So THAT'S how you do it without that walking foot thing LOL!! THANKS!! I'm sooo gonna try this!!
Thanks for sharing this neat tip! Now to find things to decorate with ruffles...
Thanks so much for sharing! I bought a mini sewing kit the other day and this would be a great 1st project for me to try! :)
-Meredith
Can you tell me about how much ribbon you need? Double the length? Triple?
Thanks!
Just learning how to sew - thanks for the cute and rewarding EASY project to attempt this weekend :) Wish me luck!
Awesome tutorial! I cannot wait to try this method!
I am excited to try this. Thank you for posting this- it was exactly what I was looking for.
waouhhhhhhhhhhhhhhhhhh
super thank you
beautiful thank you so much
http://sewingbreakdown.blogspot.com/
Post a Comment