


We're so excited to have a fabulous guest post today from our new friends at iCandy handmade! Enjoy this darling ruched pillow sewing tutorial!
Hey!
I'm Autie from over at the new blog iCandy handmade. My friend Jen and I have had so much fun starting up our new craft blog, and we wanted to share some of our fun projects with you!
I've always had a little kinship to Little Birdie Secrets, because I grew up in the Great Northwest, and when I read their blog, I'd see pics of something that looks like home. When I talked to the girls behind the secrets, and found out that they live in the little town next to my little home town, I loved them even more!
So, from a Woodinville, Wa girl, here's a fun tutorial for you!
I hope you try it and come check out our blog, too!

the ruched throw pillow tut:

To make this pillow, I actually just used my left over scraps from the binding on her quilt. After I finished quilting Ivy’s bed quilt, I realized that I had grossly over-estimated the binding. I used strips of random pieces of the It’s a Hoot Line by Moda (a piece and scrap here, and a strip and a chunk there and just pieced them together, and sewed it around). Anyway, because I had so much left over, I tried to think of something fun to do with them…waste not, want not, right?
Here's What You Do:
Cut:
1 piece 21 x 16 (the back of the pillow)
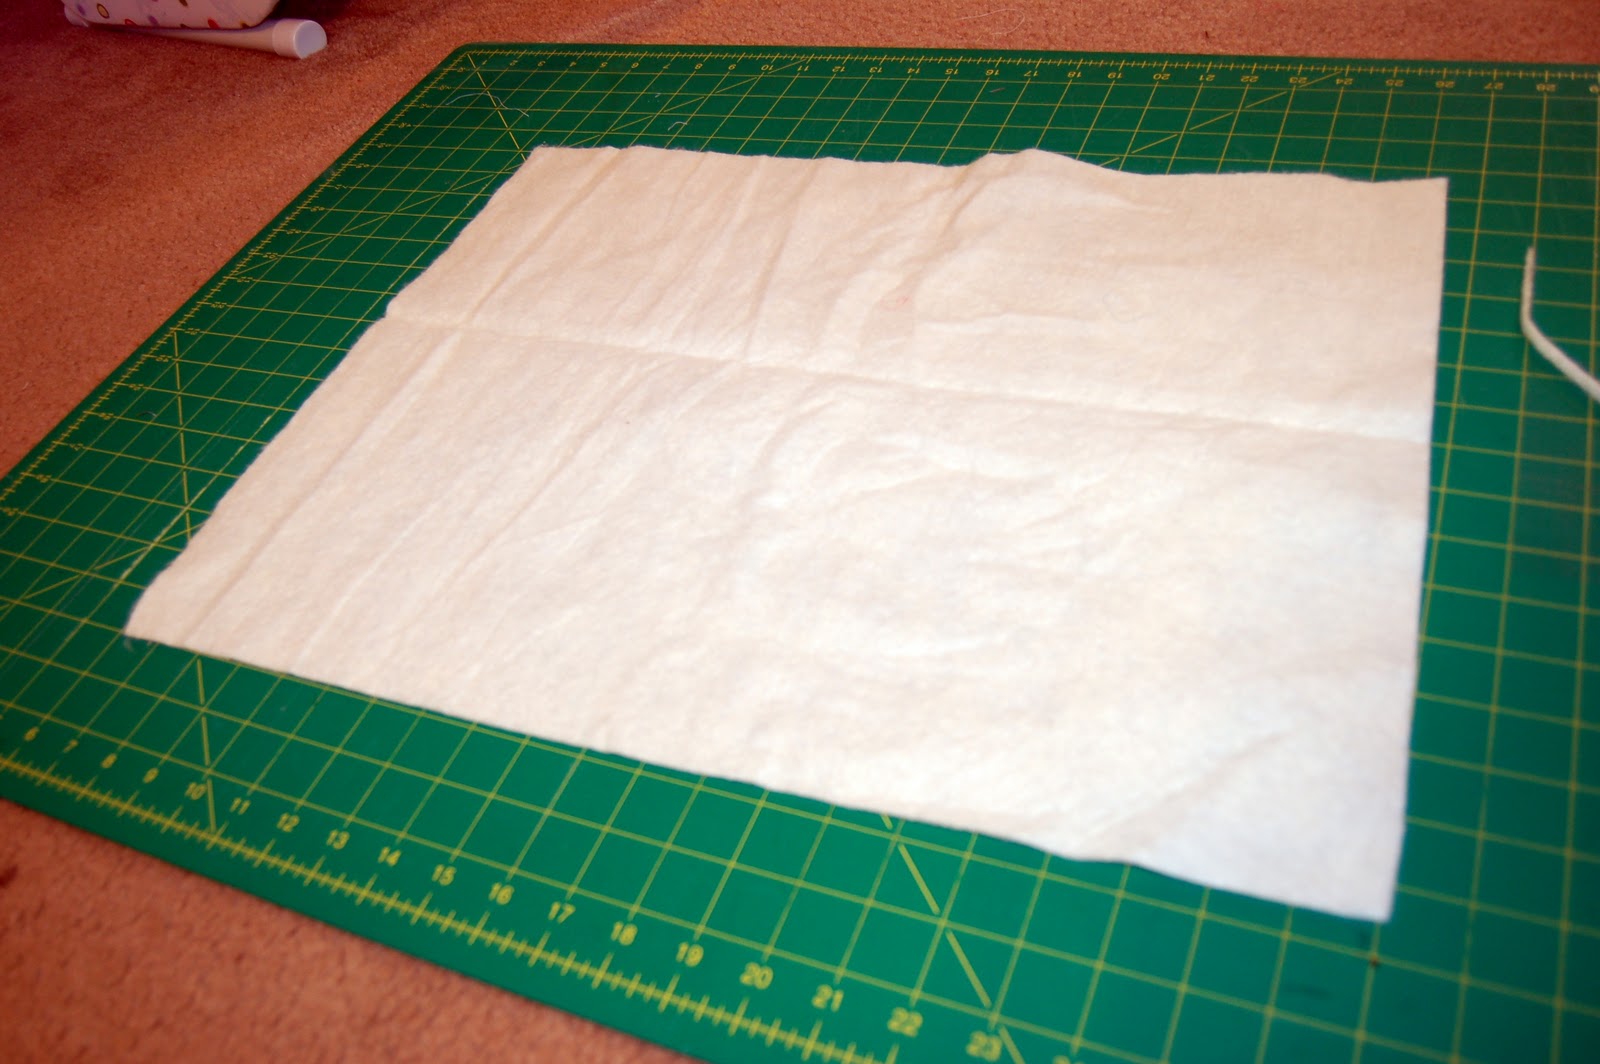
1 piece of batting 21 x 16 ( to stabilize the front of pillow)
7 strips of binding (which I always cut at 2 ¼ inches) at approximately 32 “ (twice that of the width of the pillow)
2 pieces of fabric that will make up the front of the pillow{on either side of the ruching} 4 ¼ x 16**

** after sewing the 7 strips together with a ¼ inch seam allowance, that gave me a 12 ½ x 32” chunk of fabric {you’ll see later with the pics}
Knowing that my binding section (which will be placed in the middle of the pillow was 12 ½ inches wide, I subtracted the length of the pillow (in my case, 21” by 12 ½…You should be able to adapt this to any size pillow, or amount of binding strips…and then divide it in half (one for each side of the binding chunk) see pic
[(Length of the pillow )- (width of binding strip chunk)]/2
[(21} – {12 ½)] = 8 ½ /2 = 4.25
1.) Sew the 7 binding strips together. Here's my 12 1/2 x 32" chunk of fabric I spoke about above!

2.) And I don't know about any of you, but most of the time when I sew...regardless of how awesomely perfect I cut, the stretch in the fabric makes it so my ends don't match. In this case it doesn't matter, just square off both ends with your rotary cutter.

3.) Using just a basting stitch (where you open up your stitch length to the longest you can make it sew down the ditch of one of the first binding strips in your chunk.
DO NOT tack or backstitch on either end of the strip.

Make sure to leave your ends super long {'the more to gather with, my dear'}

4.) Using the bottom thread only, carefully gather from both ends of the strips until it shrinks up to be approximately the same size as your pillow width (in my case 16 inches)

5.) Pin the ruffled binding strips to one of the 4 ¼ x 16” pieces of fabric.


6.) Sew the ruffled side of you binding strip to one of the 4 ¼ x 16” pieces of fabric.


7.) Do the same thing to the opposite side of the binding section.
Carefully gather and then sew to other piece of front fabric.
Here's what you should have:
So far you've only gathered 2 of the 6 seams

8.) After you have all three of the front pieces successfully sewn together, you can ruffle the remaining binding strips in the binding section. Gather carefully and slowly so as not to break your threads. If you do, just pull out you gathering stitch and do it again.

9.)After all the strips have been gathered, lay that piece onto your cut piece of batting. Mathematics say that it should fit exactly. You may have to adjust the tightness of your “ruffles” to stretch them out a bit and make it the same length. After it’s as close to the same size as your batting (and your backing fabric) Iron it down. YUM!
10.) In order to stabilize the front, I decided to ‘quilt’ it to the batting before making it into the pillow. So I secured the two sections together with a basting gun…but quilting pins would work, too.


11.) I didn’t sew down each seam, just most of them…you can see my pattern from looking at the batting side.

12.) I removed the basting tacks, sandwiched my pieces with right-sides-together and sewed around the perimeter leaving a space on the side large enough for my hand to fit in…to stuff!

and you know this trick, right? carefully snip just the tips of your corners off while the pillow is still inside out, so when you do flip it, your pillow has a chance to have perfect corners. It allows the two sides to bunch up without the extra corner fabric and batting getting in the way. (just don't snip where you sewed!!)

13.) Turn your piece of awesomness right-side out and get excited!


Stuff it, whip it shut...and enjoy!
(no drooling on my pillow! hurry, go make your own!)

share this on » |
{Facebook} | {Twitter} | {Pinterest} |


18 Responses to “how to make a rouched pillow {guest post|”
Love this! Thanks for sharing!
aaaaaaah cuuuuuuute :)
beautiful pillow!
so cute!
This is awesome! I just made a gathered skirt AND a gathered clutch yesterday and I still have some strip left over from the skirt. I think I'll make a pillow too! Oh and I shared this on FB. Cute! Thanks for sharing.
Anna
What a beautiful pillow!! My daughter and niece would LOVE this! Thanks for sharing. :)
this is beautiful!!
what a great project!!
I'm your newest follower, would love for you to follow me.
lorisstorys.blogspot.com
Blessings, Lori
wow! i love this effect! thank you very much for this tutorial.
thanks from germany... bye bye :)
I love the bright colors. I'm thinking about making something like this but as a quilt for my niece. Thanks for sharing!
Cute! I love the bright colors! very fun!!
Very cute! I recently invested in a ruffle foot and it is amazing- I can't believe I didn't buy one sooner. I might have to make a pillow like this just so I can use it some more!
BEAUTIFUL!!! I LOVE THIS!!!!!http://runwithglitter.blogspot.com/2011/04/peep-smoressmeeps.html
Fantastic! I can't wait to make a couple of these!! I have a couple naked pillow forms that are calling out...
Wonderful pillow. Very nice tutorial
This is amazing! I am buying a sewing machine tomorrow even though I haven't done much sewing. I also made your fabric rosettes and paper spiral roses. They all turned out amazing! Thanks for your creativity!
I love this - Deanna - Skinfizzical.com
Love this! :]
I am totally planning to do this, thank you for sharing!!
...your dolls have caught my eye, too.
Would you tell me, what kind of dolls they are?
Post a Comment