


Easter is this week, so we're happy to share this darling faux tie tutorial from iCandy so you can get those little guys all spiffed up for the big day! And what a handsome model she has. Enjoy!
Faux-Tie Tutorial from iCandy

Here's what you need:
The Pattern (click here for a PDF file)!
1/4 yard of chose fabric
coordinating thread
sewing machine
needle for hand-stitching
the rest of the random stuff in your sewing box (scissors, pins, etc)
Unfold your cut of fabric and make a small fold, lengthwise, just wide enough to fit the pattern

Line up the pattern on the fold, pin and cut all three pieces


With the main pattern piece, fold up the tip of the tie just a quarter of an inch and press.

Next fold the sides adjacent to the tip, in a quarter of an inch and press. This should make the perfect point!


Find the liner piece, and repeat the steps listed above, but rather than doing it twice, just do it once! Your pieces should almost completely match up.

With wrong-sides together, pin the mail tie piece and the liner piece together.

Starting on one side, use a whip stitch to almost invisibly stitch the 2 pieces together.

Place your knotted needle in the crook of one pressed fold. Move it along the fold about a quarter of an inch and bring it out exactly through the pressed fold.

Next, fold the long sides of your tie in a 1/4 inch and press. Twice.

Fold your entire tie in half and lightly press to find the center. Then fold both long sides in to meet in the middle.


Using your knot piece, fold and press the rectangular shaped pieces in. Then fold your knot piece in half.


You can use your sewing machine to sew that piece together as close to the folded edge as you can.

Fold your knot piece in half again (the opposite way) and lightly press. This is just to find the center.

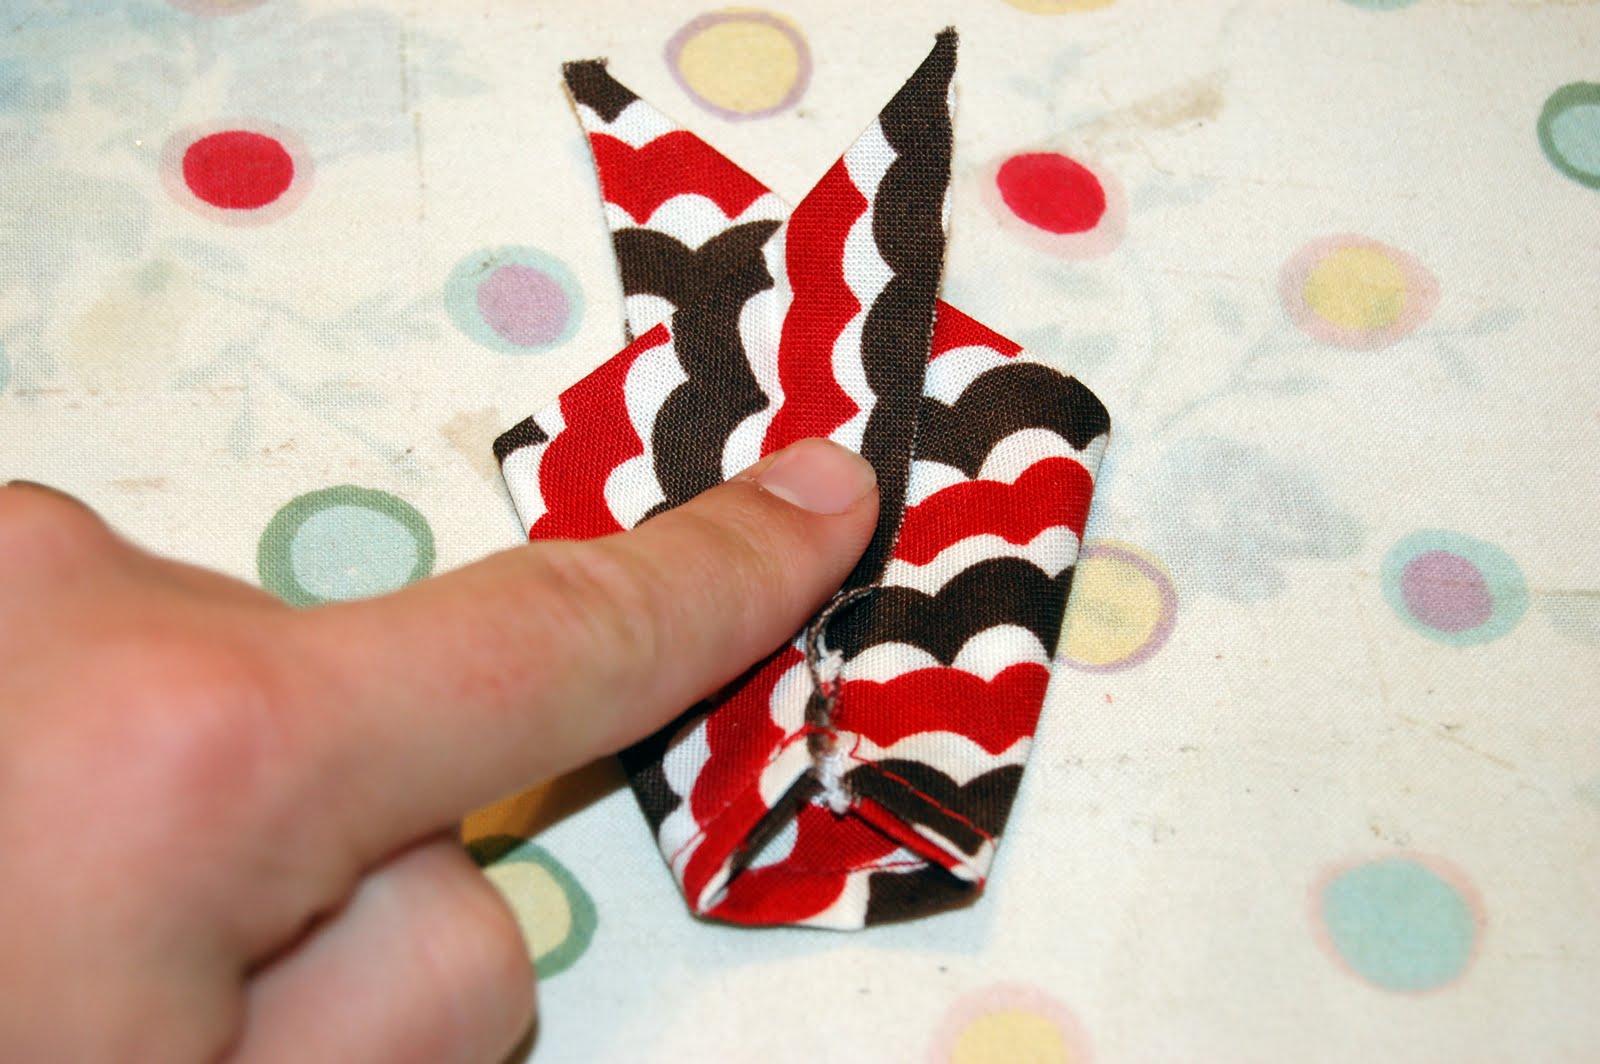
Take one “flap” and fold it towards the center, but not flush with the sewn part of the tie, rather bring the bottom of the flap about a quarter of an inch from your hemline, and it should line up a teeny bit over the center line that you marked with your iron. (see picture)

Repeat with the other side.
Fold those two flaps back so that the fold is exactly on the center line (the first line that you made with your iron) and press firmly (this is just to mark yet another line!)
Next you will unfold what you just did, and fold the knot piece in half (as you originally did) and sew up the line that you just marked. See the next three pictures for clarification...

(pin to hold your lines together)

(you can see where I stitched..right along the lines that I ironed into the fabric)


Trim excess fabric to a ¼ inch.

Zig-zag that raw edge just for fun (this is optional, but nice to finish your edges).

Turn the knot piece right-side out
 Tuck you're funny pointy part inside the tie...
This is what it should look like from the front.

This is what it should look like from the back.

Cut your elastic to the size that you’d like. You want it loose around your little boy’s neck, so measure around his neck and then give yourself an inch to stitch it together! (for my 4 ½ year old, I cut a piece 13 ½ inches!)
Stitch the elastic ends together using a zig-zag stitch.

Take your tie piece and loop it over the sewn elastic.
Next you will need your little boy so you can decide exactly how long you’d like it to be…You can adjust the length either way, it will just make the back piece shorter or longer depending on how tall your little man is. (I looked it up on the internet, and technically, the tip of your necktie should hit the top of your belt…but you decide!) Again, my 4 1/2 year old's tie was 15 3/4 inches in length from the fold at the elastic to the point...you decide.

When you’ve figured out how long you want your tie to be, pin it in place onto the elastic.

Next insert both ends of your tie into the ‘knot’ piece and pull the ‘knot’ piece even with the fold of your tie piece.

Remove your pin and stitch, using your sewing machine a straight line through the folded over portion of your main tie piece, your elastic and ONLY the back of your knot piece...(all 4 layers) DO NOT stitch the front part of your knot piece.


...and you're ready for Easter with a fun little fakey tie that no one will know is fake!


Be sure to hop on over to iCandy for more great ideas and tutorials!
share this on » |
{Facebook} | {Twitter} | {Pinterest} |


16 Responses to “faux tie tutorial for boys {guest post}”
This is just what I needed...right now! Thanks!
thanks for the feature, girls!!!
love your blog!
My hubby wants one for the office... x
Great tutorial, love it! :-)
Lookin' good! Great post.
: )
Awesome! So simple, I wish I'd thought of it ;)
Thanks, definitely going to make some!
thanks for this post!
just in time for my boy!
Wow, great tutorial, especially because ties are so expensive. BTW, that stitch is called a blind stitch not a whip stitch. At least that is what my momma taught me.
Cuteness!
Andrea @ The Train To Crazy
You did a fantastic job on the tutorial, what a great idea!
Thanks for the tutorial. We don't have any little boys in the family, although I wonder if my hubby would wear one of these? Certainly would save him the time tying one! :)
Would it be possible to post the pattern piece sizes.
This is just what I was looking for. My daughter asked me to make a little necktie for her newborn for his blessing day.
Mimsi--since this was a guest post, I will direct you to the bloggers who generously provided us the post, the fabulous Autie & Jen over at iCandy: http://icandyhandmade.blogspot.com/
Hopefully they can help you out!
~mandy
This is a great tutorial but I changed the elastic to a fabric with velcro closer that way no other boys can pull and snap his tie.
I really wish this pattern was still available....is that possible?!
Thank you for posting this! Nicely detailed, I had to simplify for mass production, but the pattern was very helpful.
Post a Comment