


Someone recently accused me of having a little bit of a crush on Elizabeth Kartchner. She is absolutely fabulous, and so is her new scrapbooking line, Dear Lizzy. I think I own it all. You see, I don't really scrapbook--I just collect scrapbooking supplies. My husband thinks I'm going to end up on that show Hoarders. (I'm really not that bad--he just has a low tolerance for clutter.) In order to prove him wrong, I'm doing my best to use up my supplies. So I put together this 12 x 12 framed magnet board that serves as an interactive scrapbook page. Change the pictures as often as you like and use it to decorate your favorite little girl's room. I am almost as in love with this Dear Lizzy fabric paper as I am with that sweet baby face. {BTW, since this picture is actually of my little guy, this magnet board is now available in my Etsy shop for someone out there that actually does have a girl!}
Framed Magnetic Scrapbook Page Tutorial
Supplies:
*12 x 12 frame (I found mine at my local Ben Franklin)
*12 x 12 fabric paper, or any patterned paper or piece of fabric
*12 x 12 tin sheet (this one is by Paper Accents, but you could also cut your own or have some cut at a home improvement store)
*Flair buttons (these are Dear Lizzy for American Crafts, but check out the adorable custom buttons over at Button Boutique, too)
*1/2" magnets
*E-6000 glue
1. Remove frame backing and glass from 12 x 12 frame. Discard the glass carefully (or save for another project--I'm working on one!).
2. If you're using Dear Lizzy fabric paper, it has an adhesive backing. You can peel off the paper and stick the sheet to your tin piece. Or not. I opted to not so I could change it later if I wanted. In that case you'll just put it in the frame on top of the tin piece. If you are using a piece of patterned paper or fabric, you can attach it to the tin with glue, or not. :) I really like this particular pattern of fabric paper because it already looks like a designed scrapbook page with zero work by me!
3. Put the tin piece back in the frame, paper side out. Put the frame backing back in place.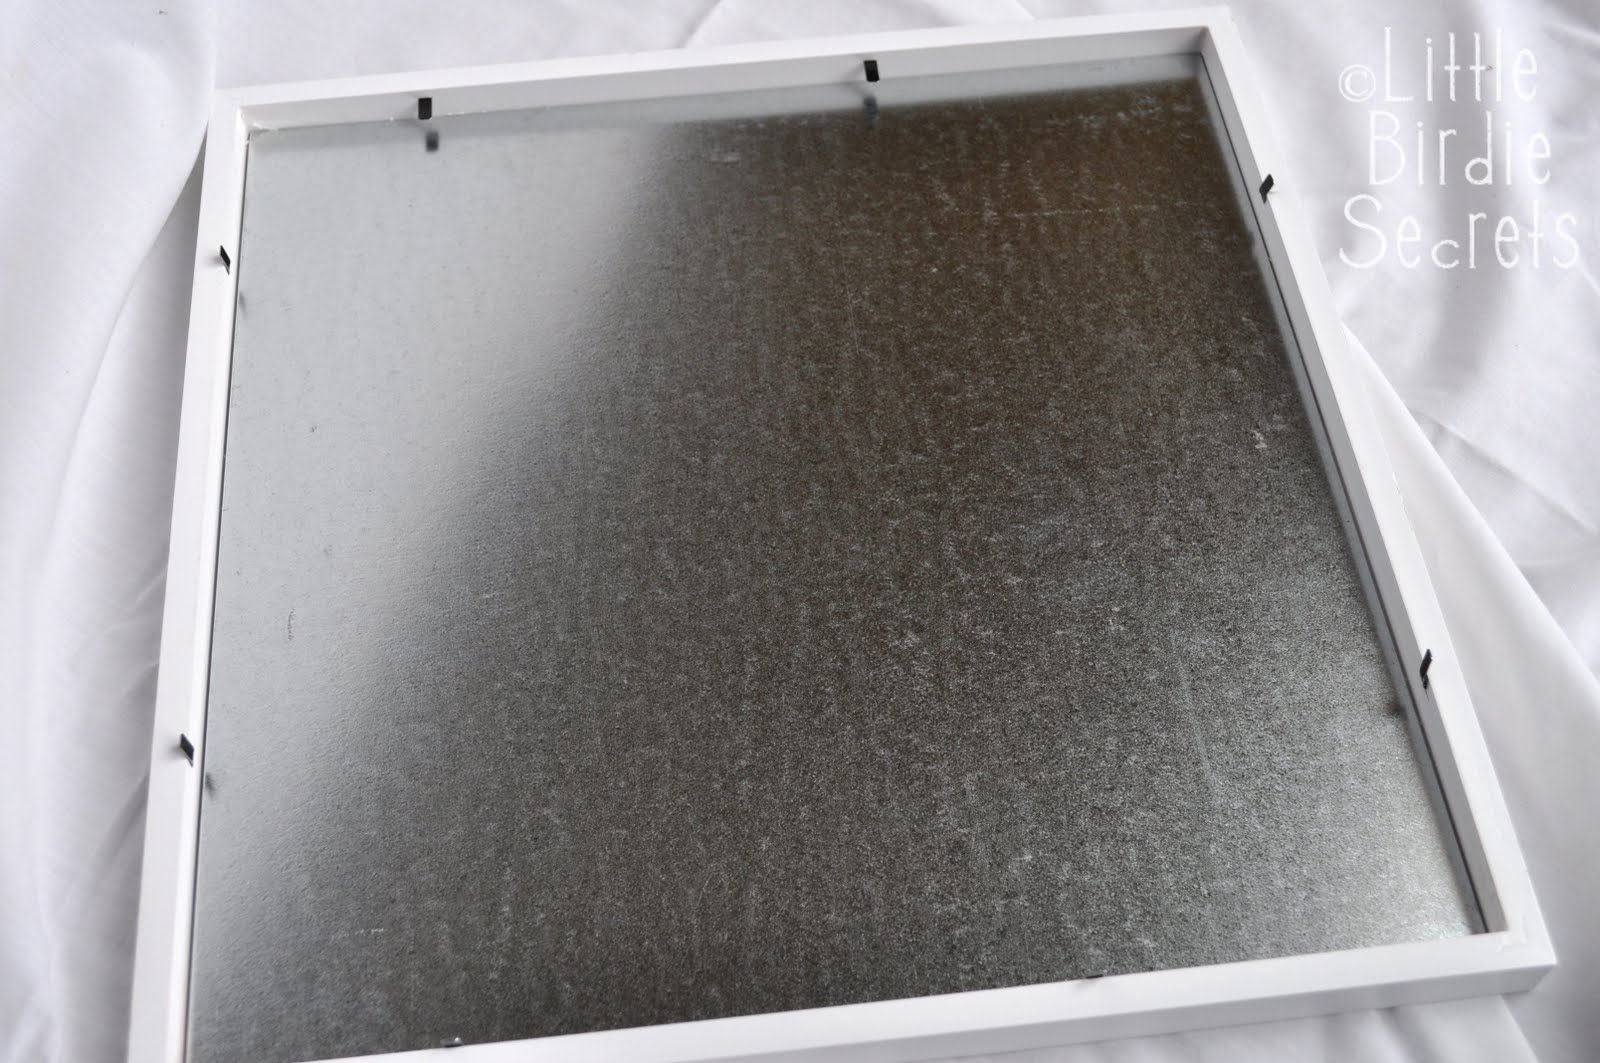
4. Now it's time to make some button magnets. If you're using American Crafts Flair buttons, peel the adhesive off the button and glue on a magnet.

Stick them on your board, add a picture, and you're done!


I wish all scrapbooking was that quick and easy. Even easier? Buy this in my Etsy shop! Done and done.
This post was sponsored by...
share this on » |
{Facebook} | {Twitter} | {Pinterest} |


14 Responses to “easy magnetic scrapbook page tutorial”
Wow! Love this idea! So simple, and a great way to showcase some of your favourite scrapbooking paper! Awesome!
Oh my goodness! I love this idea. I've mostly moved on to digi scrapping and I don't have the heart to give up all my beautiful paper. Now I know what I can do with some of it!
Genius! I absolutely love this project. I am going to book mark it in hopes of getting to it as well at some point. Alothough with school out my projects will be mostly of the kids flair. Have a fabulous day!
Very cute!! Featured this post today.
Totally adorable and totally doable! Great inspiration. Now that I have my crafting fix its off to work!
Okay, now THAT is seriously cool. Love it!
Awesome idea! Thanks for sharing!
So cute and simple....and so many awesome papers to choose from!
Such a great idea! I'm definitely going to make those pretty little magnets. I'm not a scrapbooker, but this gives me some great ideas. Thanks!
You are so creative! Very cute :)
Oh I love that! It is so cute and so easy!!!
Becky
www.craftingchicks.blogspot.com
What a great idea - thank you for sharing!
Hugs,
Kerry
What a fun idea, I love this! Thanks so much for the how-to, I'll be linking.
Hi!
Today I posted a link to this tutorial on my blog.
Would you let me know if that's OK?
Thanks,
Nancy Ward
http://paperfriendly.blogspot.com
Post a Comment