


I know it's starting to get mighty close to Halloween, but I still have a few projects up my sleeve! Last night I threw together a Halloween pillow that can actually be used all-year-round, and if it wasn't for taking pictures, I could've finished it in about 15 minutes. Talk about quick and easy (and cute)!
Spider Web Doily Pillow Slipcover Tutorial
Pin It

Supplies:

*Fabric (I used a linen, but anything would work!)
*Crocheted doily (I found mine at JoAnn for about $1)
*Fabric glue (I love Fabri-Tac)
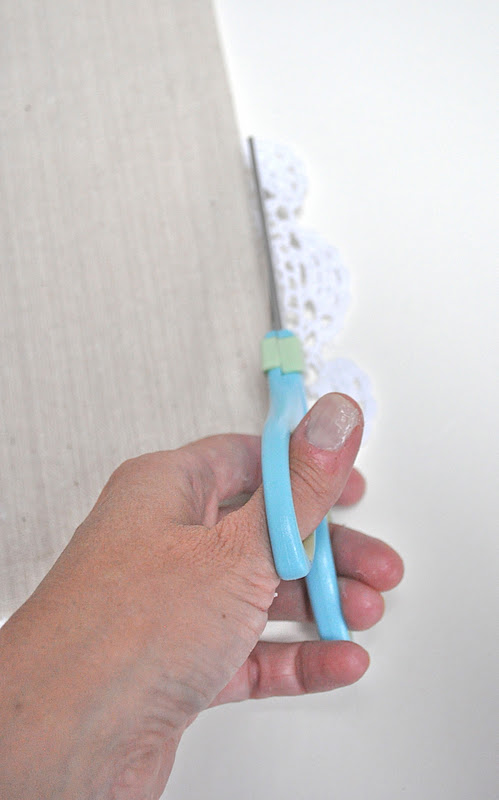
*Rotary cutter or scissors
*Pins
*Sewing machine and coordinating thread
*Plastic toy spider ring
1. Cut your first piece of fabric to 12.5" x 16.5" (or a little smaller if you like a tighter fit).

2. To make this a slip cover, the back piece will actually start out as two pieces of fabric. Cut one piece 10"x12" and the other 12"x12".

3. Lay your doily on top of the front piece of fabric to see where you want to place it. I put the fabric on top of the pillow form to see how it would lay.

4. Using fabric glue, glue the doily in place. I tried to place the glue in areas where the crochet work was more dense so it wouldn't seep through the holes (the glue shows a little when dry). Be sure it is secured all the way around and in the middle.

5. Once the doily is glued on, turn the fabric over and trim off any excess doily.

6. Now it's to make the back piece. Fold over one 12" side of each piece of back fabric 1" and iron. Fold over another 1" and iron again. This will be your hem for the opening of the slipcover.

(Quick dinner break--and I'm back. It's dark out now, which is why the pictures are about to get weird.)
7. Sew the hems down, sewing close to the edge of the folded edge on each piece.

8. Lay your front piece face-up on a flat surface. Lay each of the back pieces right-side down on top of the front piece. The 12" edges should match up with the 12" sides of the front piece, with the hemmed edges overlapping. This creates the place to slip your pillow in and out of the cover.

9. Pin around all sides of the matched-up pieces.

10. Sew around all four edges, using a 1/4" seam allowance.

11. Trim corners to make it easier to turn and so the corners are sharper.

12. Turn pillowcase right-side out.


share this on » |
{Facebook} | {Twitter} | {Pinterest} |


12 Responses to “spider web doily pillow {tutorial}”
CUTE idea! I will be "pinning" it.
Blessings,
Lorilee
Super-cute!
Looks like lots of "great minds" are thinking alike this year. Want to take a look?
http://somenotesfromafar.blogspot.com/2011/10/first-spider-ive-ever-liked.html
I like this idea, however with me not liking spiders at all and flip out if I see one I think I'd flip out if I seen it and forget it is fake. But this is definitely a cute idea! :)
Thanks for the share!
This is a really cute idea! :-)
That's so clever! Seweing the doily on by hand would take forever!! Who has that much patience anyway ;-)
Estehr.
It's so pretty. I love it.
Beautiful! Can't wait to try this. Love it!
Bellissimo e facilissimo da fare...recupererò qualche centrino che ho nel cassetto.
nunzia
cosedilino.blogspot.com
I love this idea, it looks so quick and easy!
So cute!
I love that this is great for all year round too, just take off the spider
What a great idea and use of a dolly! What materials do you recommend using for the dolly and the fabric?
That is so cute! Love it
Post a Comment