


My mother-in-law and sisters-in-law recently made cute tulle Halloween wreaths during a girls' trip and sent me pictures (wish I could've been there!). I decided that making my own was the next best thing to crafting with them, so here's my version, girls! Here's how you can make your own. . .

Tulle Halloween Wreath & Plaque Tutorial
Supplies:
*Embroidery hoop (choose a size just a bit smaller than you want your finished wreath)
*Approx. 3 yards tulle off the bolt in black, purple, orange, or lime green (I used a combination of black rough netting and a softer tulle, both available at most fabric stores or at WalMart)
*Wide ribbon (mine was 6" wide) for bow and to hang wreath
*Wood plaque (ready-to-finish plaques are available in the wood aisle at craft stores like Michael's or Hobby Lobby, but I painted one I found at the thrift store)
*Black spray paint or acrylic paint
*Sand paper
*Book pages from an old book
*Computer and printer
*Adhesive (I used Elmer's Craft Bond spray adhesive, but Mod Podge would work, too)
*Clear coat spray or Mod Podge (I like Krylon's Matte Finish spray)
To create the wreath, I started out the same way I did in my Halloween Chandelier tutorial, with an embroidery hoop and about 1 yard of tulle off the bolt cut into 3" x 6" strips. Tie them on the hoop in a square knot. Then I added another two yards cut into longer strips (about 2" by 10"). These longer strips can be tied on the hoop in between the shorter strips until the wreath looks full.

That's it for the wreath! Now to dress it up a little. . .

You could hang any fun Halloween decoration in the center. I couldn't find what I was looking for at any stores around here, so I decided to make my own. I started with this awesome plaque I found at Good Will for $.88. I know, it was pretty great the way it was. But alas. . .
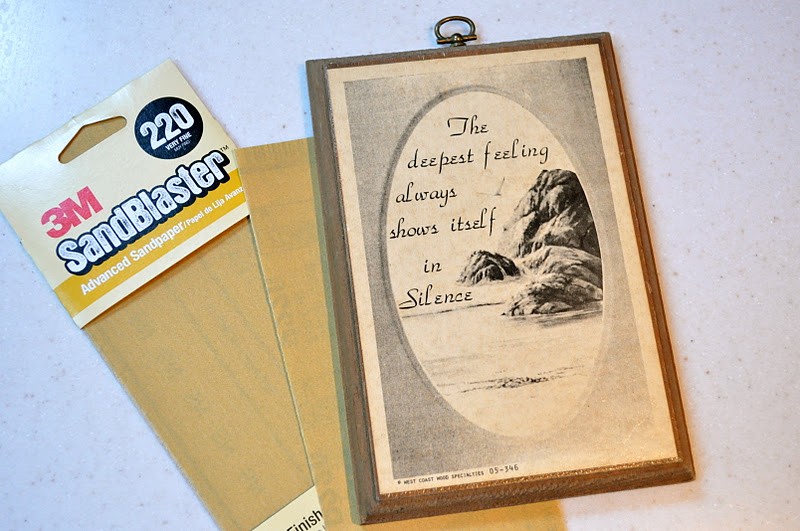
I sanded it lightly to prepare it for the paint. Then I spray painted it black (including the hook).

I cut the margins off the book page so it was just words. It wasn't quite as big as the plaque, so I had to cut and paste a couple of pages together to make it the right size. If you line up the text carefully, the seams won't even be noticeable.
Next I printed the words "Enter if you dare" and a witch graphic I found for free on Graphics Fairy on the book page. The font is called LD Genevieve Lower, which I found here at Scrap 'n Fonts.

You could use Mod Podge to adhere it to the plaque, but I wanted a quicker drying, less messy option, so I used spray adhesive. It was on in about 10.2 seconds.

Then I sprayed the whole plaque with Krylon's Matte Finish spray to protect the paper and the wood and let it dry.

I tied a 6" wide ribbon on the hook at the top of mine. If you don't have a hook, you can hot glue a bow on top, then add a picture hanging hook to the back.

I hung the wreath from another piece of ribbon, first stringing the ribbon through the hook on the plaque. Spooky, eh? And pretty cute, too! Thanks for the idea Reed, Peen, & Jode!

share this on » |
{Facebook} | {Twitter} | {Pinterest} |


18 Responses to “halloween tulle wreath {tutorial}”
oh my gosh....this is just breath taking!! Wish I had seen this before I made my Halloween wreath!!!
That's fabulous! I love it.
Oooohhhh, I just love it!! What a cute, easy idea! Thanks for sharing the inspiration!
Your wreath is gorgeous. Thank you for sharing your technique. Happy Haunting...
love it..
mcwooten1999@carolina.rr.com
This is really cute! Last year, I made a Halloween wreath using tulle and it's cute, but needed a little something-something to give it more panache. Your plaque is a great idea. I have a friend who stages a haunted "garage" every year and I think the "enter if you dare" sign would be great for her door. I think I'll make her one!
So, how did you hang it on the door with the ribbon? Is it hung from a nail? LOVE the wreath! I will be making one for Christmas!! :)
Wonderful creativity!
LOVE IT! So gorgeous! Thanx for sharing!
Natalie
www.projectdowhatyoulove.wordpress.com
LOVELY! Thank you for the tutorial & idea. I have black tulle, now I know what to do with it!
That is a fun wreath! I featured it on my blog's Friday Favorites. http://www.raejean-easyaspie.com/
Great project! I've shared this link on my website, Indiana Inker.
Have a great Sunday,
Kelly
You did an amazing post. I love and I was amazed with your blog. This was such a nice project. Thank you and keep sharing.
house for sale in san rafael
I love this! Can't wait til Halloween again though. HMMMMMMMMMMM....Valentines day with red, white & pink????????????
Wow, such an adorable idea! Going to buy my supplies tomorrow. Thanks for the inspirations. :)
I also wanted to let you know that this project has been featured in my Halloween Crafts Round-up over at Krafty Cards etc. I would love for you to stop by and check out some of the other features. http://kraftycardsetc.com/2013/10/20-spooky-halloween-crafts.html
Thanks so much for the inspiration!
Maria
Thanks, Maria!
This wreath is adorable and so festive! LOVE this too! :)
Post a Comment