We're so thrilled to introduce you to one of our new favorite blogs this week. This girl is the real deal. Her work is masterful and her style is elegant and polished, yet cozy. And she posts weekly about her outfits--LOVE that! Plus, she's in the Seattle area. Hooray for us! Wish I would've known that when she threw this Summer Boutique (please, do another one for me!). This week she's featuring 5 great tutorials in a row, and so far they're all amazing. Please meet Emily of Jones Design Company. She stopped by to share her Book Page Canvas tutorial, which I am totally going to use to make some art for over my piano! Enjoy!
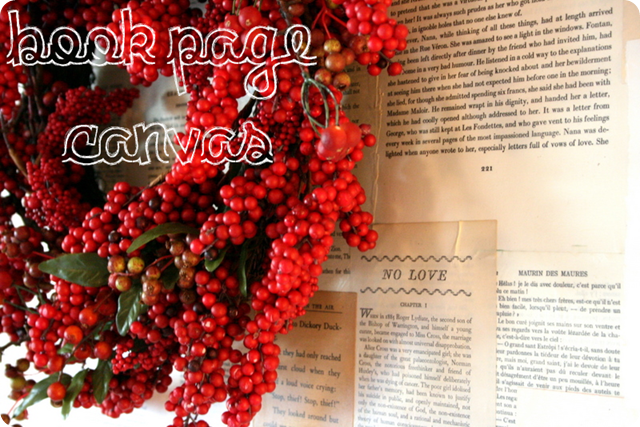
This one is fun and while I’d like to think I made it up, I’m pretty sure it’s out there somewhere else. Again, it is a simple and inexpensive project and makes a delightful gift or custom art.
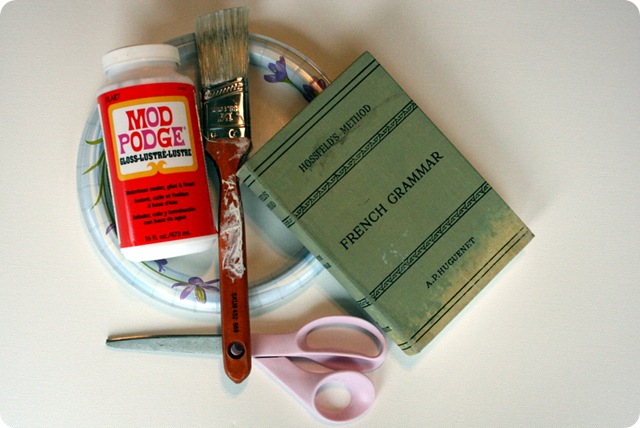
Here’s what you’ll need
:: a canvas {purchased at any craft store}
:: a book
:: scissors
:: mod podge & paint brush
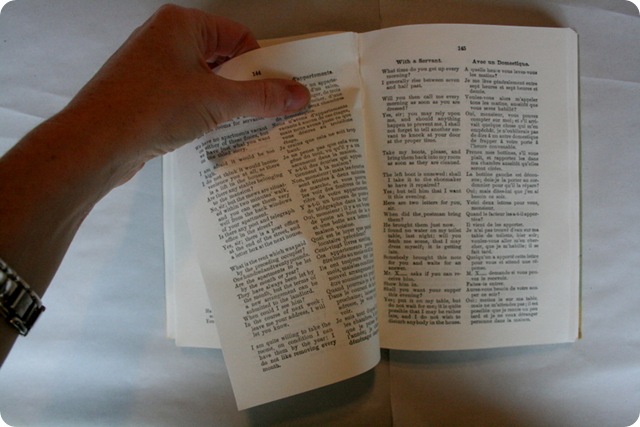
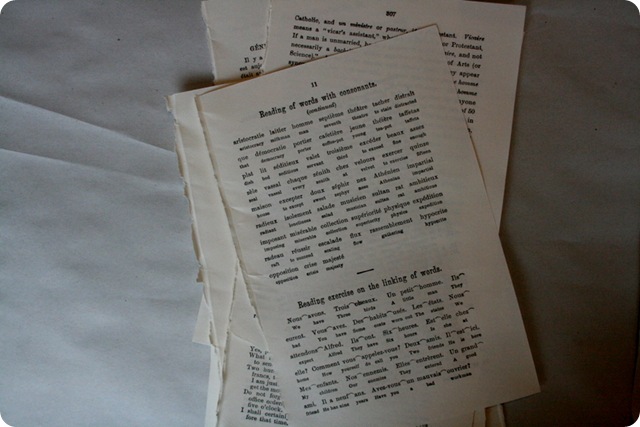
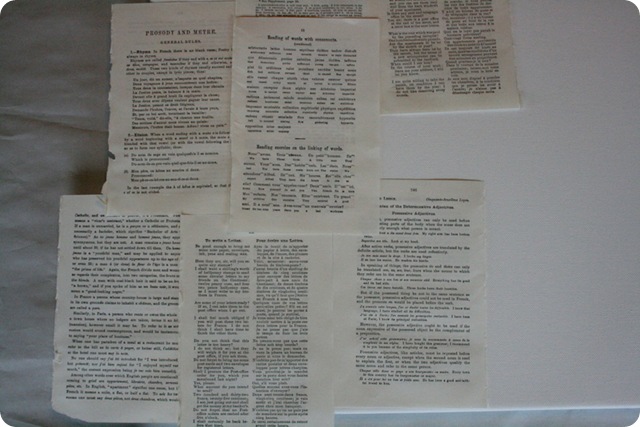
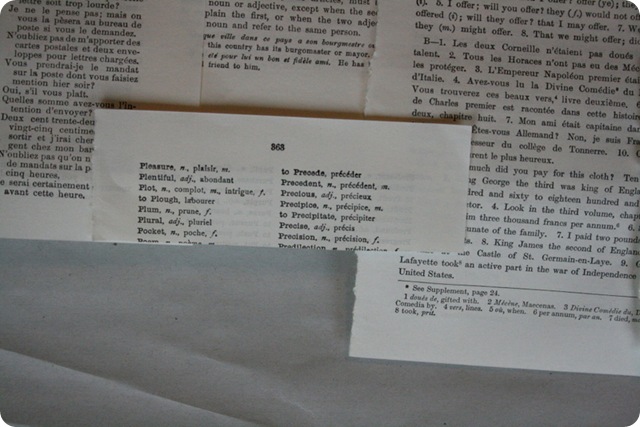
STEP ONE: tear out pages
I take them from all over the book so that the page numbers and content varies.
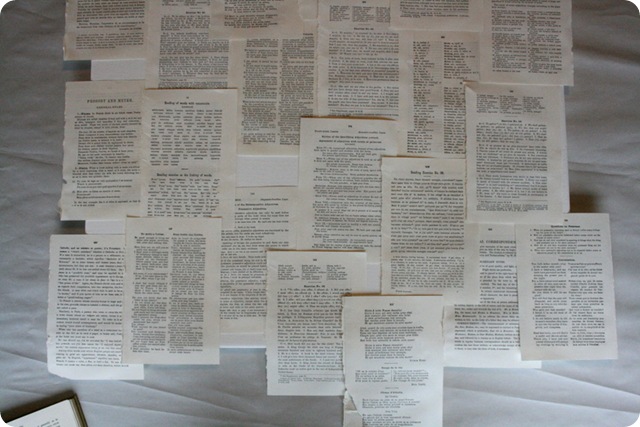
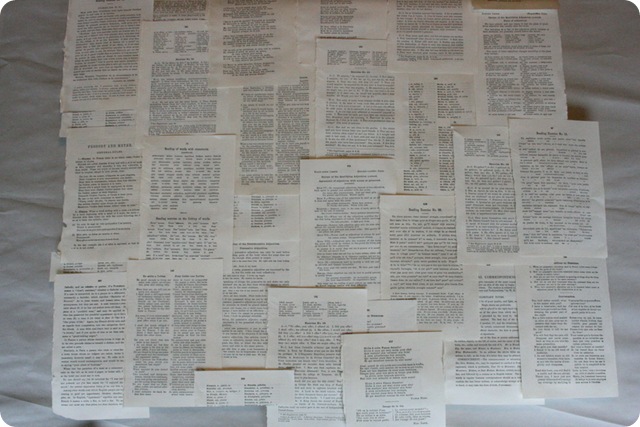
STEP TWO: arrange the pages
make sure to overlap the page so that there is enough paper to cover the edge of the canvas
STEP THREE: fill in the little spaces
until the canvas is completely covered
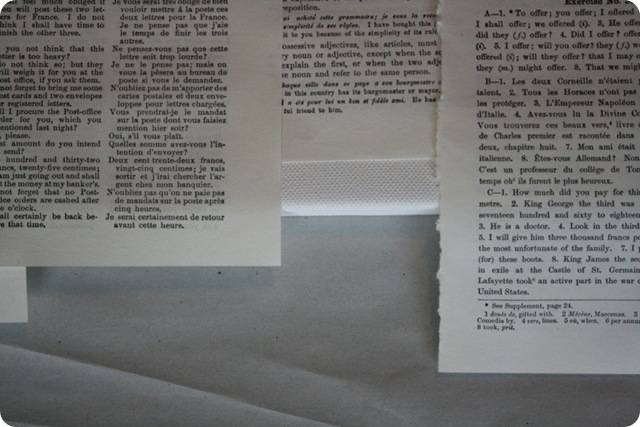
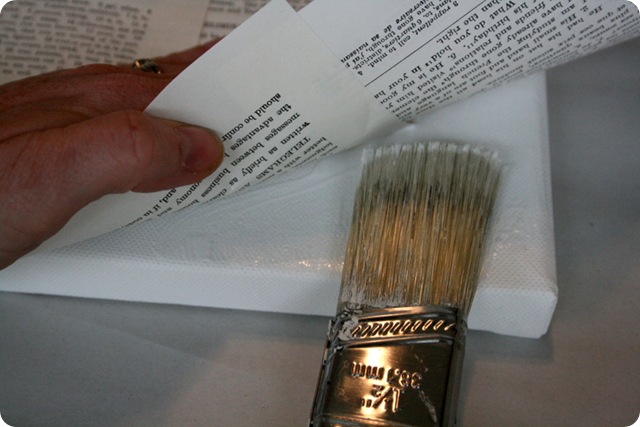
STEP FOUR: glue them down
Gently lift the pages to get the glue under, then press down. This is the trickiest step because the pages are arranged in an overlapping fashion. Just keep lifting and gluing and don’t worry too much about the paper wrinkling or air bubbles – that’s what gives it charm {or at least that is what I tell myself}
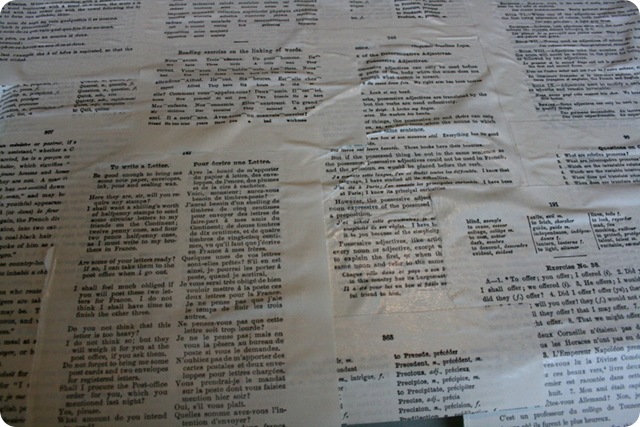
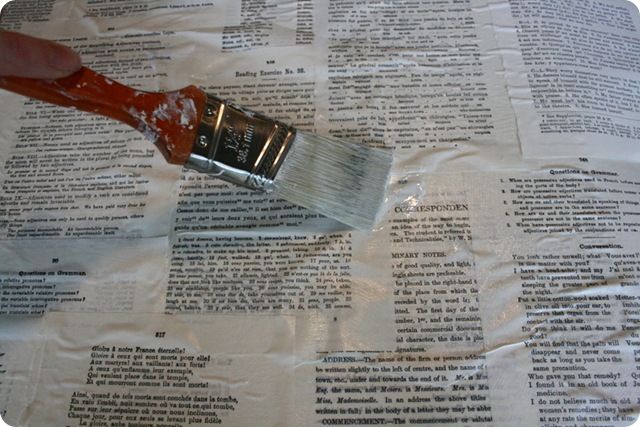
STEP FIVE: seal the top of the pages with Mod Podge
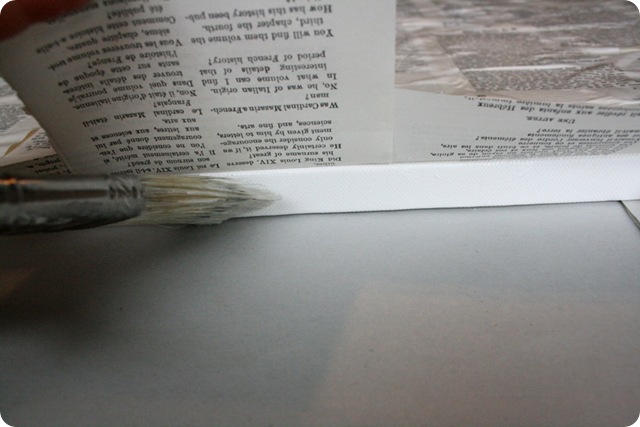
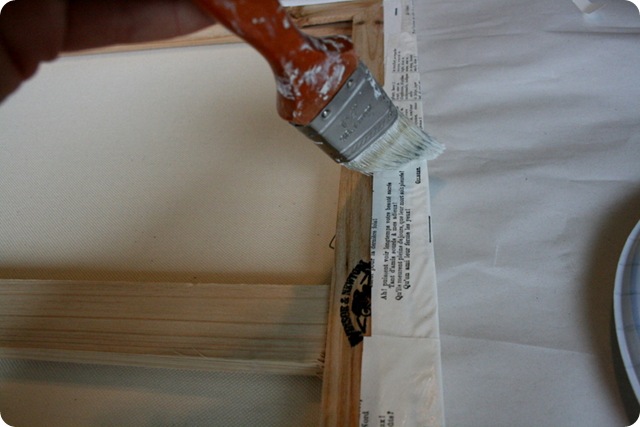
STEP SIX: glue the edges
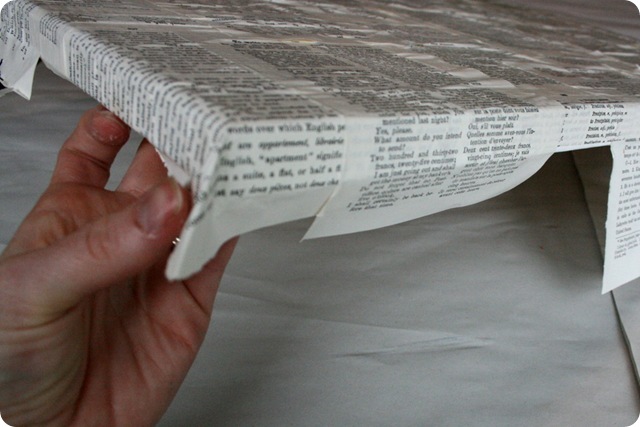
STEP SEVEN: fold over the corners
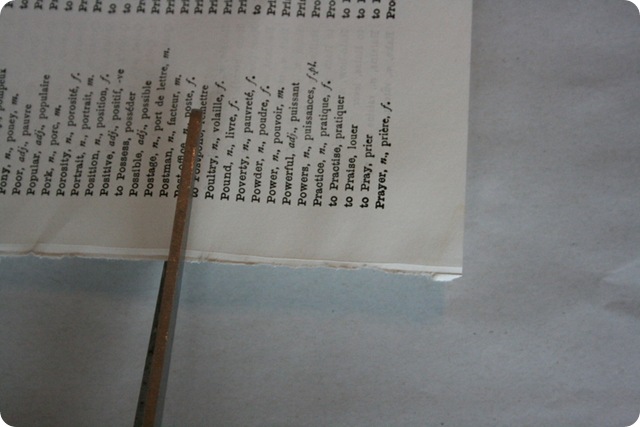
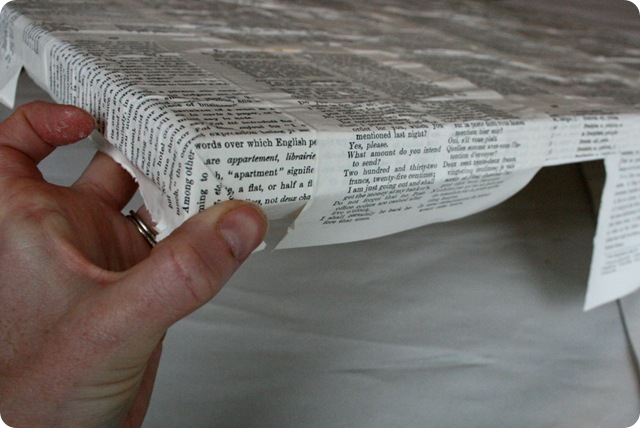
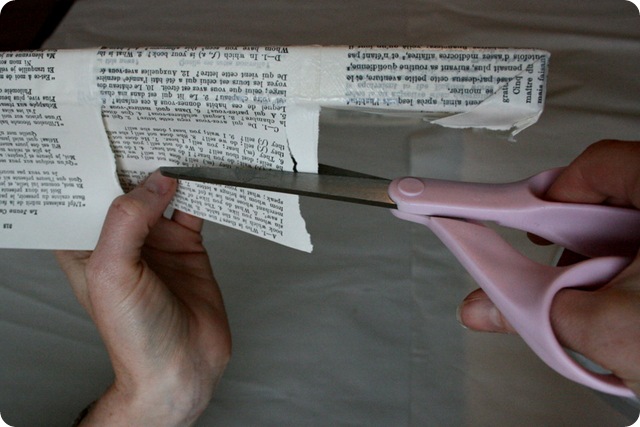
STEP EIGHT: trim the excess
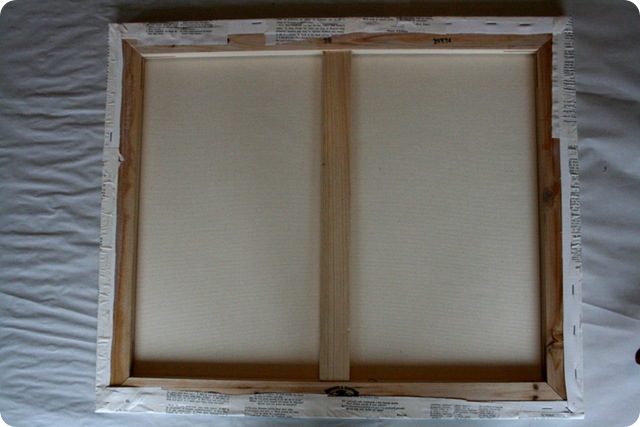
STEP NINE: glue the pages to the back
Now on to embellishing {although it is perfectly lovely in it’s simple un-embellished state}
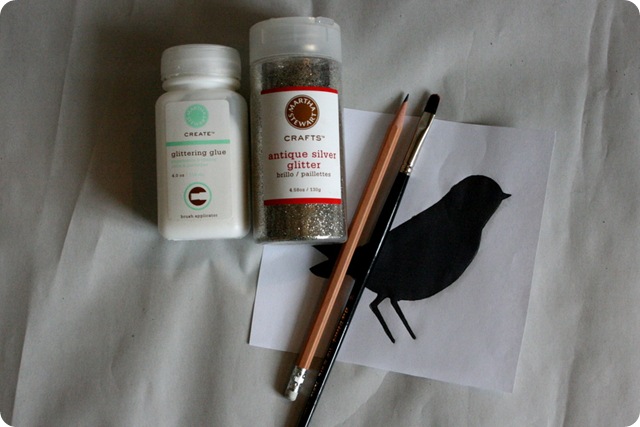
Here’s what you’ll need
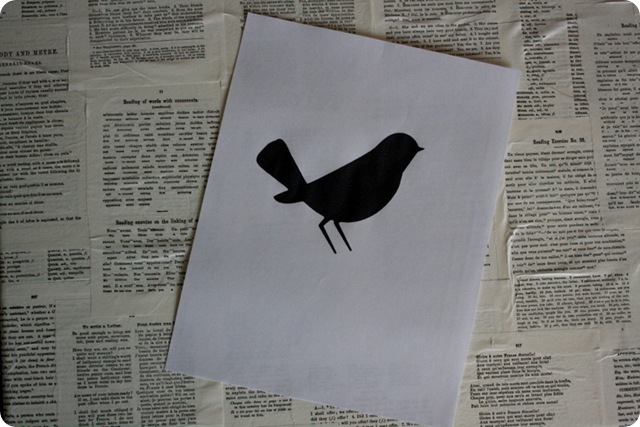
:: a print out of an image {a bird, in my case}
:: pencil
:: glue
:: paint brush
:: glitter
STEP ONE: select your design, decide how big {or small} you want it and print
There are so many possibilities with this. I did a bird because I’m fully into the trend, but you could do a silhouette of a different animal, a chandelier, a chair, a lamp, etc. If you search in google images for “bird silhouette” or “umbrella silhouette” you should find an image.
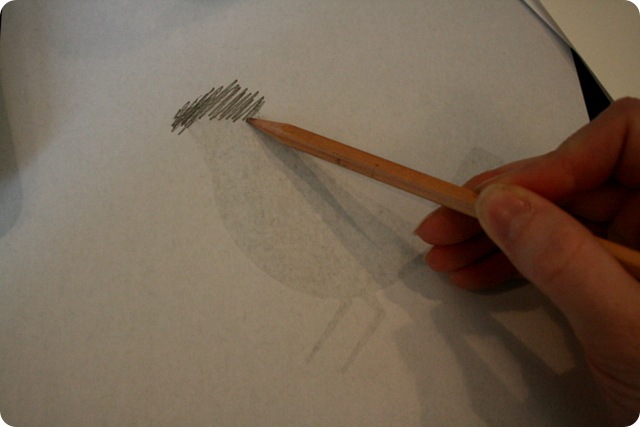
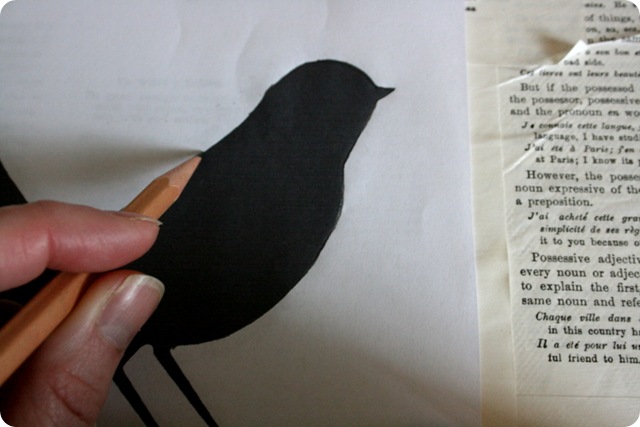
STEP TWO: transfer the image to the canvas
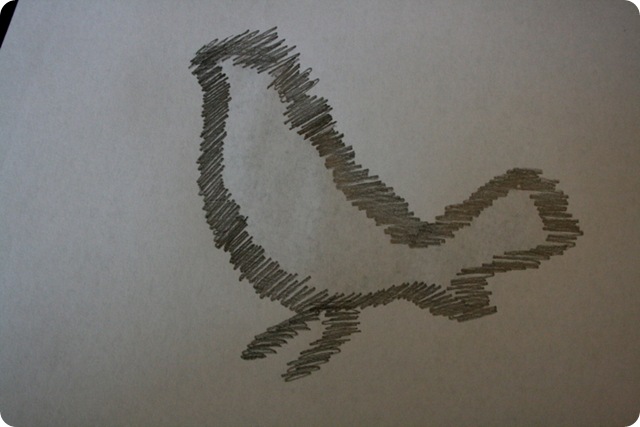
scribble on the back of the print-out around the edges of the design
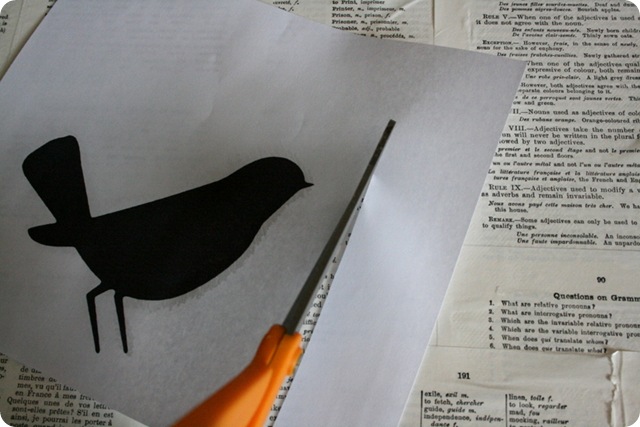
trim the edges
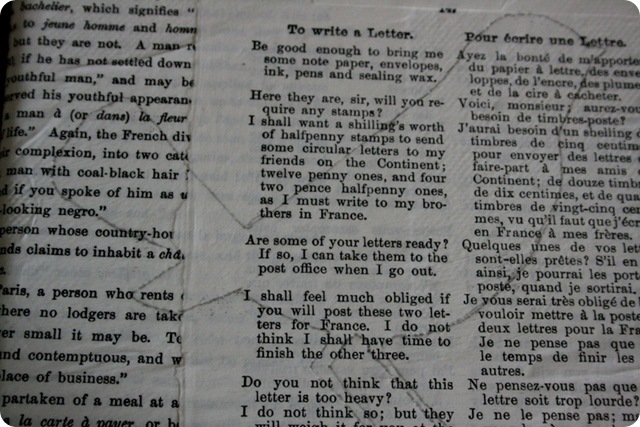
place in desired spot on the covered canvas and trace around the design
pull up the paper and your design will be transferred
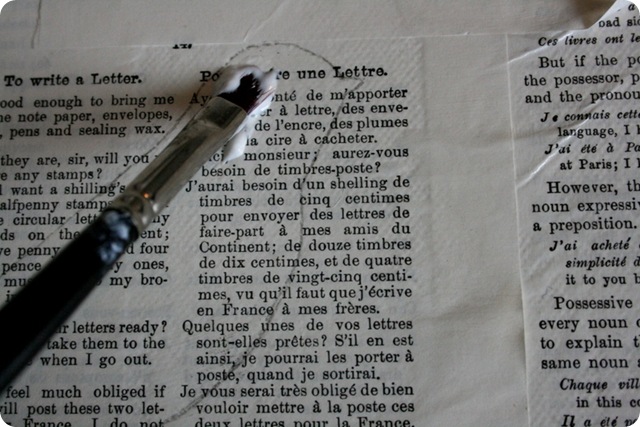
STEP THREE: paint in the image with glue
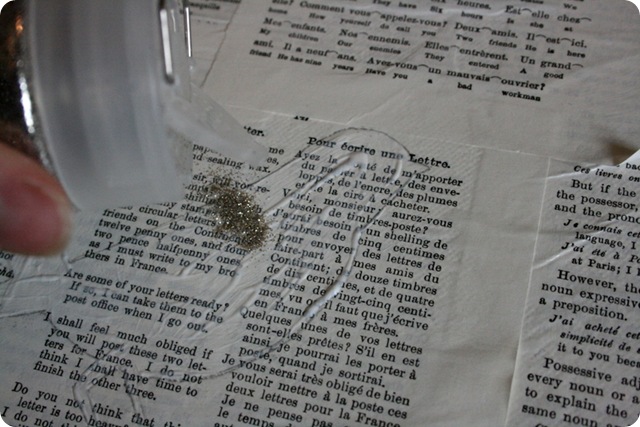
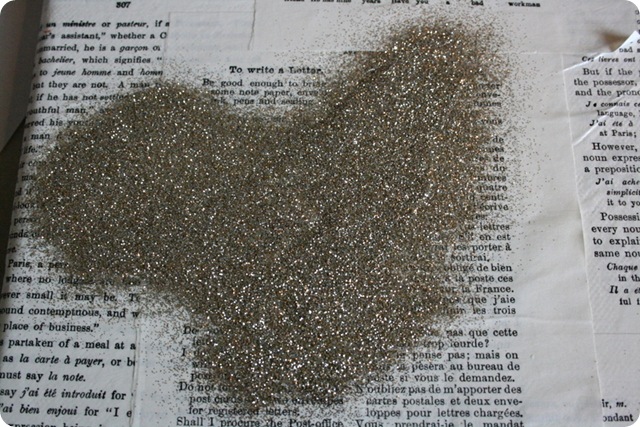
STEP FOUR: glitter
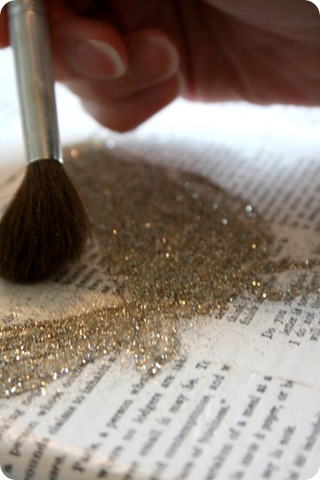
STEP FIVE: brush off the excess
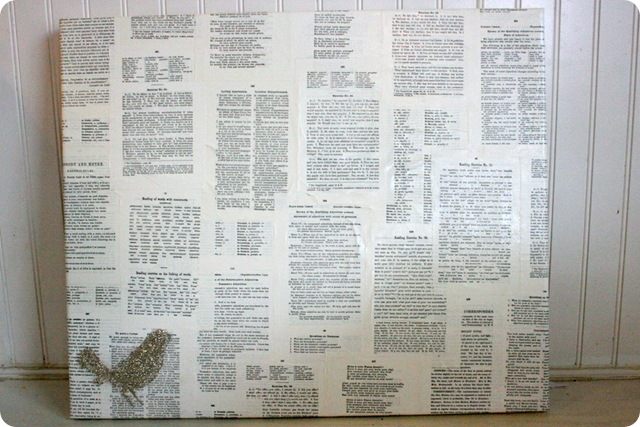
and here it is:
One thing I love about this project {besides the fact that I am crazy about anything using book pages} is that the possibilities are endless.
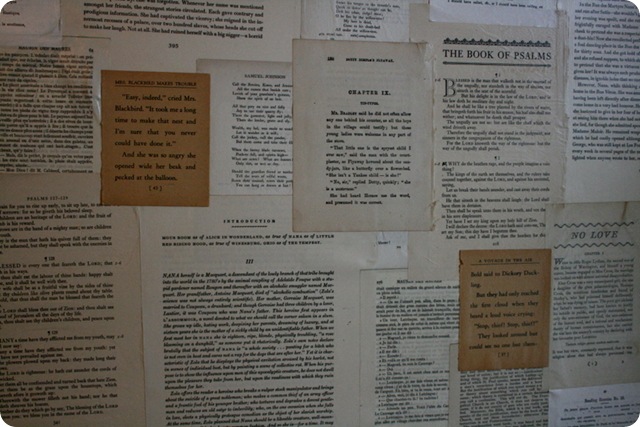
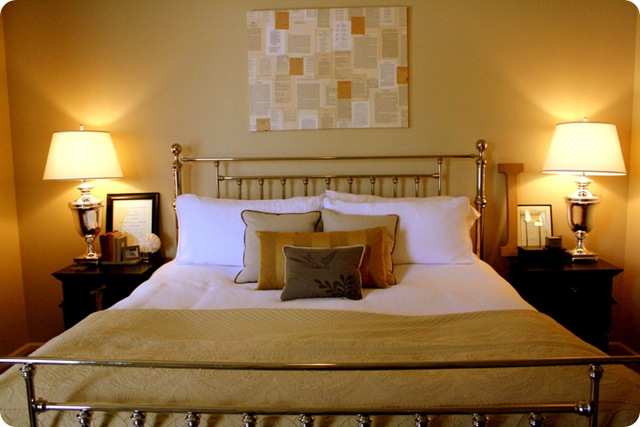
You can use pages from different books:
as seen in our bedroom:
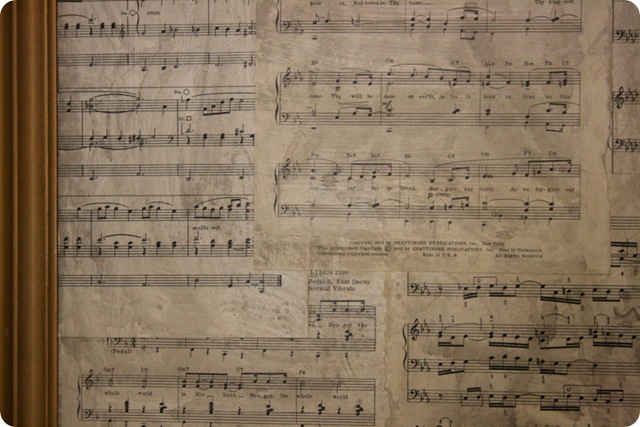
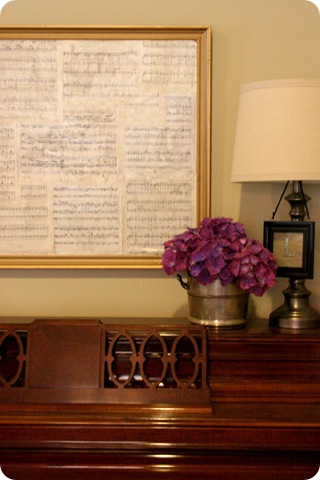
or sheet music:
as seen over the piano:
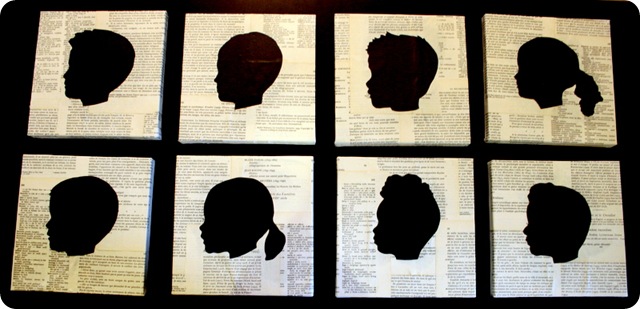
silhouettes of your darlings:
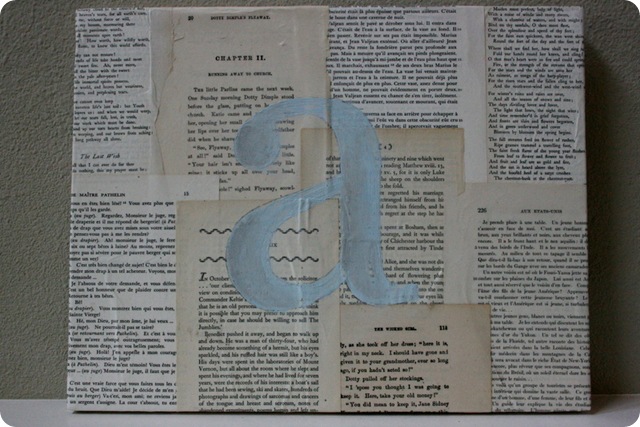
paint a monogram:
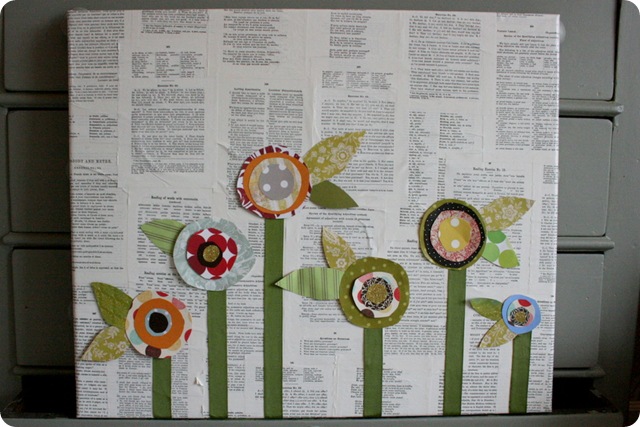
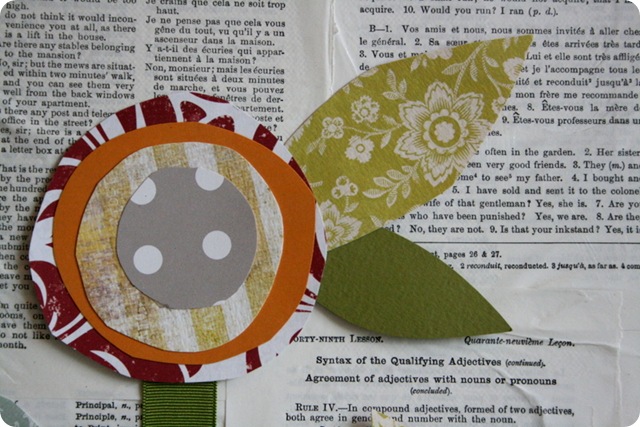
or embellish with scrapbook paper flowers and ribbon.
How cute would it be to do it with pages of a vintage magazine? Or a favorite children’s book with the word ‘read’ painted on it? Or sewing patterns with a big silhouette of scissors? How about an assortment of maps? Or a cookbook? Now my mind is spinning …
I hope you are as inspired by this as I am!
Have you signed up for the giveaway?
share this on » |
{Facebook} | {Twitter} | {Pinterest} |




31 Responses to “book page canvas tutorial - guest post”
What a great idea! We have recently moved into our new home, and havn't put anything up on our walls yet...
Perhaps I should go to the next fleamarket, end collect some old books?
I love the litte bird..
=)
and I love all time weathered book arts..
I have covered a whole bookcase with pages.. and made some art also.. but never thought of glitter..
and thank you for reminding that transfer method ..
enjoy..
LOVE it! Honestly, this is gorgeous. Now all I have to do is bring myself to taking apart a book... I have about 800 of them and they are my babies, it'll be hard to dismember one of them :)
That was fun...thanks for the link too.....
Cynthia Schelzig...a.k.a. Cynnie
This is the second piece of art I've seen this week made using book pages and I love this one too! Looks perfect over your bed.
This is really lovely. Thanks for posting this.
so fun! thanks for letting me hang out with you!
I LOVED this post. Now my head it spinning with ideas too! I can't wait to do something with this after I move, which is happening in three weeks. (AH!) Thank you for this super-cute idea. :)
I loveee this idea! So cute! I have been looking for a project to do with pages out of a book or sheet music! And now I definitely know what I'm going to do! Thank you so much!
Oh wow! I love this! I'm already imagining where I'll put this... off to the thrift store I go to get supplies! :o)
Christina
I love the sheet music idea... now I have all these ideas for my mom.
I love this! I want to make one I just need to decide if I want to do vintage maps (which I collect) or a favorite book.
FAB!!!
I love this idea. Certainly going to try it.
That's so cool! Thanks for sharing! I just don't know if I'd ever have the heart to tear up a book! (Even in a language I can't read. Ha ha ha)
Stopping by to say I LOVE your blog! Lots of sassy ideas! I would love it if you would add me to your blog list... you are already on mine! :)
...visiting from Sassy Sites!
(cause your blog is a sassy site!)
i luv a good monogram, luv this blog!
I absolutely love this! I've been looking for a frugal DIY art project large enough for my blank living room wall, and I think this might be it! Thank you so very much for this tutorial! :)
Love it! I have a pile of frames that my MIL has given me, this is just the thing :D
*GASP* I love this! This is a must do project! I am so excited!
I love this, its a really great way you can highlight your favorite quotes or verses, or poems.
I love this, its a really great way you can highlight your favorite quotes or verses, or poems.
I wonder if you could coffee or tea stain the paper slightly to make it look older?
Aww, I love Emily's projects! Thanks so much for this, I'll be linking.
This looks fabulous! Can you do this with magazines? Thanks for sharing ;)
Love it!
Wouldn't this be cute with a silhouette over a child's report card and art work...
oh my goodness...
this canvas idea is just too cute....
thanks for sharing!
check out my version of this book page canvas on aliscreations.blogspot.com
Thanks for the inspiration. I created my own work of art for my son's game room based off this idea.
http://crystalchickphoto.blogspot.com/2010/09/birthday-surprise.html
Where can you find the old books like the one you used? Are these expensive?
I love yours and decided to try it myself! Thanks for the inspiration!
http://jodyblonde.com/2012/01/27/diy-book-wall-art/
Post a Comment