It's no surprise that we love Klutz. We have had several of their books offered as giveaways on our site and today we have yet another one for you!
The new book is called Glossy Bands and they have a great description of it: "Chances are good that you’ve never seen anything quite like a Glossy Band. Simply take our special, non-toxic, acrylic gel and squeeze out dots of color following the patterns in our book. Then use the swirling stick to make fancy designs. Once the bracelet is dry, wrap it around your wrist, and you’ve made your first Glossy Band: a beautiful, durable, completely wearable piece of art. Glossy Bands comes with 4 colors of gel, clear plastic work surface, swirling sticks, and Klutz clear instructions for tons of bracelet designs."
You can click here to watch a how-to video about this book. How fun! I know I would have loved this as a little girl. Klutz is offering THREE of our readers a chance to win this fabulous book. Just head on over to the Klutz site and tell us your favorite book. Then come back and let us know what it is! This giveaway will end Saturday, May 29th at 11:59 pm PST. Good luck!
Time for another giveaway! I have had baby items on the brain lately because I have so many family members and friends that are currently pregnant. I have been shopping for gifts and trying to find cute items. Happy Chickadee is your source for hand made and boutique designer clothing and accessories for little girls ages 0-6. Clothing, toys, gifts, organic items, gear, and decor. They have such adorable and unique items!
Hearts and Clovers Halter Infant Sun Dress by Beary Basics. Gorgeous designer cotton prints mixed together makes this a showstopper. It’s the perfect outfit for birthday parties, visits to grandma, special occasions and photo sessions. This long, open backed sundress is stunning. Your little girl will love the flounce and bounce to the dress and will feel as special as she is each time she wears it. Proudly made in the USA. Size 12 months or 18 months. It's a $44 value!
To enter this giveaway visit Happy Chickadee and find your favorite item (besides this dress). Then come back and tell us what it is. The giveaway will end Friday, May 28th 11:59 pm PDT. Happy Chickadee is also offering a special discount for our readers. Enter the code secret15 to get free US shipping and 15% off orders. US orders only apply. Some brands are excluded, Gilbert Design, Jennifer Delonge, Jamie Rae, Kids Crooked House, La Petite Maison,and Lima Bean Kids excluded.
Thanks to everyone who entered our Gussy giveaway. I know you're all dying to win something from this fabulous site. But there can only be one winner. The $30 gift certificate goes to. . .
We've had a few cupcake posts lately, and the other day a friend asked Stacy to show her how she frosts her cupcakes so perfectly. It's true--she has a gift for creating the most scrumptious, swirling piles of frosting. Of course I invited myself along, camera in tow, and turned the get together into a blog post. Sorry girls--I can't help myself! Thanks to Stacy, Shelley, Melissa, and Deborah for letting me act like the paparazzi while you decorated. You were stellar models!
Just FYI, we used a Wilton 1M star tip and disposable decorating bags in the video. You can find these at big box stores like Michael's, small specialty baking shops, and all over online. We embellished the cupcakes with chocolate monograms and cupcake picks (that Stacy made with her paper crafting supplies). Also, our favorite butter cream frosting recipe is from Food Network. Yummy and easy. Enjoy!
I also wanted to mention that I made this little video using my new Adobe Premiere Elements 8 video editing software that Adobe sent me. In the past I have used iMovie and Windows Live Movie Maker, so it was fun to compare and see the differences between all three. There is definitely a learning curve when moving from one software to another, and I still feel like I have a lot to learn about Premiere Elements. I spent a lot of time using their online Help site, which was wonderful. It includes pictures and diagrams to help you navigate the many menus and screens. But my movie took a lot longer to create than it should have. Hopefully I will get faster the more I use it.
One thing I love about this software is how you can use so many different effects on the video. It's a lot like Photoshop. It's great to be able to fix the color or lighting in a clip that is too dark, or crop something a little closer. You can also apply stylized effects like gausian blur or beveled edges. It also has a ton of cool text options. I was impressed that I could set the "style" for my text so that I didn't have to keep fixing the font, color, and size in ever clip that I had a text overlay. Like Photoshop, Premiere Elements is pretty powerful editing software, which was a little bit of a detriment to little 'ol novice me. I felt like there were a lot of options that were way over my head, even after I read the Help section. But I'm sure that, too, will be less of an issue as I use and understand the software better. You'll be hearing more from me on this subject. . .
Baby G. finally got his quilt! Nevermind that he is six months old. Luckily summer doesn't officially start here until July, so he still has a little time to snuggle in it.
I love an easy quilt, and this one is just that. I had leftover Michael Miller fabric from this stroller quilt, but not enough for another patchwork. So I opted to cut a few circles of each (plus a few other coordinating fabrics) to create a similar look with way less fabric.
I ironed my fabric to an iron-on webbing, then cut the circles using a die cut machine, but you could easily trace a cup and hand-cut your circles. Then I measured and ironed them in place and used a zig-zag stitch to stitch them in place.
The quilting was the hardest part of this quilt! That's the reason it sat in my closet for months and months. I decided to quilt around each circle, and then outline the circle rows with another row of quilting. If I could do it again, I'd probably just do a stipple over the entire center panel, even over the circles. I love the look of stippling. But I still love the way this polka dot quilt turned out!
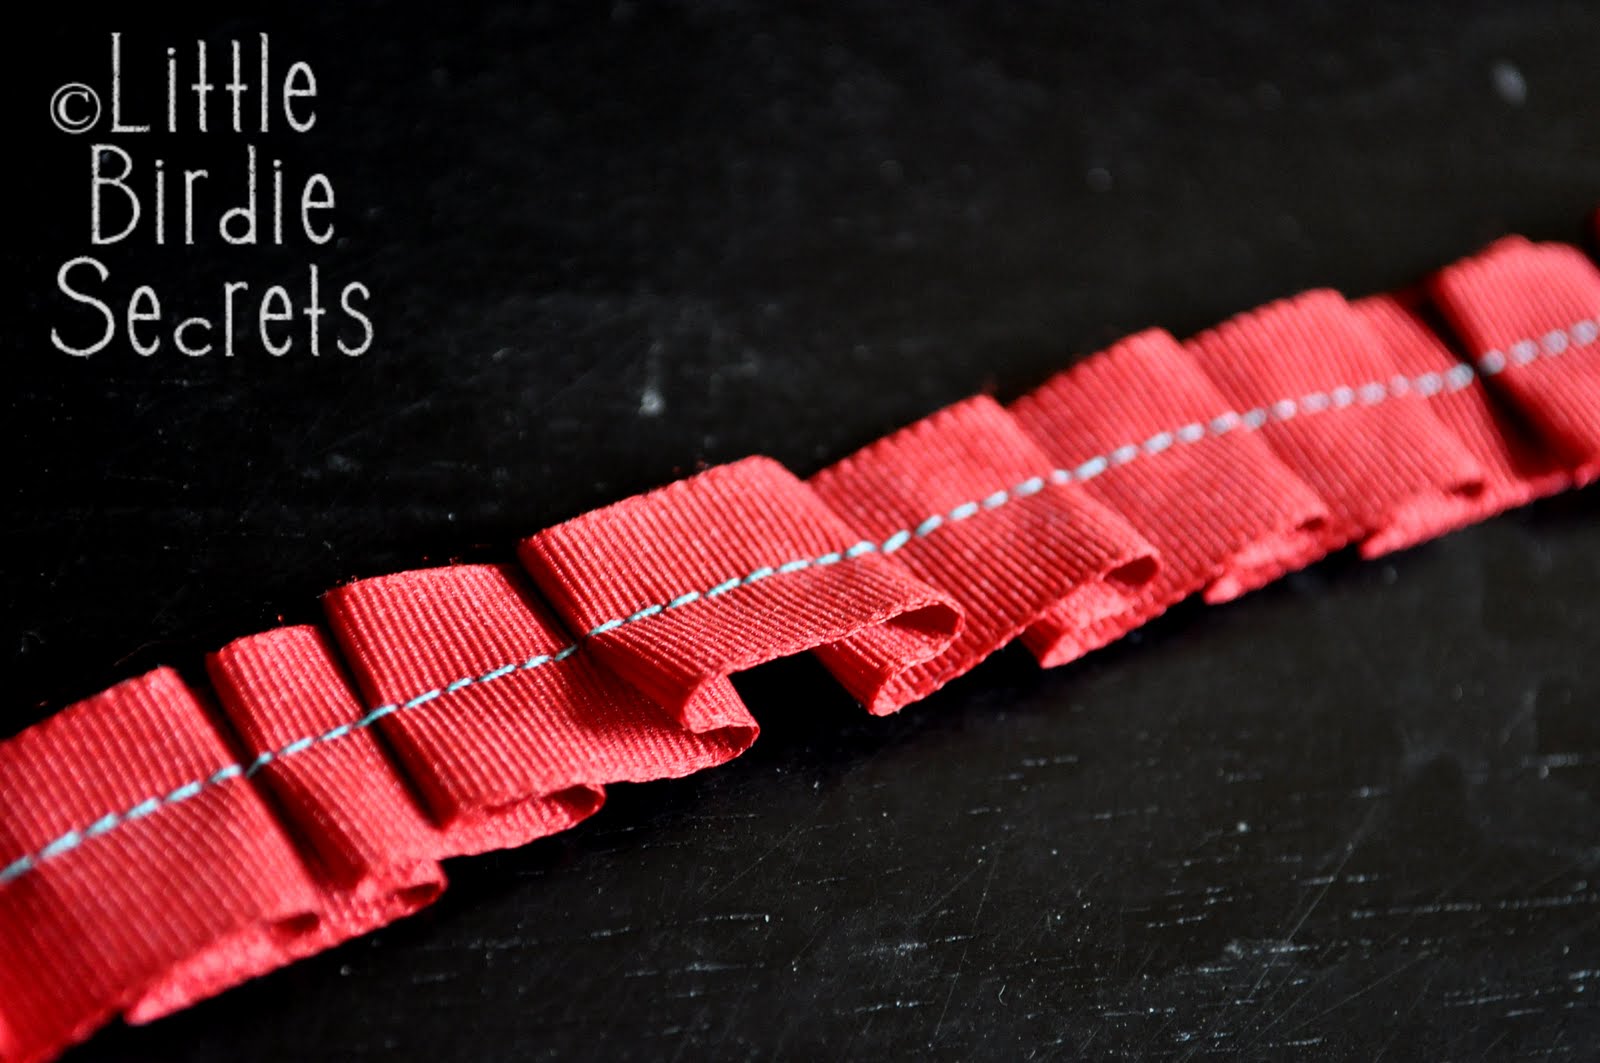
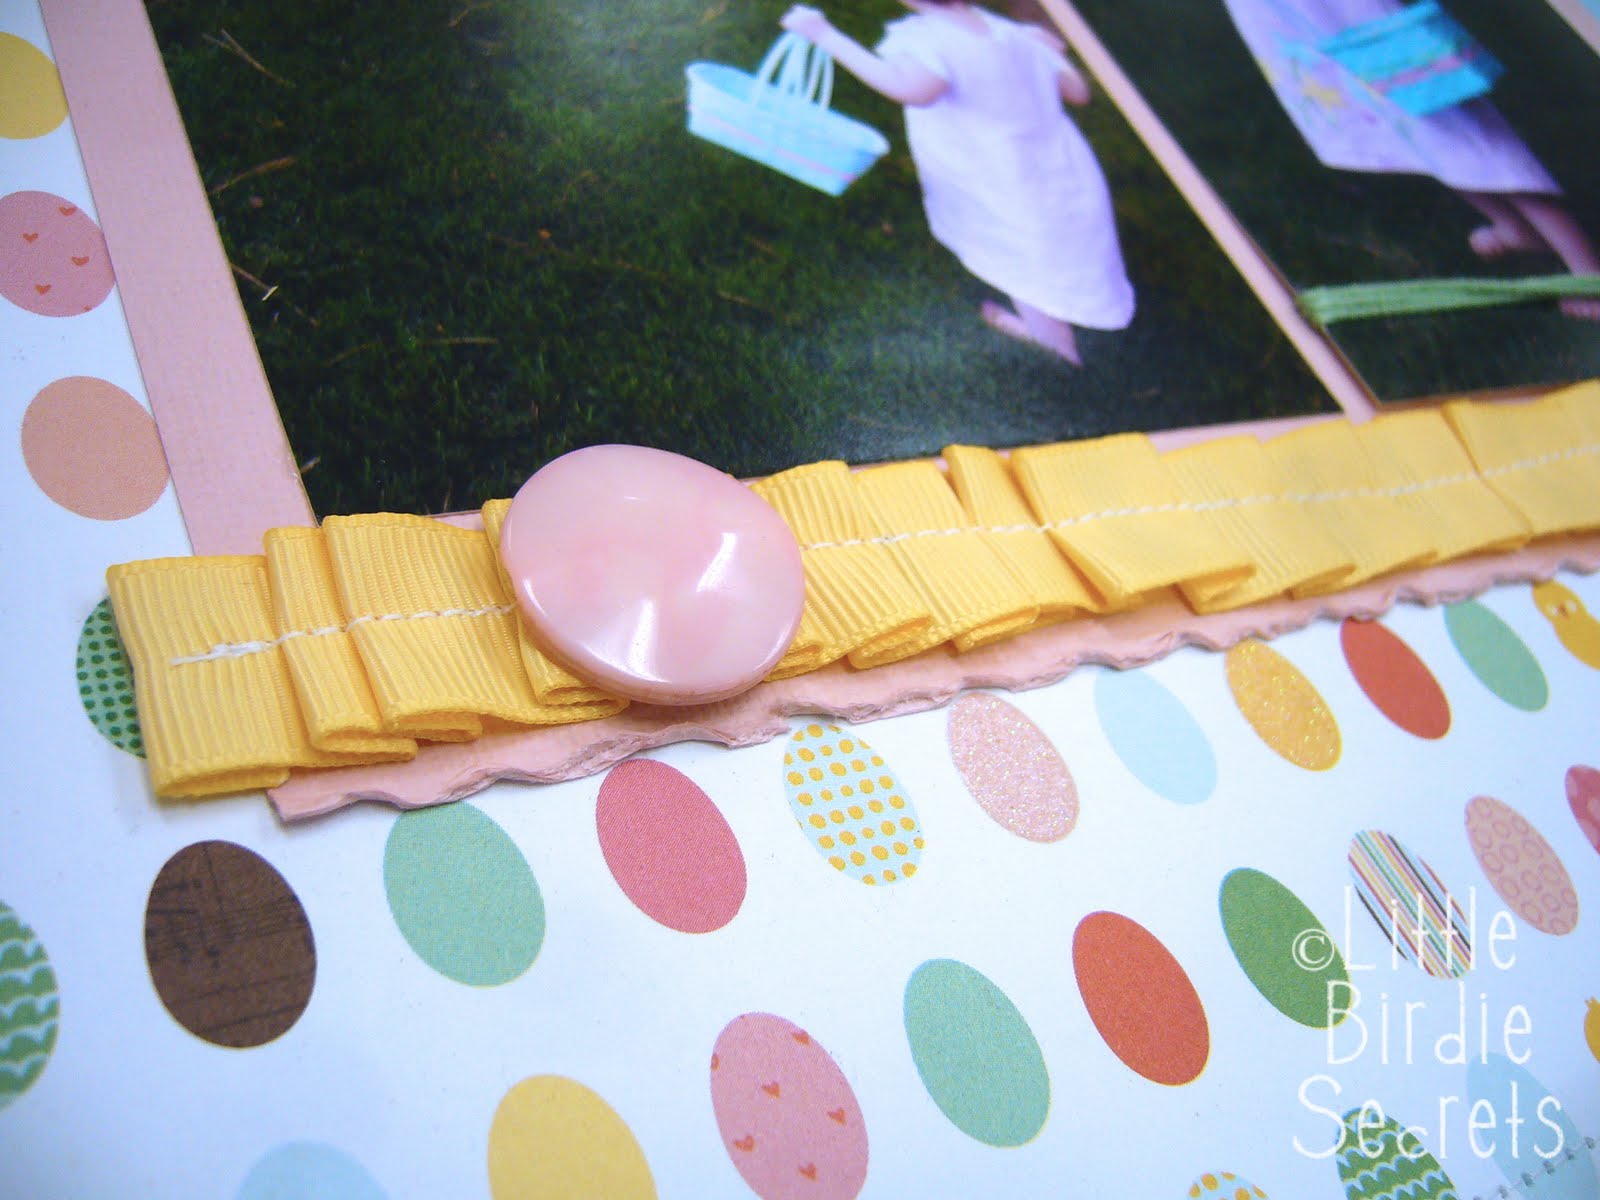
I finally found a place mat I liked to make this place mat purse we posted recently (I found it at Anthropologie), but I thought it needed a little somethin' somethin'. My go-to accent these days is a ruffle. Frilly is good! This easy ribbon ruffle fit the bill perfectly. I also love it for papercrafts (see below).
Easy Ribbon Ruffle Tutorial
Supplies: *Length of ribbon *Sewing machine & coordinating thread *Seam ripper, pencil, or other small, pointed object
1.Put your ribbon under the needle and stitch a few stitches (I have used a straight stitch, zig-zag stitch, and a couple of my decorative stitches, all with great results). Stop with your needle down in the ribbon.
2. Using a seam ripper or pencil tip, push an inch or so of ribbon up toward the needle, forming a ruffle.
3. Continue sewing straight down the middle, right over the top of the ruffle.
4. Continue creating ruffles and sewing over them until your ribbon is the length you want it.
I often alternate the direction of my ruffles, as seen below.
To sew my ruffle ribbon on a project, I simply pinned it in place and sewed over the top of the original stitches.
I used a decorative stitch on this ribbon, and stapled it to this card.
I often use matching thread, but sometimes it's fun to use a contrasting thread, like on this scrapbook page.
As a gift to a friend without a sewing machine, I stitched a few feet of several ribbons into ruffles and included it in her Christmas gift (with other scrapbooking supplies). It's fun to stitch different colors just to have on hand. I {heart} ruffles!
We are pleased to offer a fabulous giveaway today! Here is a bit about what the owner had to say: Gussy is a line of ruffled accessories. Each ruffle is machine sewn free-hand style, making each ruffle unique. About 18 months ago I sat down at my kitchen table -- I wanted to learn how to sew. And here I am now, offering wallets, zipped pouches of all sizes, laptop bags, and note cards (all with my signature ruffle) to those that love a little flair. And starting May 14, I'll be sewing exclusively on Gussy products. No more day job! : ] To read more about Gussy, click here.
The Nester wrote, "Gussy has a juicy shop full of all kinds of wonderfulness, and her blog, Gussy has a lot to say is quickly becoming a crafter’s headquarters where she features different crafters/artists and writes about her experience." As soon as I headed over to take a look at some of the Gussy products, I about died. I am in love. Below is one of the reasons why.
Here's another...
And yet another...
Love at first sight feels so good. Anyway...I am majorly jealous of you readers who get a chance at some of these beauties. Gussy is offering one reader a chance to win a $30 shop credit to be spent at www.shopgussy.com (all baby blankets are exempt from giveaway credit). To enter, visit the shop and then come back and leave us a comment telling us your favorite item (good luck finding just one!). For a second entry follow our blog or the Gussy blog. Good luck! The giveaway ends Friday, May 21 at 11:59 pm PDT.
I am so excited to have an opportunity coming up to review a product from CSN Stores. I love their products and I can't wait to try something out. Lately I have been trying to start some new decorating projects in my home, as you have seen in my last post with my refinished side table. CSN Stores have such a wide selection of products, I have no idea how I will choose something.
I am considering choosing something in lighting or maybe something from home accents. I really don't have much talent in the area of decorating. What would you choose?
I recently had my good friend show me how to refinish furniture. I can't believe I hadn't tried it sooner, it really is so simple and it's amazing how new and fresh you can make a piece look! My mom gave me this set of small tables when I first got married. One of the tables has been damaged by water over the years. The surface was bubbled up. I was going to throw the table away when I decided I might as well try to refinish it. What did I have to lose?
First I sanded the table to make the surface smooth. Since the table was damaged it required a lot of heavy duty sanding to get past the damage. I even had to use some wood putty to fill in a few gaps.
After sanding was finally finished, I used a gray primer on the table. I then spray painted it in Rustoleum's Colonial Red. What a beauty!
Finally I brushed on some stain and sanded over it to get a distressed look. Of course you can skip this step if you just want it painted without the distressing. Then I added a coat of clear finish to protect it. I wish the picture did it justice, but it really looks so much cooler in person. I am so happy with the result and even more thrilled that I didn't throw this table away! It was such a cheap way to turn this damaged table into a brand new one. I have several more things I am now planning on refinishing.
Remember last week's post about the daisy cupcake toppers? Well, while we were at it, we also made monogram cupcake toppers using a little white chocolate and sprinkles. You can create any letter in any font, or any other shape. Here's how.
To use a specific font, print out your letter exactly the size you want it. Cover your printed page with a piece of wax paper. Melt your melting chocolate according to package directions. Spoon melted chocolate into an icing bag or plastic bag with the tip cut off. Pipe the chocolate onto the wax paper following your printed guide (or freehand it if you're artistic, or just brave).
Immediately sprinkle with nonpareils or other sprinkles while the chocolate is still wet. Allow to dry for several minutes, then carefully pull shapes or letters off the wax paper and put on top of cupcakes.
Think how cute these would be with the birthday girl or boy's initial on them. Or any shape that goes along with your party theme. Custom toppers for any occasion!
We hope you're all having a wonderful Mother's Day! My favorite part (besides my husband fixing dinner!) was the handmade gifts from my boys. My kindergartener made a book called, My Amazing Mom, and one page said, "My mom is really good at_________." He filled in the blank with "crafting."
Recently I made this mini book to celebrate just that. I don't usually take the time to scrapbook myself, but I got a design team assignment to use this mini album and coordinating die-cut pages from Little Yellow Bicycle. I LOVE this line, Fresh Print Clothesline, but it's rather girlie, and I have boys. So I was it. I decided to record my love of crafting. It brings a richness to my life, it makes me happy. Okay, I'm obsessed. I love that my kids recognize that this is a part of who I am. But I hope they always know that being their mom is the most important thing in my life. I hope this book inspires you to take some time to document who you are, what makes you happy. It's like giving yourself a little Mother's Day gift. Enjoy!
We offer several advertising and sponsorship options for businesses and blogs big and small. For more information about options and rates, please e-mail us at littlebirdiesecrets@gmail.com