


I've been carrying my crochet hooks around in a plastic bag for some time now. When they started escaping through little holes in the bag, I knew it was time for me to finally make that crochet hook organizer I've been meaning to make for the last two years. I loooove the way it turned out! I keep opening and closing it, running my fingers over the row of shiny hooks. It feels so good to be organized for once in my life! It's going to make crocheting so much easier now that I won't be digging through my bag for the right hook. Here's how to make your own crochet hook organizer clutch and get organized!
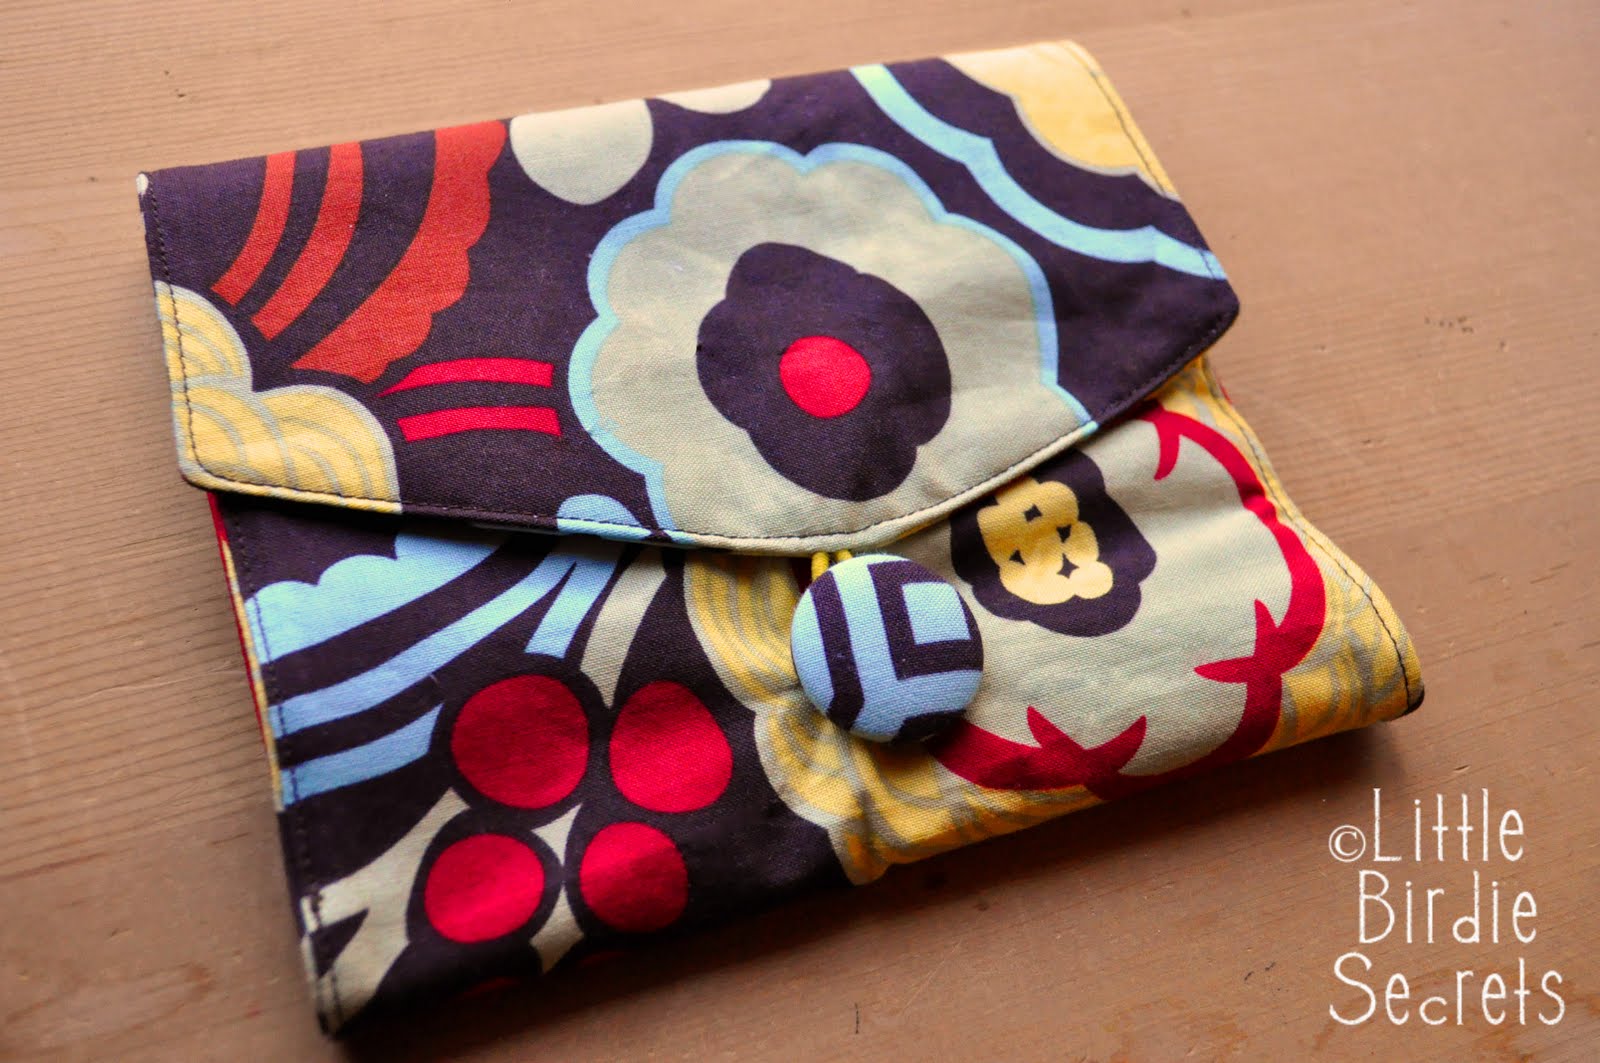

Crochet Hook Organizer {Tutorial}
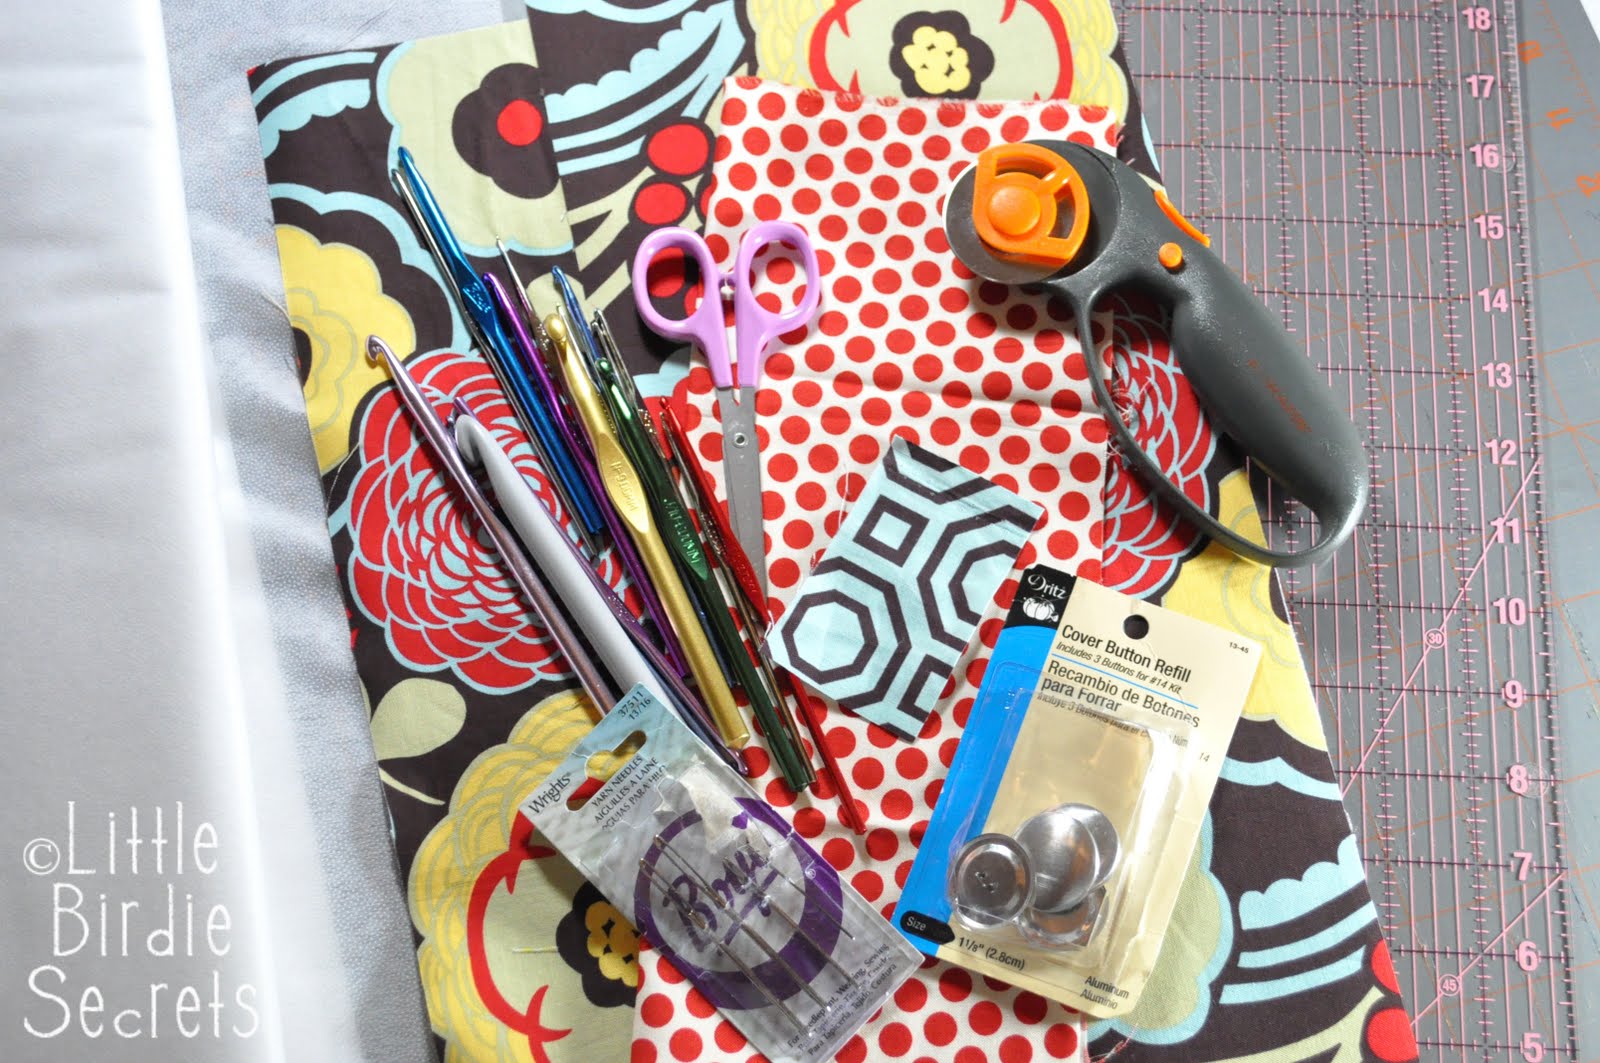
Supplies:
*2 pieces of fabric cut 16.5" x 7.5" for clutch
*2 pieces of lightweight fusible interfacing (I used Pellon Val-u-fuse)
*1 piece of fabric cut 10" x 12" for hook pockets
*1 piece of fabric cut 2" x 1.5" for yarn needle pocket
*Elastic (I used a child's hair elastic)
*Button or fabric-covered button and tool
*Fabric marking pen or chalk
*Coordinating thread and sewing machine
*Iron and ironing board
*Scissors
1. Iron interfacing to back of each 16.5" x 7.5" pieces according to interfacing's instructions.

2. With wrong sides together, lay a dinner plate on the short edge of the two pieces. Trace around the edge of the plate to create the rounded edge of the clutch. Cut along your line.

2. Fold and iron the 10" x 12" piece of fabric in half lengthwise, so it's now 5" x 12". Lay this piece on the inside piece of the clutch body along the bottom, straight (not rounded) edge, with the raw edge along the bottom of the clutch body. Pin in place.


3. Lay your crochet hooks out on this piece to see how many pockets you need. Using a ruler, draw a line with your marking pen or chalk to mark the where you'll stitch lines between each hook to create hook pockets. Below are sample sizes I used for my pockets. I made them quite snug so they wouldn't fall out when the clutch was folded up. I also included a spot for my little scissors, and a couple of extra spots for duplicate hooks (I have two of a few hook sizes).


N - 3/4"
K - 3/4"
J - 5/8"
I - 5/8"
H - 1/2"
G - 1/2"
F - 3/8"
E - 3/8"
D - 3/8"
C - 3/8"
7mm or smaller - 1/4"
Scissors - 1"
4. Take the piece you cut for your yarn needle pockets and fold under and iron each edge 1/4". Measure and mark your lines for your needles. My lines were marked about 1/8" from each other, with a slightly larger spot for a stitch marker to fit. Pin to inside piece of clutch near the rounded edge.


5. Stitch each marked line to create your pockets. Be sure to fold under the right side edge and stitch it close to the edge. Don't worry that the left hand edge and bottom of the hook pockets are still open--you'll close them up in the next step.


6. Time to sew on your button. Take the other piece of 16.5" x 7.5" fabric and fold over the straight-edge side 6". Fold the rounded edge over. This will help you see where to place your button. Your button should be about 1/4" from the rounded edge (remember that there will be a 1/4" seam allowance when you sew the body together, so the button will end up being 1/2" away from your rounded edge). You can use a regular button, or create a coordinating button with a covered button kit and a little fabric. Stitch your button in place.


7. Next, pin your two pieces of the case together with right sides together. Pin your elastic band in place in the center of the curved edge. I folded my clutch up first to make sure it was going to be the right length to reach the button.

Be sure to leave a 3" opening on the top edge for turning your clutch right-side out!

8. Stitch around the edges using a 1/4" seam allowance. I stitched and backstitched over the elastic a few times to make sure it was secure.

9. Clip your corners and turn right-side out through your 3" opening.

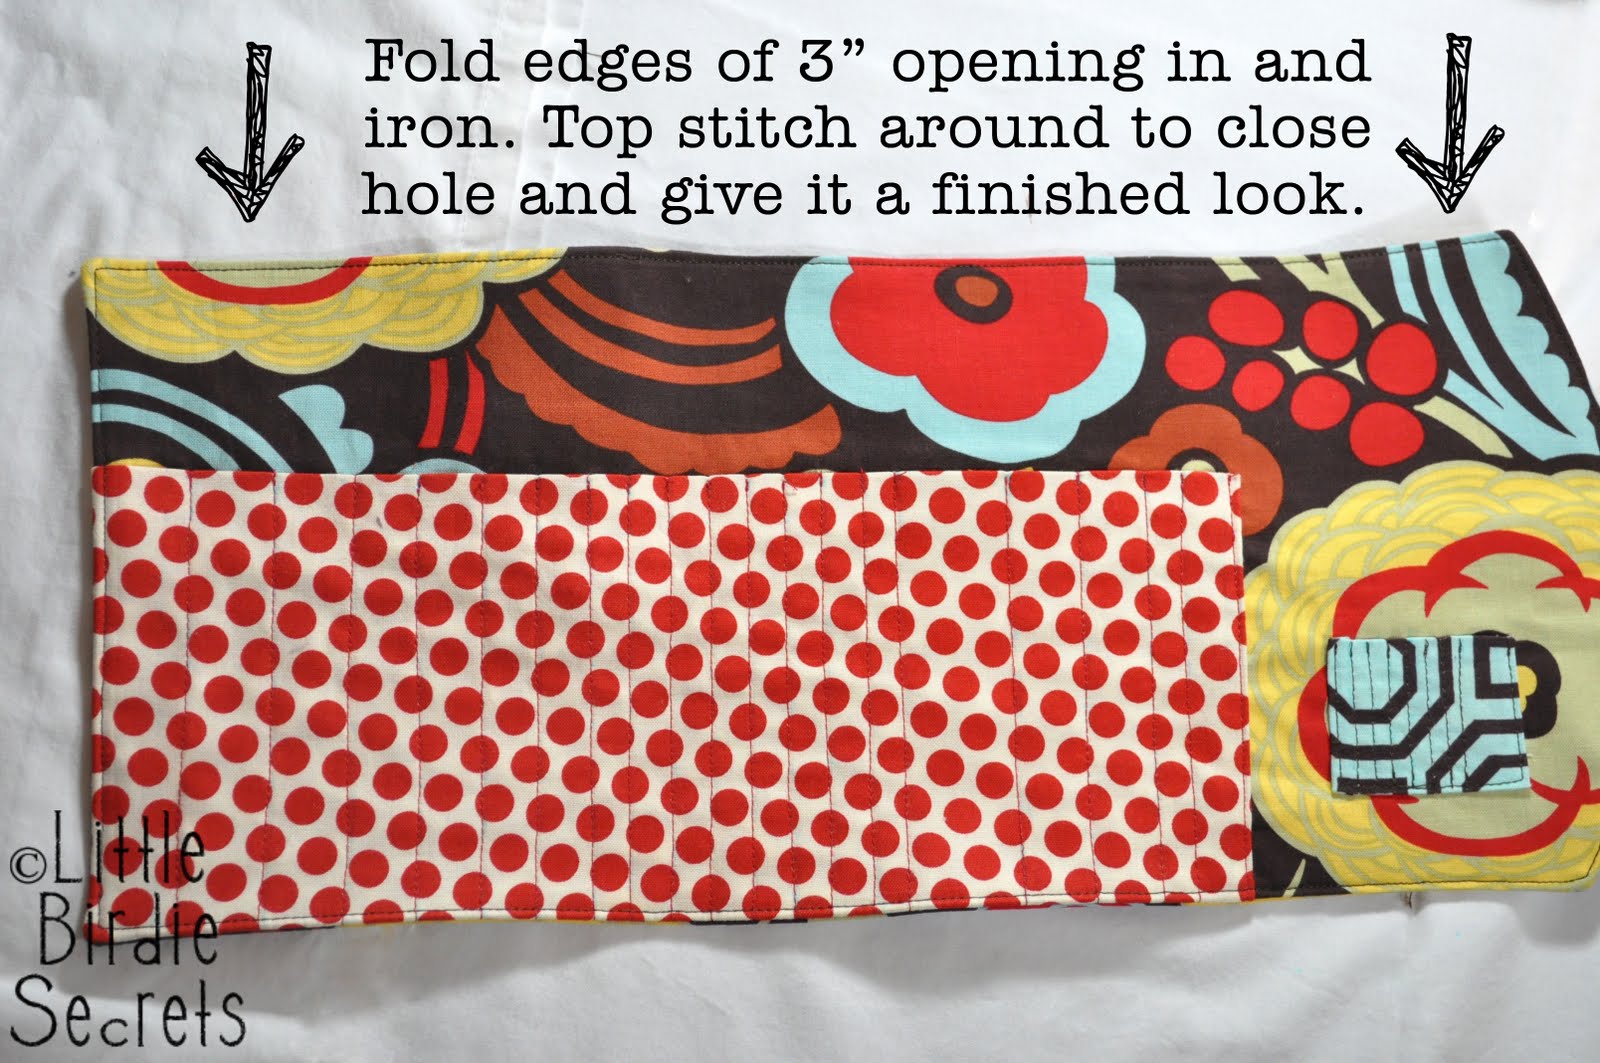
Fold in your 3" opening so the edges are flush. Iron flat.

10. Top-stitch around the entire case, close to the edge. This will close your 3" opening.

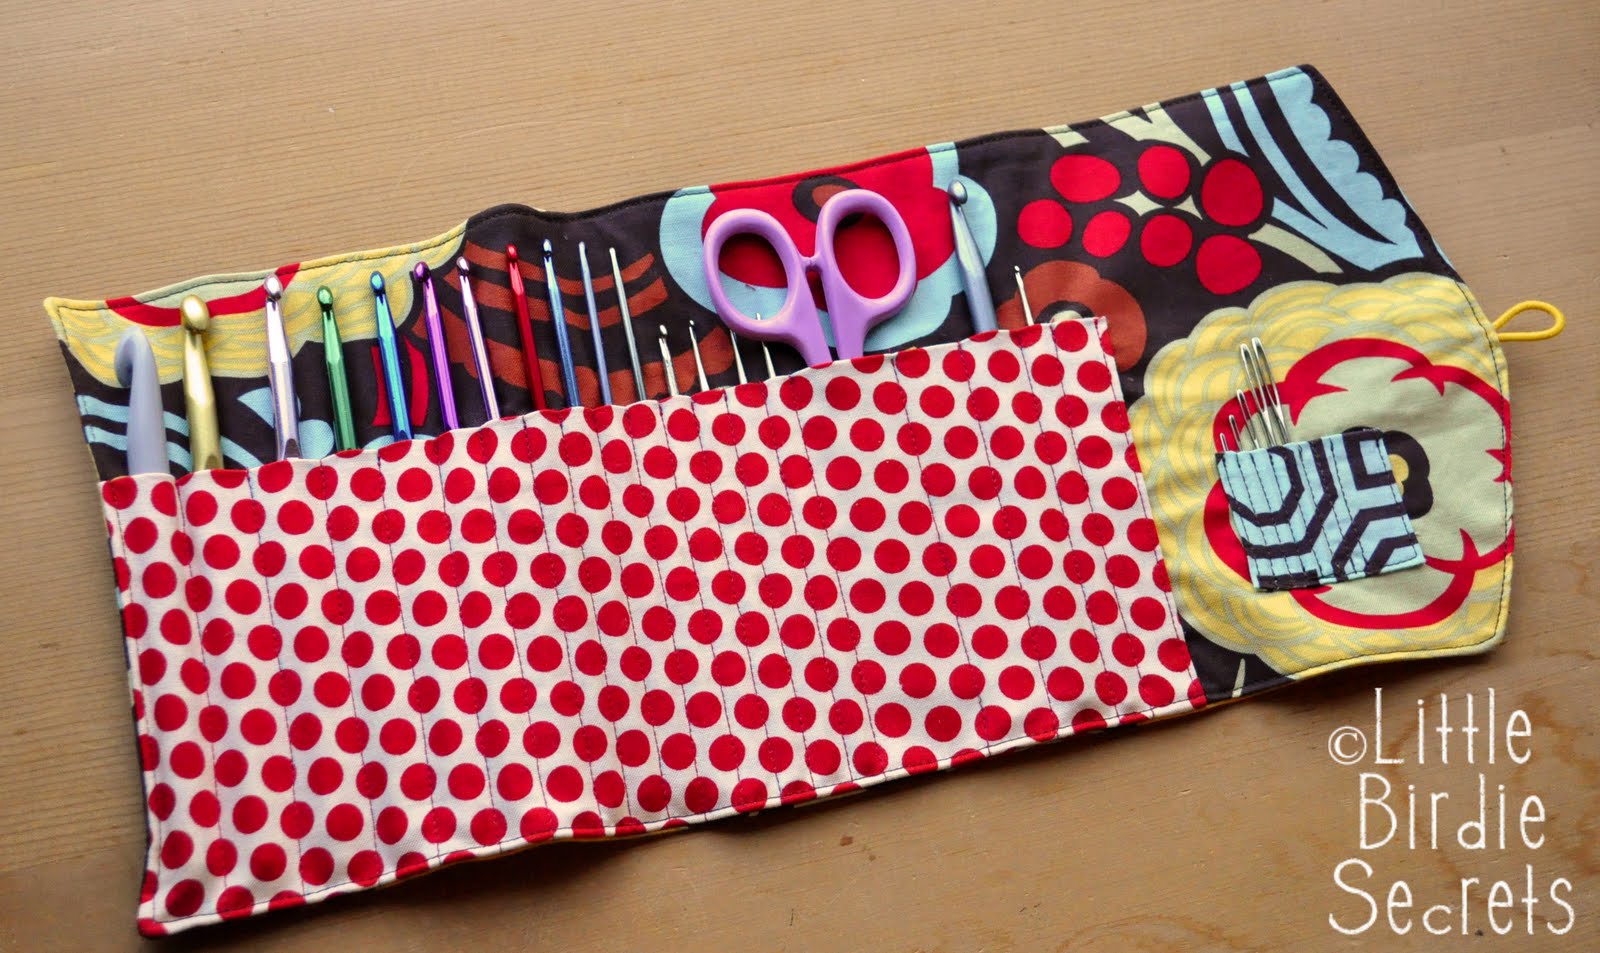
Load your hooks, scissors, and needles, fold it up and button it closed, and you're organized! Ahhhh. . .


Now I just need to come up with a good way to organize all my yarn that is taking over the family room!
share this on » |
{Facebook} | {Twitter} | {Pinterest} |


44 Responses to “crochet hook clutch tutorial {get organized}”
This is genius! I'm definitely adding this to my list of to-do projects. Thanks for sharing!
Talk about perfect timing! I am constantly losing hooks/needles through those little holes in my plastic baggy! Great tutorial, especially for someone new to sewing! Thanks.
Darn! I just bought one of these on Etsy! hahaha!
I've awarded you the Stylish Blogger Award...recieve award at
www.therepurposeproject.blogspot.com
Thanks you...your'e amazing!!
:) Tiffani
Hmmm, I've just made myself a crochet hook roll, but this one is so much better!... uhoh!
That's beautiful! I love the little sewing needle pocket. Great job!
How great! I am going to try this for my friend. She loves to crochet and this would be a perfect birthday gift for her!
Thank You,
Nicole
i REALLY need to learn how to sew! this is amazing!
It's a shame you didn't post this last year. I could've used it! Made up my own instead: http://helbyshatch.blogspot.com/2010/12/xmas-presents-galore.html
What a great tutorial! I just lost the crochet hook I use the most and must now replace it. Thanks for helping my find a way to keep them organized from now on!
Πολύ όμορφο και πρακτικό!!!!!!! ΜΠΡΑΒΟΟΟΟΟΟ!!!!!!
This is super awesome! I keep all of my hooks in a zipper pouch, but I always have to fish for them. I have such a hard time finding my tapestry needle every time, LOL! I think I will give this ago for my crochet hooks and my double pointed knitting needles! Thanks so much!
THANK YOU! This is exactly what I needed. I have a carrier that someone gave me, but I have too many large needles and they won't fit. Thank you so much for the tutorial. I will be making one soon! I'll post mine and link back when I have it finished!
www.oursevendwarfs.com
Are the hooks in tight enough so that they can't slide out during transportation if the clutch is turned sideways?
This is a super tutorial!
thanks for sharing! x
I love the way you added some little compartments for your needles.
Today's project! Thanks!
I LOVE this! I was thinking about making one of these, but wasn't exactly sure how to go about it. Thanks for the tute. This is PERF!
Just wanted to let you know, you've been featured at my blog: WOuldYouLikeYarnWithThat.blogspot.com! Be sure to stop by and pick up your button! I love your tutorial for this! If only I could sew...
Oh my dear!!! This is adorable! I wish I would have see this before I bought mine! But I think I might make this for my extras!!! Thanks so much for the tutorial!
Wonderful! Easy and useful, absolute perfection. Well done. Wising you happiness, Katherine
I have a huge, six drawer dresser full of all the yarn I can stuff in it. That works pretty well, but I think I might need two... Can't wait to do this tutorial! Thanks much, I've been meaning to make one of these and just haven't taken the time to plot it out. Now you've done it for me;) You rock.
This is adorable!! Would you be willing to do a guest post on my blog with this?
This is perfect! I'm so glad you posted pics with the tutorial. I'm a beginner so I can use all the help I can get. I'll be trying this project as well as your crocheted hearts :-)
I just finished making this and it turned out great! Thank you so much for the pattern.
I just finished making this and it turned out great!! Thank you so much for the pattern. :)
I just used your tutorial to make my mom a hook case for her birthday. http://stephaniesscrappingstation.blogspot.com/2011/02/hooked-on-you.html
Wow this is gorgeous! thanks for sharing the tutorial!
i'm new to crochet and new to your blog and i just LOVE this idea! perfect timing... i was about to design my own, but i'm sure this will be MUCH better! =D
Just finished my hook case! Love it!! Thanks again for the tutorial.
www.thecraftproject9.blogspot.com
What a wonderful find this is for me. My hook case is so ugly, but most of the pretty ones never make space for scissors or needles. I have just the fabric.
Hi! May I feature this tutorial on sewcanshe.com? Please drop me a line and let me know. caroline@sewcanshe.com
Thanks!
My mom asked me to make her one of these (with the link to this tutorial!). I made it and it will be on my blog tomorrow. Thanks for the tutorial!
http://kpmattingly.wordpress.com
I love your tutorial and linked it up to my post. I made it for a friend. http://crazydazedesigns.blogspot.com/2012/03/package-pal-party-reveal.html
That is so cute! I'll have to try that. Thank you.
Great clutch!
Any for Tunisian Crochet hooks? ;-)
(hard to read the word verification characters)
Fantastic pattern...thank you so much! I've now made up three for me and friends. I added a zippered pouch inside of it to hold the extras. Thank you!!
Is there a way to print this out? A PDF perhaps? I've tried every way I know of to print it but can't :( For now it's just remaining open on my little laptop so I can make some for my little girls who are crochet crazy right now!
jolenethiessen @ gmail. com
This was so super simple and easy. Especially for a beginner. Thanks so much for showing so many details in the 'tut', was able to follow all instructions (verbal & pics) and it came out EXACTLY like yours! Think I'll make one for knitting needles!
I love this so much! I made a similar case using your tutorial over the weekend. I've just linked you on my blog: http://www.thingsrachelmakes.com/sewing/crochet-hook-case/
Thanks for the fantastic tutorial.
I love this! I will be making this hook-holder, with one small alteration in the pattern... I will make the main fabric piece(s) about an inch taller, so there is a flap of extra fabric to fold over (to the inside), so that when the bag is rolled up, the hooks cannot slip out through the top, in case they end up upside-down in a tote, etc. See my picture, here: http://www.pinterest.com/pin/95490454573178724/
I love this tutorial! I just made this and now I feel an inner peace knowing all my hooks and needles and scissors are together! I even added a pocket to the back side to hold my stitch markers... Thanks so much for sharing this tutorial!
I just made this for an elderly lady at my church who always blessings in the new mommies with gorgeous blankets. This was such an amazing tutorial to follow... I would say even the best sewing tutorial I've ever followed. You did so well in both written word and photo documentation. I have several other friends who crochet that I'm sure will be asking me for these cases. Thank you again! I wish there was a way I could post a picture of what I made!
Thank you so much for this tutorial! I made one for my crochet hooks, and figured out it holds my art pencils perfectly so I am making a second one now.
Post a Comment