I'm heading back to Seattle tomorrow to pack up the furniture and craft supplies in our storage unit and haul them back to Utah. Well, PODS is hauling them back, but we're making a little vacay out of it. So we have a fabulous guest post this week showing how to make gorgeous and "tres professional" tabbed drape panels from our new bloggy friend Kelly. You will love her! Even if you don't intend on making any tab-back curtain panels soon, if you sew you should read this tutorial. She is hilarious. Enjoy!
Hi! I'm Kelly from View Along the Way. My husband and I are fixing up our crusty ol' foreclosure on a teeny little budget and blogging about the starts - and stops! - along the way. This is how I (finally) created some curtains for our master bedroom, even as a VERY novice seamstress.
Let's just get this out of the way: I don't know whether to call these "curtains" or "drapes." Or "drapery panels." Or "window dressings." Skivvies for your wall orifices? I also never know whether to say "armoire" or "armuaaaaahh." Or "vase" or "vahhhze."
Also unfortunately, my sewing skills are about on-par with my decor-pronunciation (in)abilities. Sorry about that. Hopefully I can still explain this clearly enough for you to go forth and sew your own
This process is not hard. It's just long, with lots of steps. Best completed accompanied by wine and a mom who can sew. This is the method I used to make the drapes in my master bedroom...
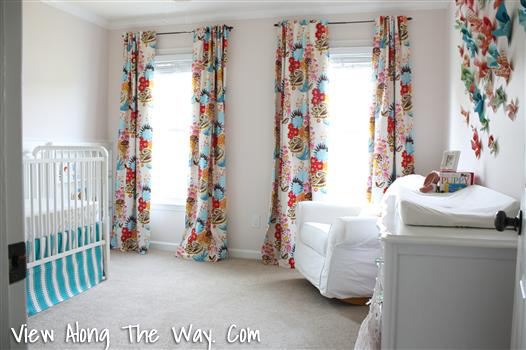
And in my nursery.
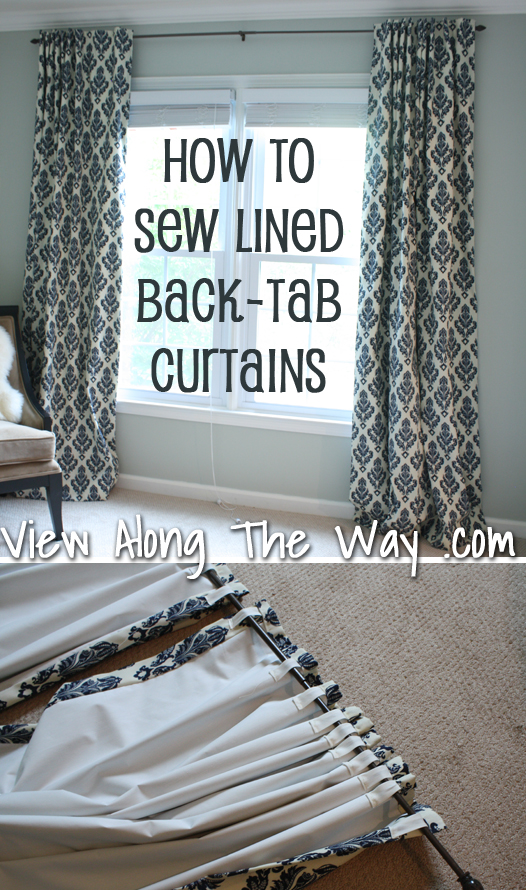
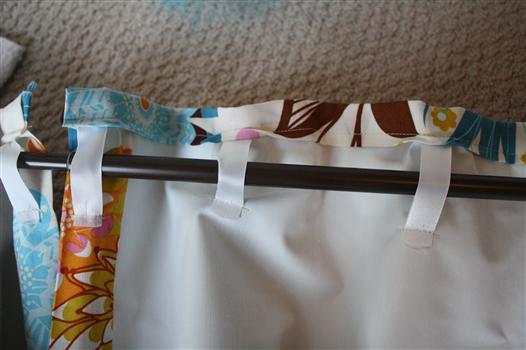
I leaned pretty heavily on this great tutorial at Midwest Magnolia, but I improvised my own back-tab system because I love how the back-tabs look hanging up:
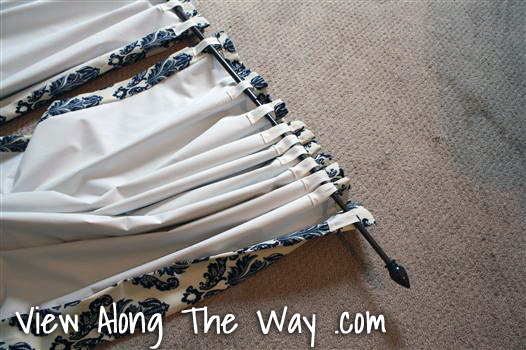
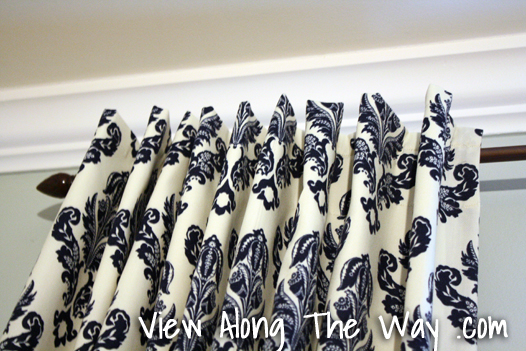


So here's how it all goes down!
Materials Needed:
- Curtain Fabric
- Lining Fabric
- Thread (my fabrics are THICK but regular thread seamed to work okay.)
- Hem tape or ribbon for back tabs
- Patience. A helpful mother or friend recommended.
1. Cut Your Drapery Fabric
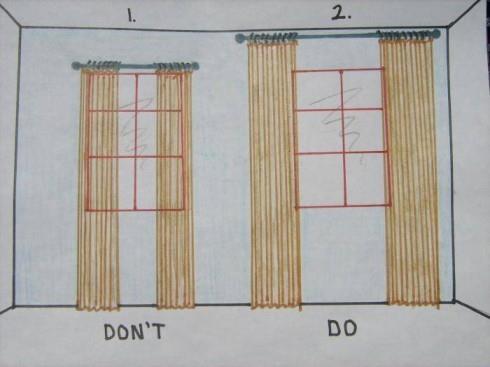
Measure the finished length you want your panels to be. TIP: Plan to hang your curtains high and wide!2. Cut Your Lining Fabric
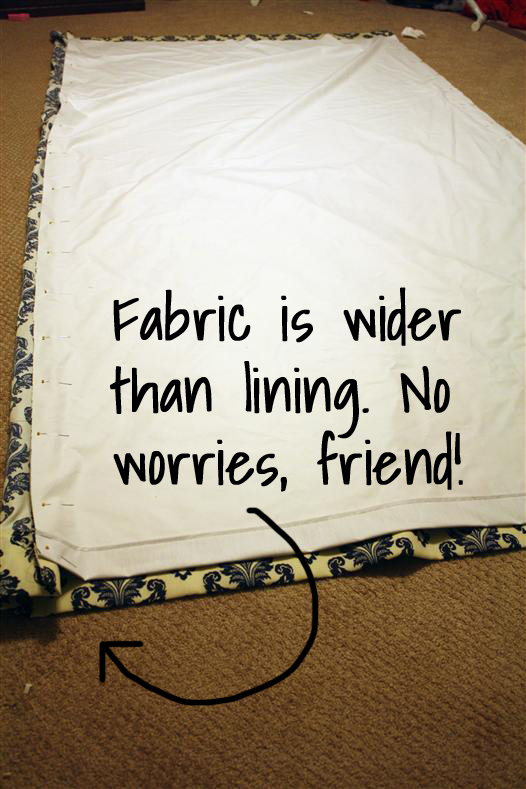
It's all about the lining isn't it? No flimsy, transparent curtains for us! We're using blackout lining and sleeping til noon! In an alternate life. Okay, remember how long you wanted your finished panels to be? Add 2.5 inches to that, and that's how long you should cut your lining. (My panels are 96 inches long, so I cut my lining 98.5 inches long.) Now, cut the width of your lining to six inches less than the width of your curtain fabric. (For me, this was 49 inches.) Here's a pretty little picture for ya: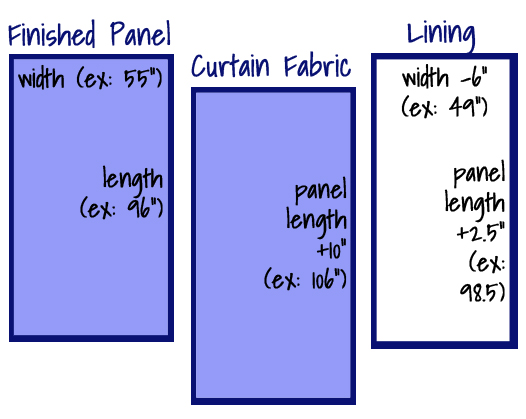
3. Hem the Bottom of the Curtain Fabric
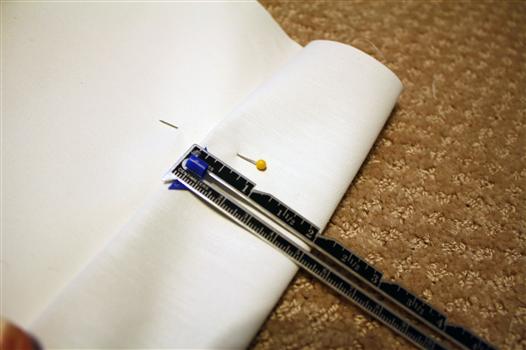
Fold your fabric up four inches from the bottom and iron the fold. Then fold it up another four inches, iron it, and pin it in place.
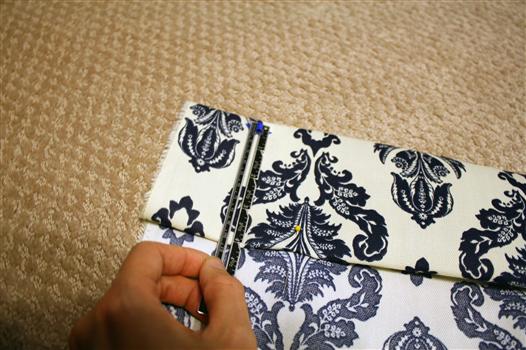

Sew the hem. No fancy stitches here. Just a plain-vanilla straight stitch or whatevs. Make sure you back-stitch at the beginning and end.
(I like to say things like "make sure you back-stitch," as if that's something I was totally familiar with before attempting this project.)
4. Hem the Bottom of the Lining Fabric
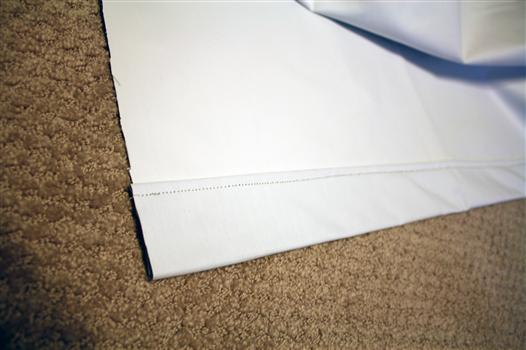
Fold the bottom of the lining 2 inches up and iron the fold. Fold another 2 inches up, iron the fold and pin it in place. Sew the hem, doing your back-stitch thang.
I'd like to draw your attention to the relatively straight hem you see before you. This was unprecedented for me. Hold your applause, please.
No one look at how horribly crooked I cut the lining though. Move along, move along.
5. Sew the Lining to the Curtain Fabric
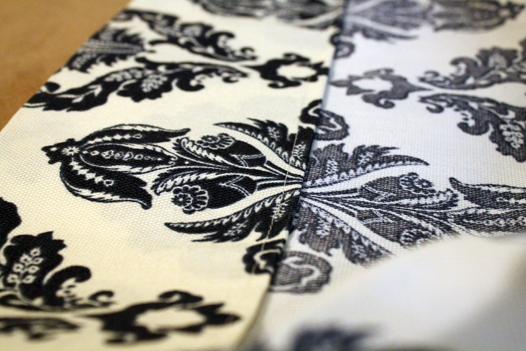
Lay your curtain fabric on the floor, right side up. Now lay your lining on top of it, right side down. (The right sides are facing each other, because in a minute you're going to sew the sides together, then turn it inside out like a pillow. It'll be magical. Hang in there with me.)
Please no one ask my mom how many times I accidentally didn't lay the right sides together and had to go back and redo this step. I was embarrassed for myself.
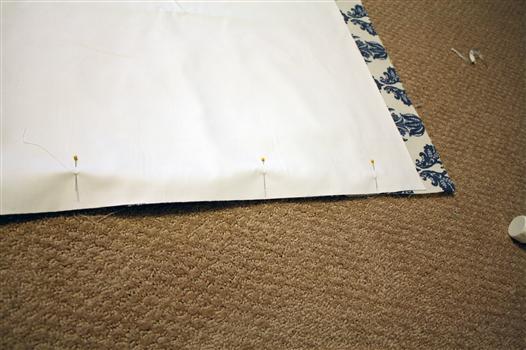
The bottom of the lining should be 1.5 inches from the bottom of the curtain fabric, and one of the sides should be lined up. Like this:
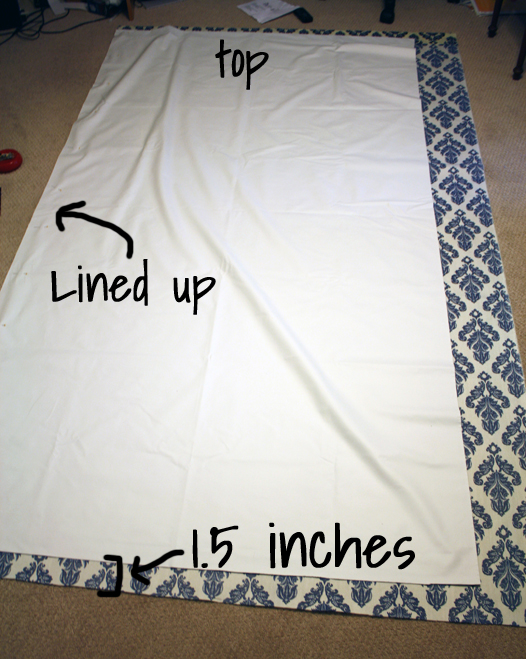

Now, pin down the side where the two fabrics are lined up.
And sew that side together. Straight stitch. Nothing crazy. You should probably backstitch here too, but what do I know?
Now that one side of the lining is sewn to one side of the fabric, lay them back on the floor again, and line up the other side. Because your fabric is wider than the lining, it'll be bunched up and kind of awkward. Just do the best you can to make the second side lined up, then pin it in place.
Now sew that side too.
NOW. Stand up and pat yourself on the back! (Necessary step.) Because here is fun part #1: Turn the panels inside out, and you (almost) have a lined panel! All you have to do is finish the top and bottom! LOOK AT YOU GO!
6. Straighten out the sides and iron
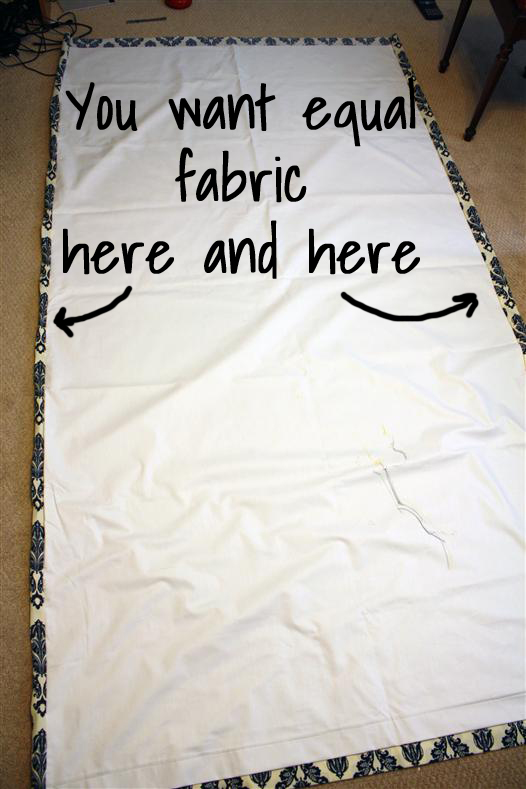
Lay your curtains on the floor, lining side up. Now, kind of maneuver the curtains until you have equal curtain fabric on each side of the lining.
Iron the side edges so it stays in place. Extra credit if you starch it.
7. Finish the bottom
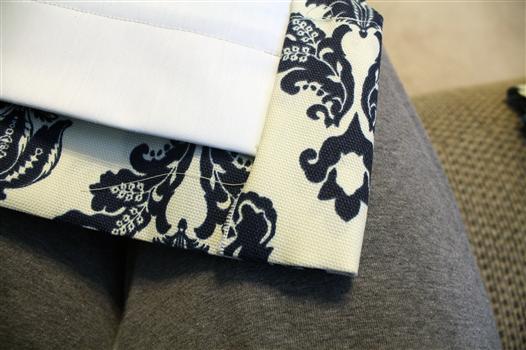
Right now, the bottom corners of your panels look like this:
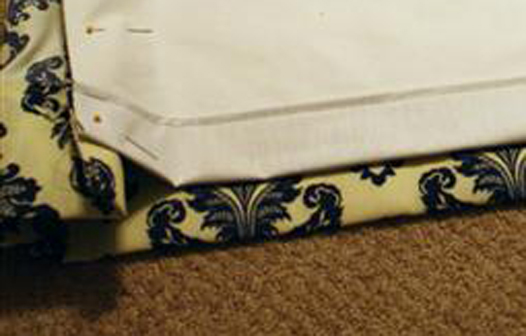
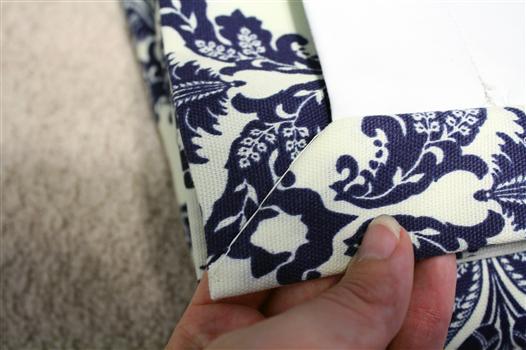
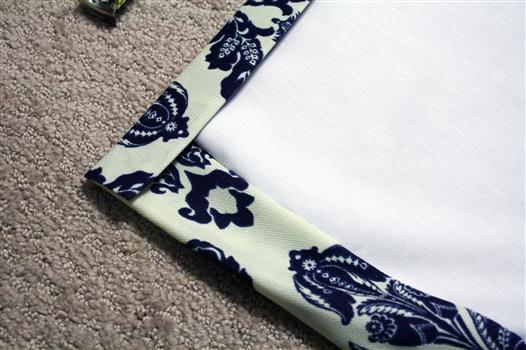
Fold the corners of the curtain fabric in so it looks like this:
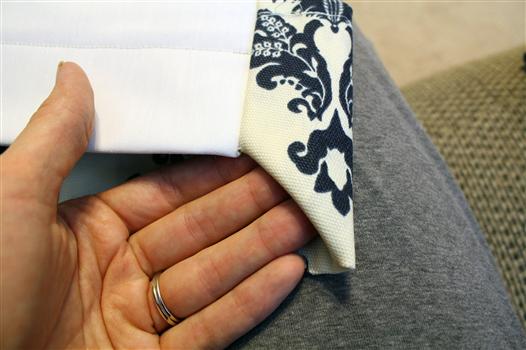
Now, "just" blind-stitch the corners in place. I say "just" because I still don't really know what that means. Basically, you're hand-sewing the corner in place. The truth is, you can really skip this step if you want. If you don't do it, the curtain police will not even know about it. If you do it, it will look something like this:
Tres professional, no?
8. Make Your Back Tabs
Warning: I completely made up this entire process. Maybe there is a "right" way to do this? I'm not sure. But this way will get you there.
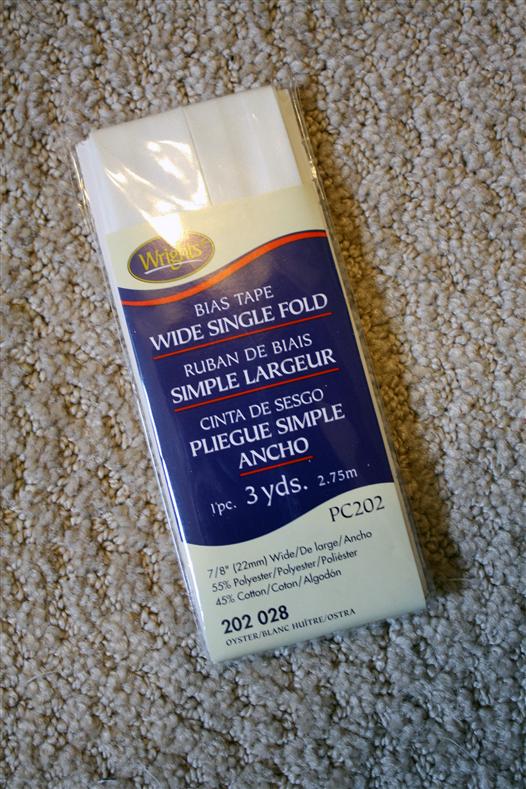
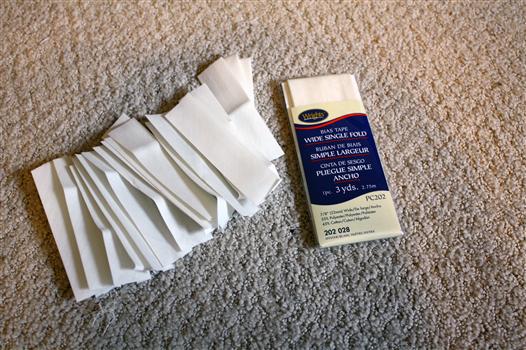
For the tabs on my master bedroom curtains, I used hem tape:
Because I was using hem tape, I hemmed the top and bottom of each tab to reinforce them, since they will be holding the weight of the curtains.
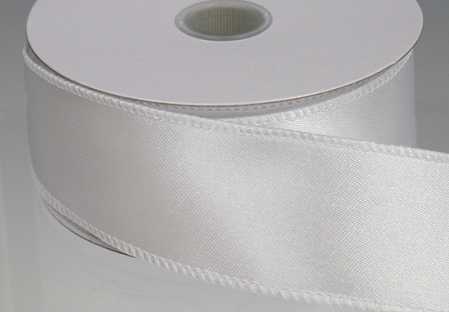
After I went through that INCREDIBLY TEDIOUS process with the master bedroom curtains, I changed things around when I sewed the nursery curtains, and I just used satin ribbon like this:
I cut a bunch of 2.5-inch long tabs out of the ribbon and I didn't even hem the edges because the ribbon seemed sturdy enough.
(The tabs are not as crooked as they look in this picture, pinky promise.) So far the ribbon is holding well enough for me. I won't tell if you won't.
Now that you have a nice pile of back tabs ready, it's time to pin them to your curtains.
9. Prepare the Top
Fold the top edge down 1 inch and iron the fold. Fold it down 1 inch again and iron it. Don't sew it yet though, you overachiever. Just hang on one second.
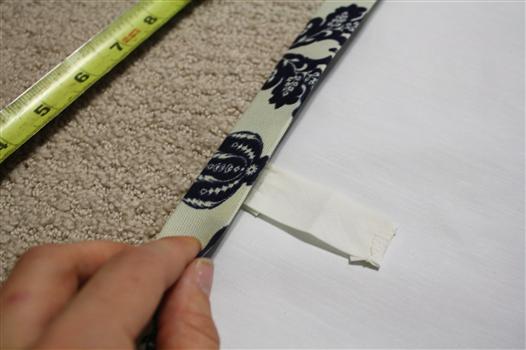
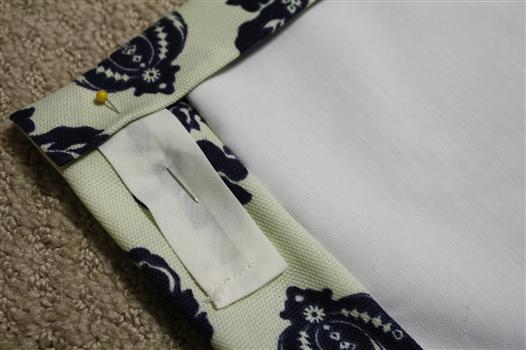
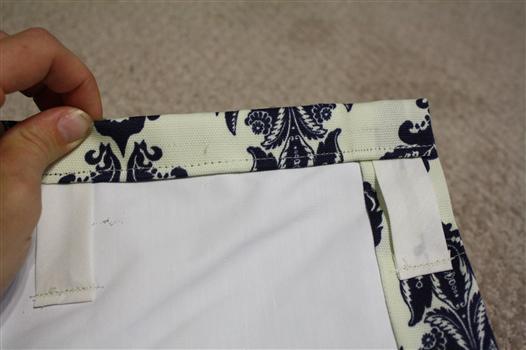
Now place your back tabs evenly spaced along the back of the panel, tucking them about 1/2 inch underneath the folded top edge you just made.
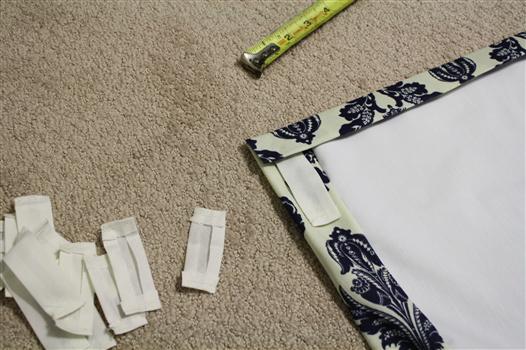
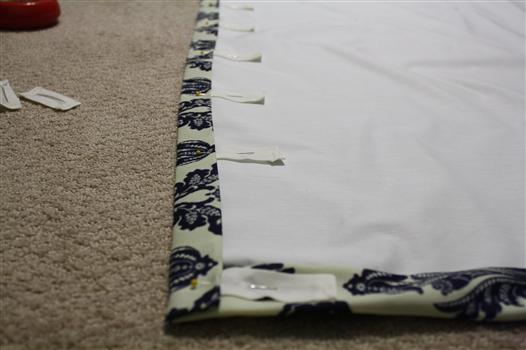
You definitely need a tab at each end of the panel. Then evenly space the rest in between. Pin them in place. Make sure you've tucked about 1/2 inch of each tab underneath the edge of the curtain fabric.
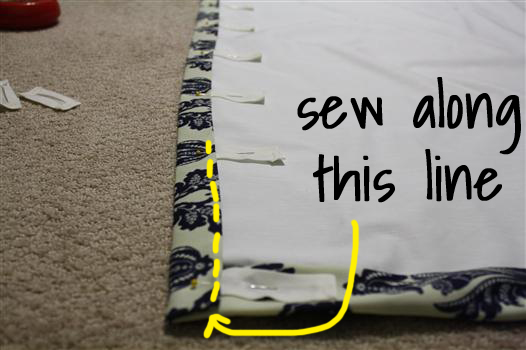
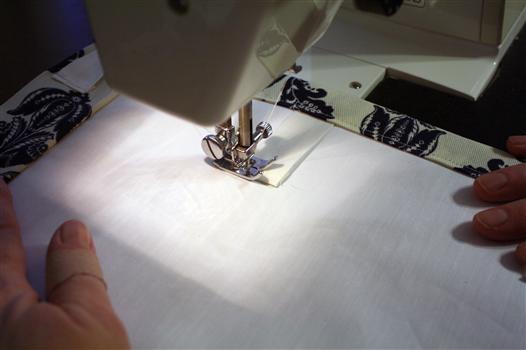
Now just sew along that fold. You'll be simultaneously sewing the top edge down AND sewing the tops of the tabs in place.
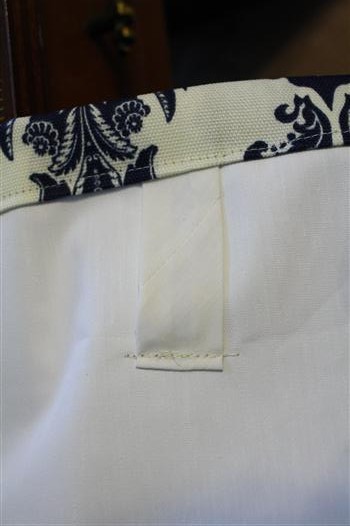
Once you've sewn one straight stitch along the top of the curtains, go back and sew the bottom of each tab in place. I sewed over the bottom, backstitched, sewed over it again, backstitched, a bunch of times to make sure the tabs were on there really good.
AND YOU'RE FINISHED!

Hang those "curtain drapery panel window clothes" high and wide, then sleep til noon. You (and your mom) deserve it. I hope you'll join me over at View Along the Way for more fun tutorials, projects and silliness! You can subscribe to my blog here, or follow me on twitter or facebook.
share this on » |
{Facebook} | {Twitter} | {Pinterest} |






15 Responses to “how to sew tab-back curtains {guest tutorial}”
these are beautiful! Thanks for the great tutorial :)
Where did you get your fabric? Both are beautiful. Great job on the curtains!
great tutorial! thanks so much for sharing!
Loving your drapes! Both sets look gorgeous.
I am totally saving this tutorial!! Thanks so much for sharing it. :):)
Lovely! And a roll of satin ribbon is so much cheaper than those darn curtain ring clips!! Thanks for sharing!
Beautiful! And excellent post with clear directions. Thanks!
Just finishing hanging mine, didn't use the lining and added tie back. Thanks for the wonderful tutorial!
This indeed is a helpful tutorial for sewing curtains. The picture is beautiful. ~ Curtains Singapore
I was looking for information on how to add tabs to to a store bought curtain. This is VERY helpful. My curtain is very flimsy. So you think that I need a stiffening pannel along the top?
The pictures are clear and show the different steps nicely, both close up and wide shot.
Thanks!
Does the stitching on the bottom of the tab show on the front of the curtain or did you hand sew the tab to the lining only?
Boy, I was just in the middle of trying to figure this all out (I am no sewer either!) and thought I would seek some advice and tips on the internet. Seems I had it pretty well figured out! I did buy some heavy duty tape that looks like venetian blind tape and am using that so there will be no hemming on those, they hold their edges and are pretty sturdy since my fabric is a home décor fabric and a little heavy.
So glad to see this, I feel relieved like I am doing this right!!
Jt
I have made lined drapes before but had never made them with the back tabs. I like your directions. I changed one thing: to sew the bottoms of the tabs down, I just sewed all of the way across the drape, back-stitching over the bottom of the tabs, so each one got stitched three times. I thought that might look neater than short stitches on the front of the drape. Thanks for the directions! Well done!
Absolutely great! I'm in the middle of trying drapes for the first time myself. Wish i had found this tutorial a month ago. Great job, thanks!
Very helpful!! What is the finished width of the curtain panels? (Is it the width of the lining?)
Post a Comment