Can you believe our "bird-day" bash is coming to an end? Are you loving all these amazing guest tutorials? Me too! I'm all moved into my new home in Iowa City, and today I unpacked my craft room, so I'll be back in business soon. Lots of love to Vanessa of
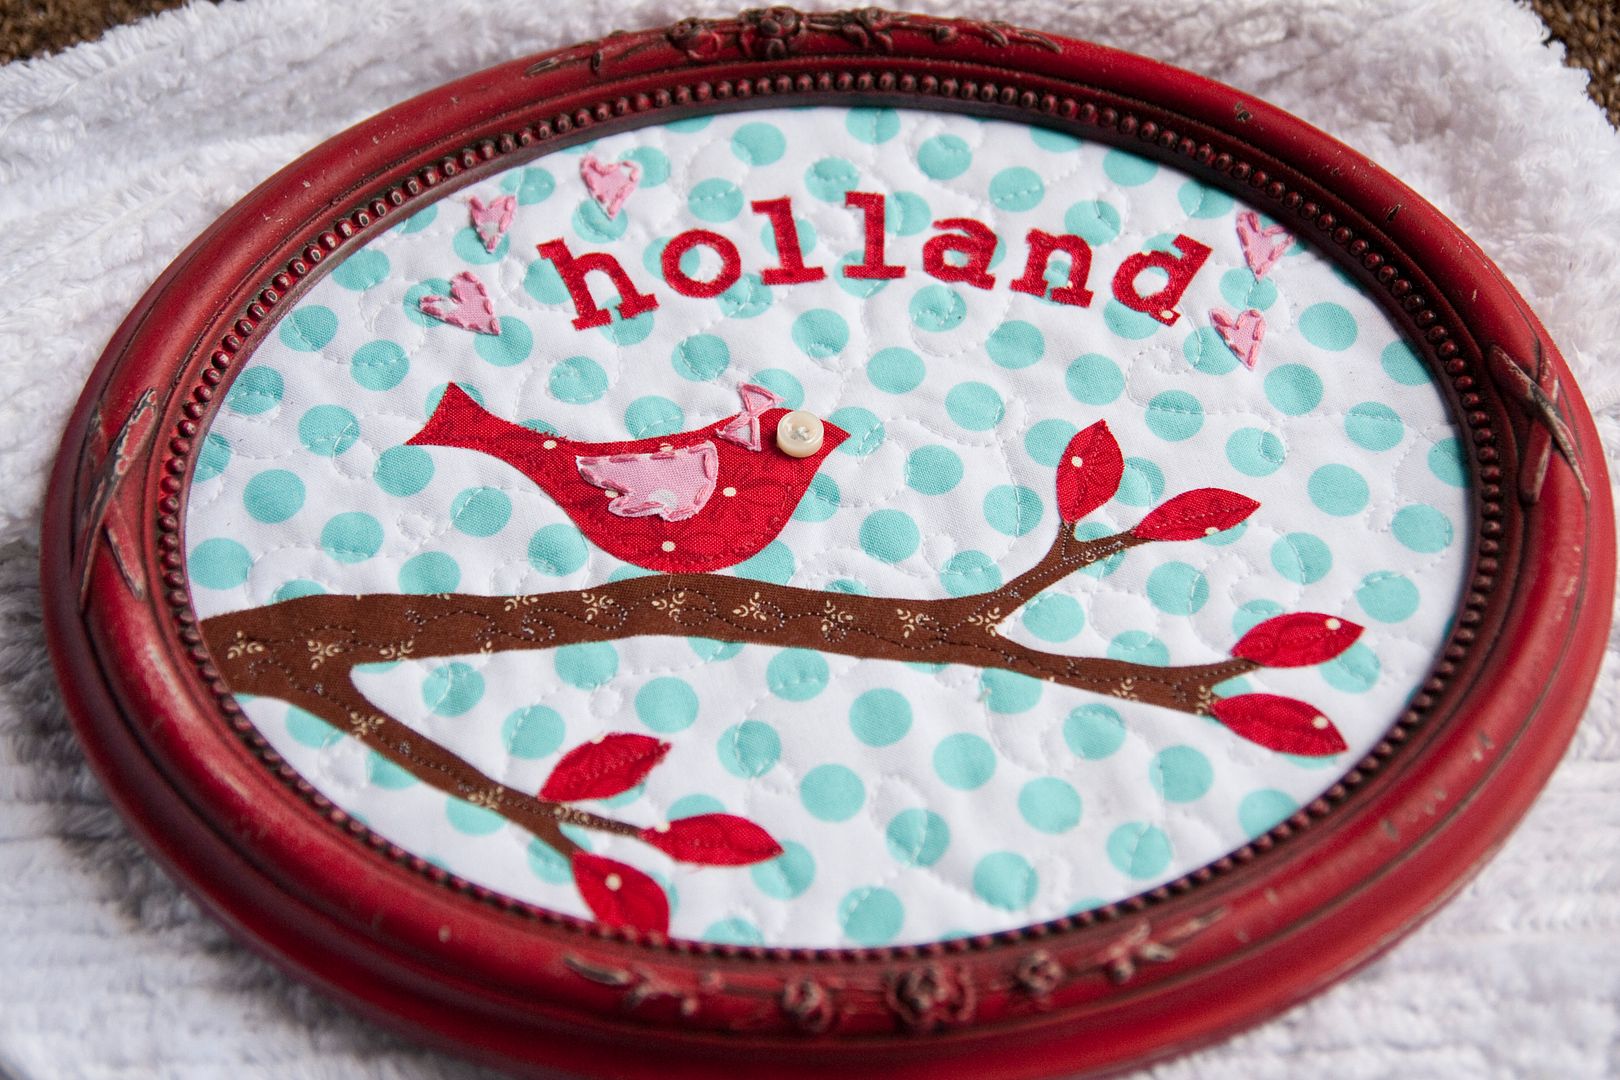
Lella Boutique for another fabulous post today--it even features a birdie! You will flip over this tutorial on how to distress a picture frame for an antiqued or shabby chic look. And if you love the birdie in the middle like I do, check out her
baby bird stitcherie tutorial, too! Thanks,
Vanessa!
Frame in Distress
I totally adore the look of a crusty, old frame with its paint worn away. (And let's not forget my new obsession with oval frames...) The question is, what color to use?
The first thing you'll need is a frame to paint. I found a few on sale at the craft store, but you could use one you already have to give it a new look (or find a real treasure from a thrift shop).
You'll need to set up a work surface in an area that is well-ventilated. (I love my screened-in porch area.) For my work surface, I set a cardboard box atop a canvas drop-cloth.
Unwrap the frame and remove all parts you don't want painted (i.e. the glass, the back insert, etc.). Lay the frame onto the work surface.
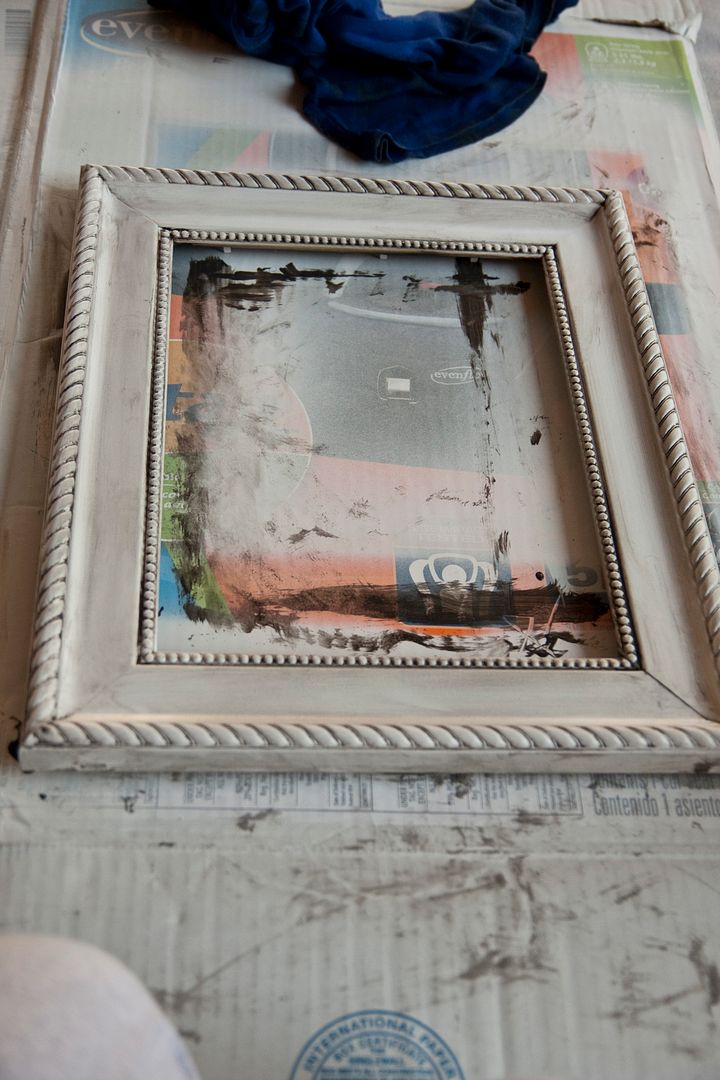
Prime the frame. I generally use Krylon-brand spray (white). Spray a light coat of the primer onto the frame and let it dry 10-15 minutes before adding another coat.
After 5-6 coats of primer, the frame will be solid-white and ready for some color!
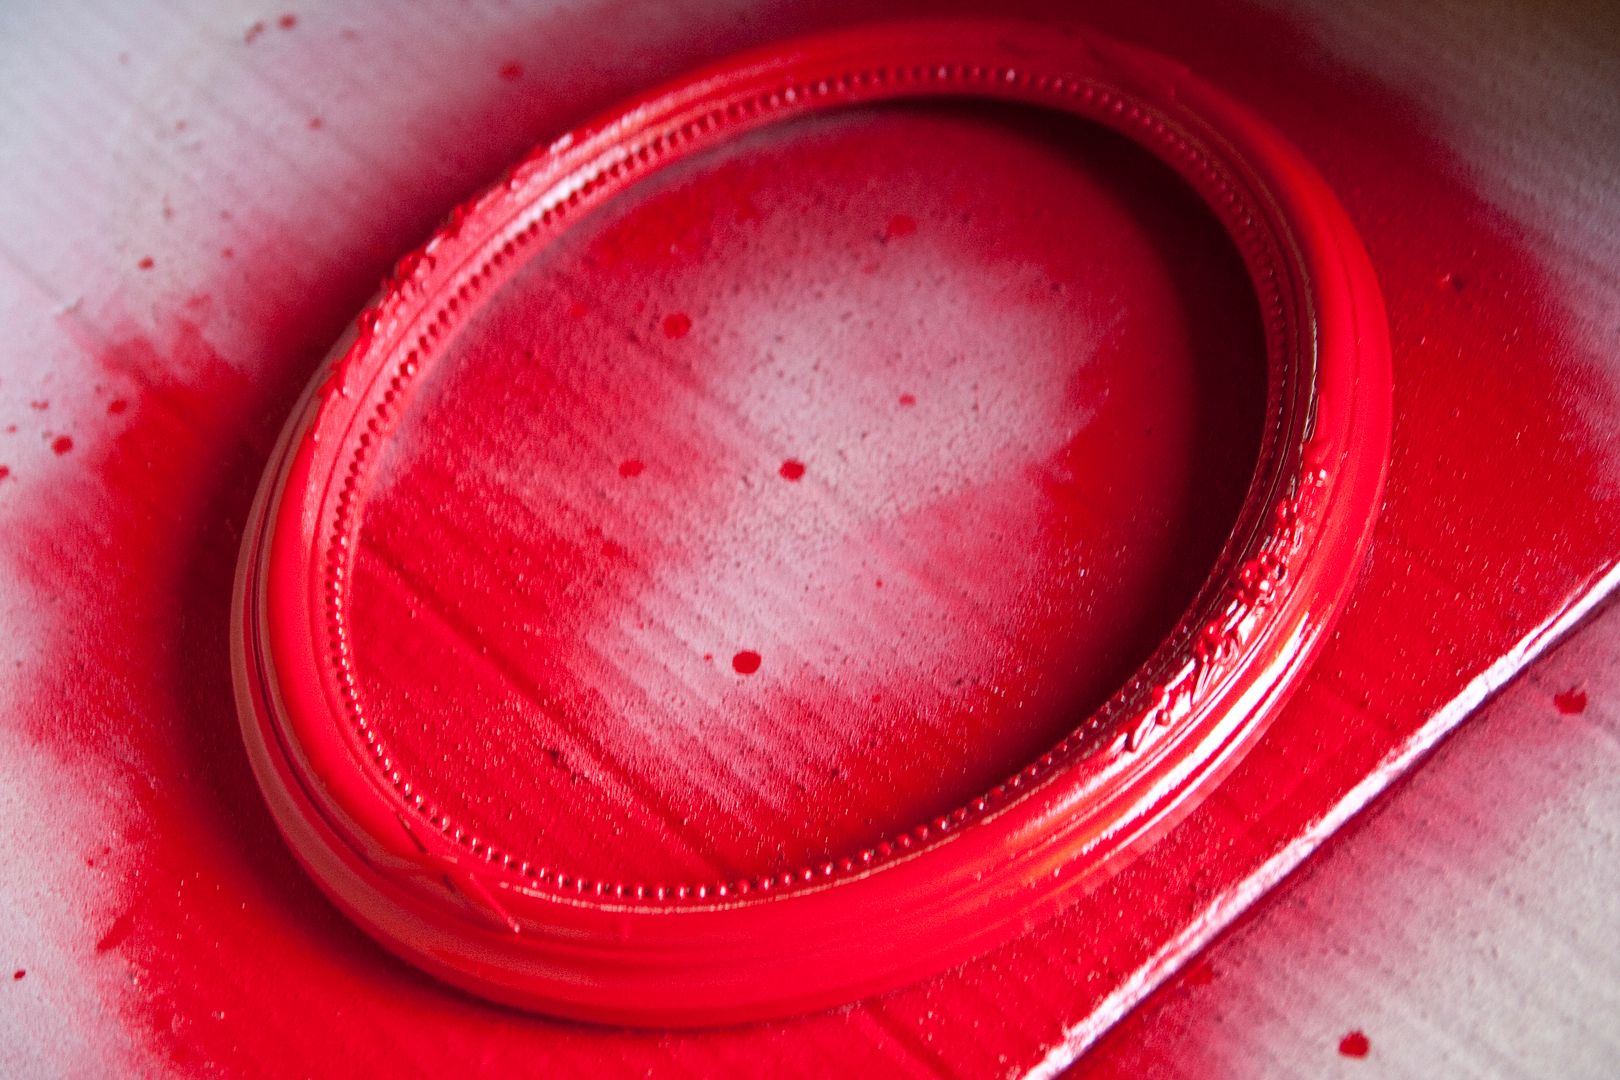
Occasionally, I will paint the frames a neutral color like white or cream, but I much prefer a bold color like the cherry-red I used below (Krylon-brand). Apply one coat of paint, wait 10 minutes, and repeat. After 3-4 coats, let the frame dry for several hours to overnight.
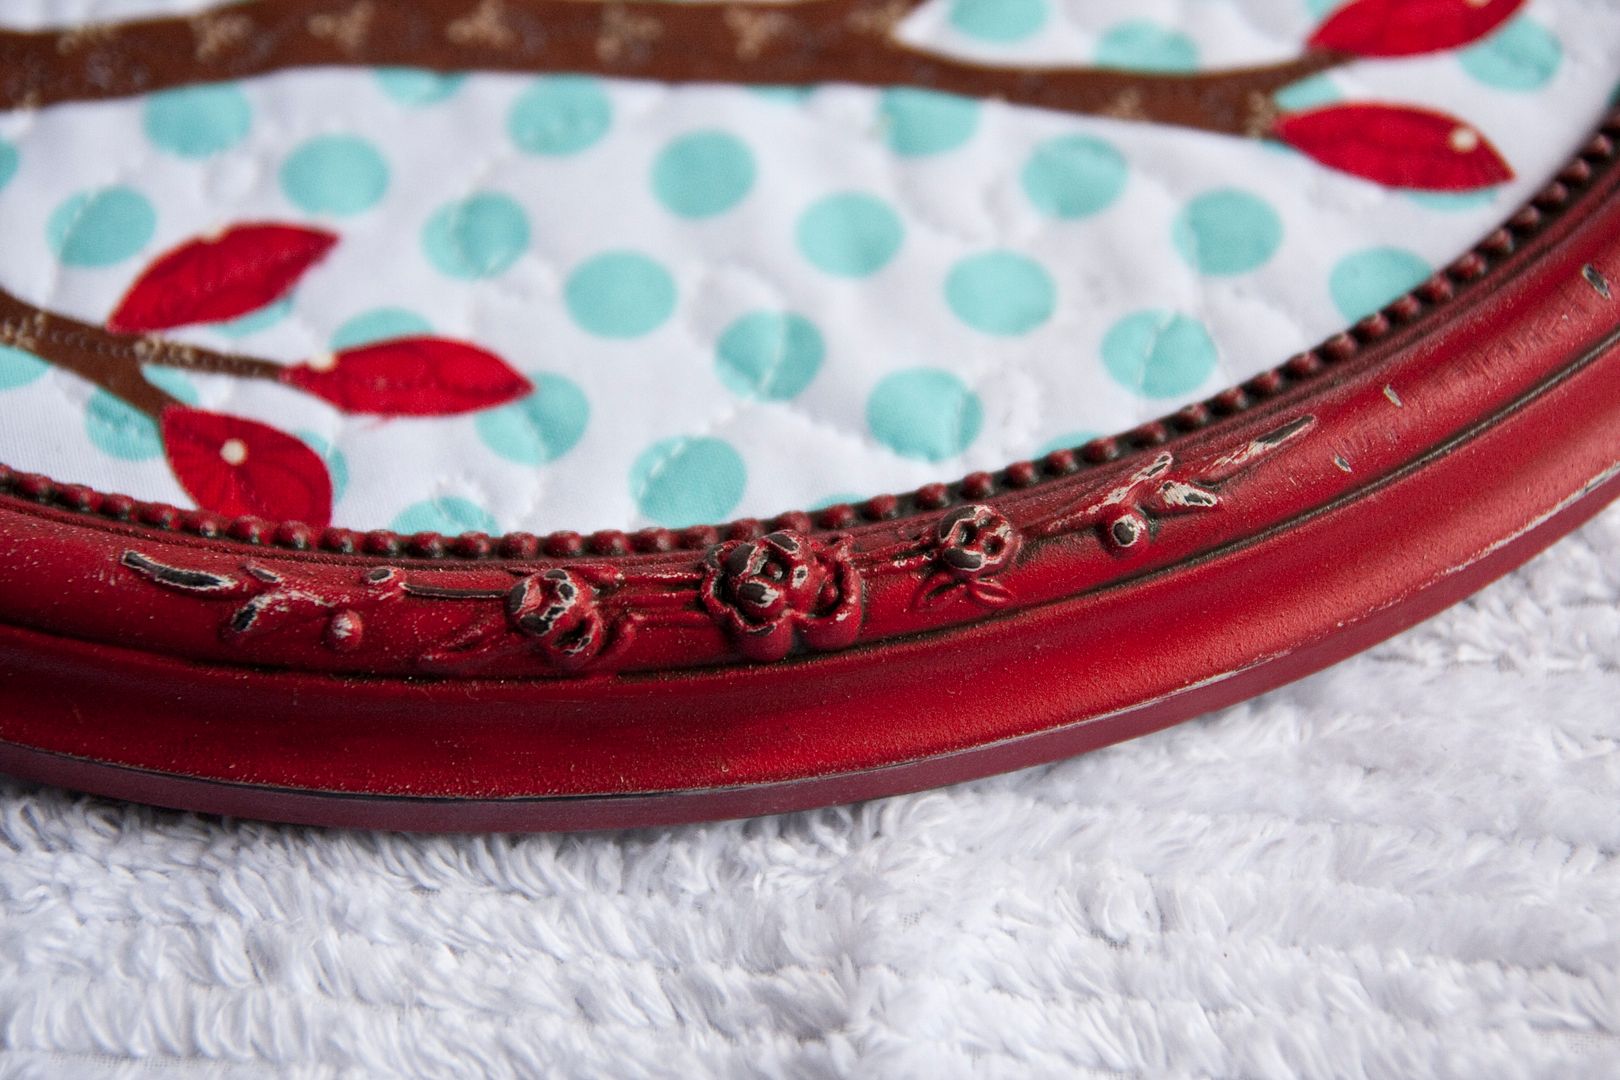
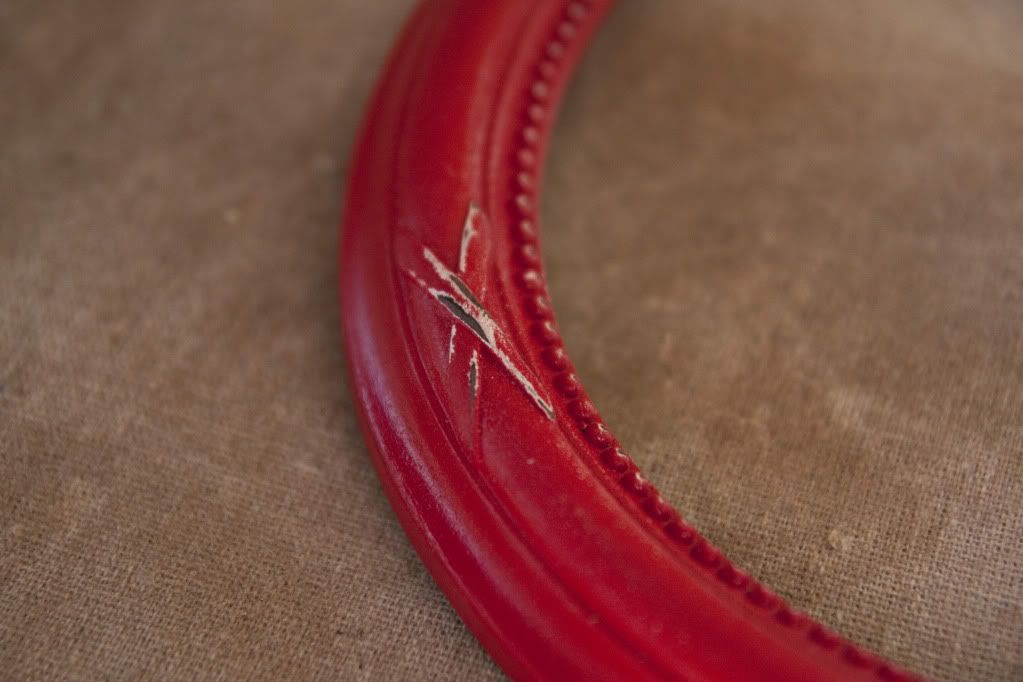
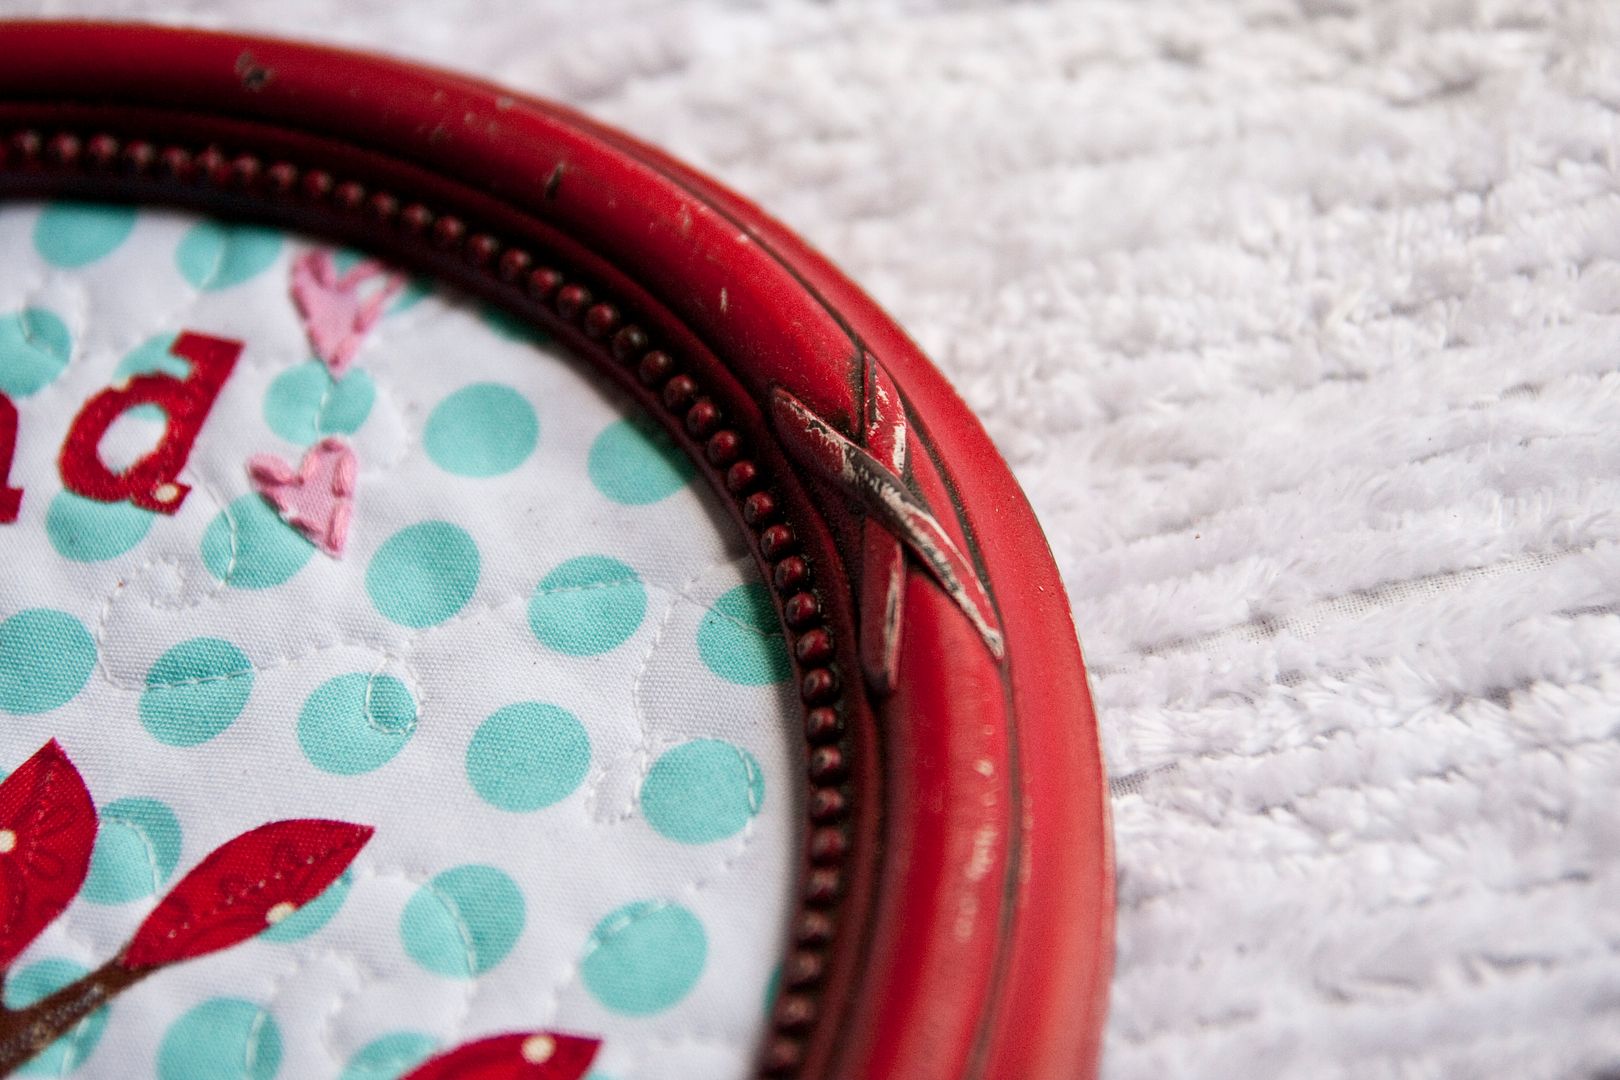
Aging with sandpaper is a great way to add character to the frame. Just lightly scrub over the frame using an all-purpose sandpaper to wear away the paint.
Just look at those delicious layers! Keep scrubbing away!
Another way to "dirty up" the frame is to use the fabulous tinted-glaze method from Mandi at Vintage Revivals.
For this, you will need gloves, a paintbrush, an old rag or t-shirt (damp), and some tinted glaze (from a home improvement store). Mandi recommends the Ralph Lauren Faux Glaze, so that's what I bought. It was on sale (yay) because they are discontinuing it (sad). I had them tint it black for me.
Put on your gloves and brush some of the tinted glaze onto a section of the frame. Your goal is to get the glaze down in all those lovely ridges and crevices.
Wipe away the glaze (in one direction) with the damp rag. (The gloss will remain in all those cracks and crevices.)
Repeat this process on another section of the frame. Work your way around until the entire frame is glazed. Let it dry several hours or overnight.
Whether you settle on the sandpaper or tinted-glaze method, your frame will be much more weathered than before. (I totally recommend using both for the ultimate grit.) But whatever you decide to do, protect the finish by spraying a clear-coat sealer over the frame and letting it dry. Pretty dang awesome, right?


love!
ReplyDeleteThanks for the tutorial!
ReplyDeleteLinda
Thanks for the tutorial. I am always wanting to do this stuff, but I need clear set instructions. I am not a type who can figure out the decorating stuff on my own.
ReplyDeleteNeat Tut! Thank you!
ReplyDeleteI also find that wood-toned spray works well if you don't have glaze. I use this technique for giving a distressed look to found furniture all the time!
ReplyDeleteOoh I love that red one!! Did you make the quilted piece inside? It's suuuuper cute!! Well done! :)
ReplyDeleteStephanie
That's Better. Improving Life Every Day!
I love crafting with frames & I love your personal touch to the red one. It's lovely.
ReplyDeleteI love it. Thanks so much for details to what u did.
ReplyDelete